Operation

The channel output may also be adjusted using the full-OSD on-screen menu system. First, set the volume to a comfortable listening level using the Volume Control ı î. Then, press the OSD button Lto bring up the MASTER MENU (Figure 1). Press the ¤ Button Efour times until the on-screen cursor is next to the CHANNEL ADJUST line. Press the

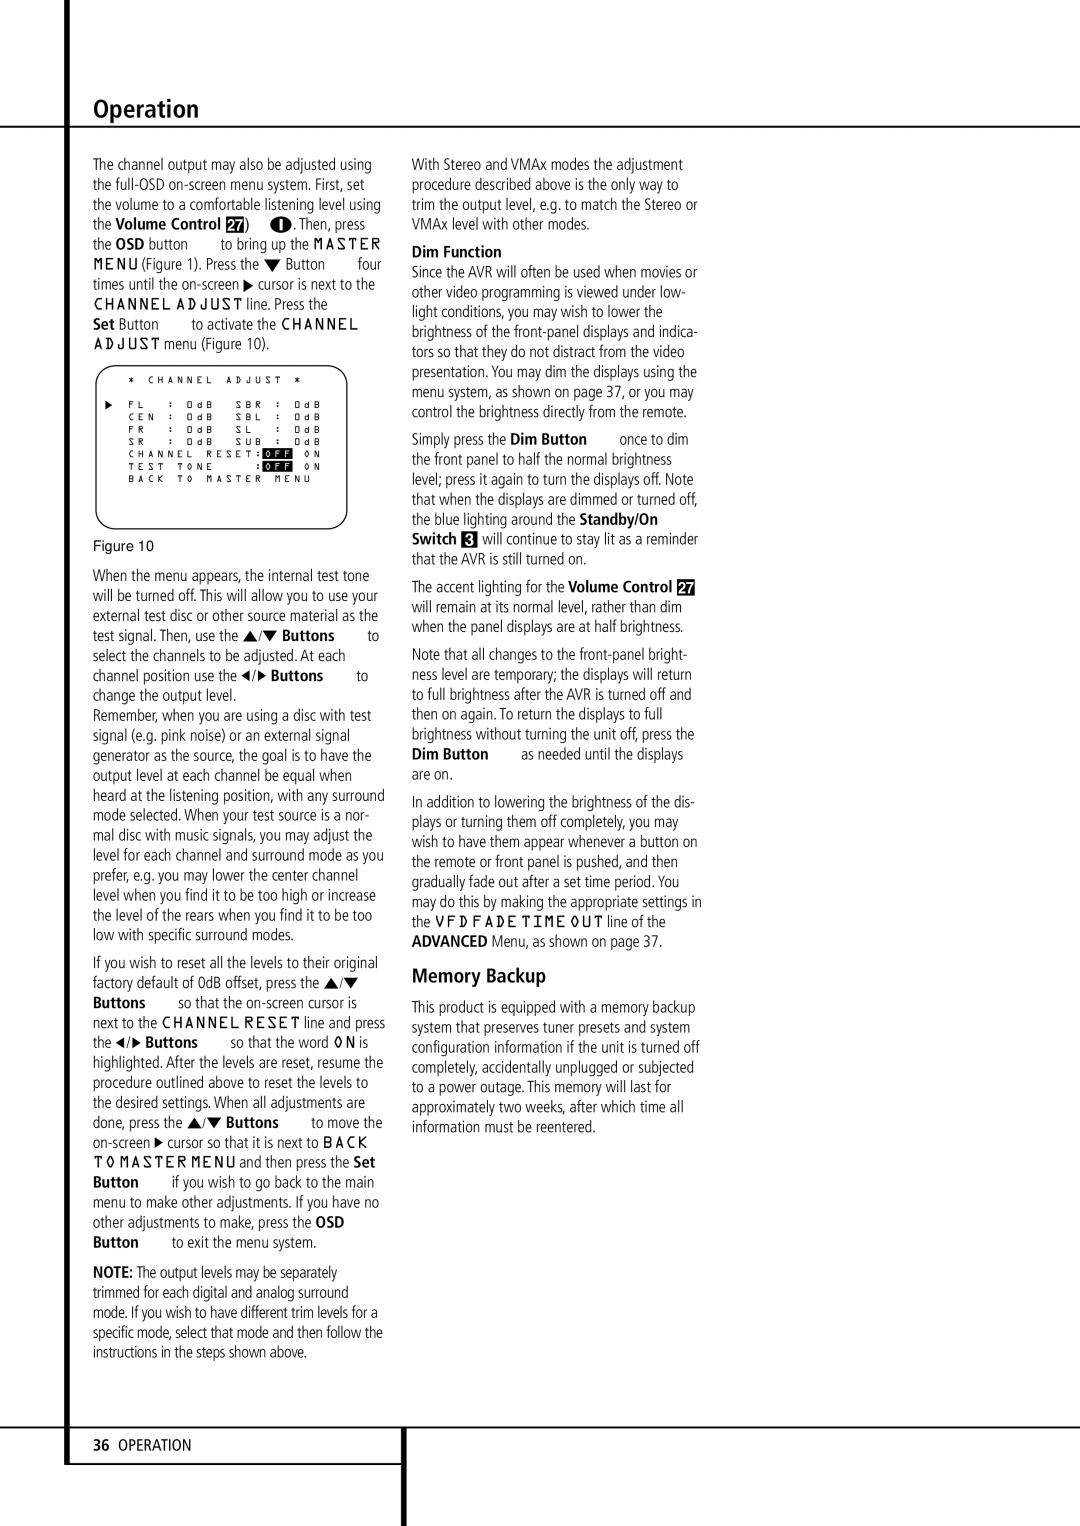
Set Button Fto activate the CHANNEL ADJUST menu (Figure 10).

* C H A N N E L A D J U S T

*

F L

: 0 d B

S B R

:

0 d B

C E N : 0 d B

S B L

:

0 d B

F R

: 0 d B

S L

:

0 d B

S R

: 0 d B

S U B

:

0 d B

C H A N N E L R E S E T :

O F F

O N


T E S T T O N E

:

O F F

O N

B A C K T O M A S T E R

M E N U


Figure 10

When the menu appears, the internal test tone will be turned off. This will allow you to use your external test disc or other source material as the test signal. Then, use the /¤ Buttons Eto select the channels to be adjusted. At each channel position use the / Buttons Eto change the output level.

Remember, when you are using a disc with test signal (e.g. pink noise) or an external signal generator as the source, the goal is to have the output level at each channel be equal when heard at the listening position, with any surround mode selected. When your test source is a nor- mal disc with music signals, you may adjust the level for each channel and surround mode as you prefer, e.g. you may lower the center channel level when you find it to be too high or increase the level of the rears when you find it to be too low with specific surround modes.

If you wish to reset all the levels to their original factory default of 0dB offset, press the /¤ Buttons Eso that the on-screen cursor is next to the CHANNEL RESET line and press the / Buttons Eso that the word ON is highlighted. After the levels are reset, resume the procedure outlined above to reset the levels to the desired settings. When all adjustments are done, press the /¤ Buttons Eto move the on-screen cursor so that it is next to BACK TO MASTER MENU and then press the Set Button Fif you wish to go back to the main menu to make other adjustments. If you have no other adjustments to make, press the OSD Button Lto exit the menu system.

NOTE: The output levels may be separately trimmed for each digital and analog surround mode. If you wish to have different trim levels for a specific mode, select that mode and then follow the instructions in the steps shown above.

With Stereo and VMAx modes the adjustment procedure described above is the only way to trim the output level, e.g. to match the Stereo or VMAx level with other modes.

Dim Function

Since the AVR will often be used when movies or other video programming is viewed under low- light conditions, you may wish to lower the brightness of the front-panel displays and indica- tors so that they do not distract from the video presentation. You may dim the displays using the menu system, as shown on page 37, or you may control the brightness directly from the remote.

Simply press the Dim Button Donce to dim the front panel to half the normal brightness level; press it again to turn the displays off. Note that when the displays are dimmed or turned off, the blue lighting around the Standby/On Switch 3 will continue to stay lit as a reminder that the AVR is still turned on.

The accent lighting for the Volume Control ı will remain at its normal level, rather than dim when the panel displays are at half brightness.

Note that all changes to the front-panel bright- ness level are temporary; the displays will return to full brightness after the AVR is turned off and then on again. To return the displays to full brightness without turning the unit off, press the Dim Button Das needed until the displays are on.

In addition to lowering the brightness of the dis- plays or turning them off completely, you may wish to have them appear whenever a button on the remote or front panel is pushed, and then gradually fade out after a set time period. You may do this by making the appropriate settings in the VFD FADE TIME OUT line of the ADVANCED Menu, as shown on page 37.

Memory Backup

This product is equipped with a memory backup system that preserves tuner presets and system configuration information if the unit is turned off completely, accidentally unplugged or subjected to a power outage. This memory will last for approximately two weeks, after which time all information must be reentered.

36OPERATION

Page 36
Image 36
Harman-Kardon AVR 430 owner manual Memory Backup, Set Button Fto activate the Channel Adjust menu Figure, Dim Function

AVR 430 specifications

The Harman-Kardon AVR 430 is a versatile and powerful audio-video receiver that has made a significant mark in the world of home entertainment. Designed for audiophiles and casual listeners alike, the AVR 430 combines advanced technology with user-friendly features, making it an excellent choice for anyone looking to elevate their home theater experience.

One of the standout features of the AVR 430 is its multi-channel audio processing capability. It supports Dolby Digital and DTS surround sound formats, providing immersive audio that allows users to experience movies, music, and games in a whole new way. This receiver is equipped with 5.1 channel amplification, delivering a robust output of up to 70 watts per channel, ensuring that even the most demanding audio tracks come through with clarity and impact.

In terms of connectivity, the AVR 430 offers a range of input options. It includes multiple HDMI inputs that support high-definition video and audio, making it easy to connect modern devices such as Blu-ray players, gaming consoles, and streaming devices. It also features optical, coaxial, and analog inputs, providing compatibility with a variety of audio sources. Furthermore, the inclusion of a dedicated subwoofer output allows users to enhance their system with a powerful subwoofer for deeper bass response.

The AVR 430 is designed with user convenience in mind. It features an intuitive on-screen display that simplifies setup and navigation through various input sources and audio settings. The remote control is ergonomically designed and includes dedicated buttons for quick access to frequently used functions. One noteworthy technology embedded in this receiver is the proprietary Harman Kardon Logic 7 processing, which creates a wider soundstage and more realistic surround sound from stereo sources.

Additionally, the AVR 430 is built with high-quality components that ensure durability and longevity. Its sleek and stylish design allows it to seamlessly integrate into any home entertainment environment. The receiver is also known for its ability to maintain high audio fidelity, thanks to its high-current amplifier design and advanced digital circuitry.

In summary, the Harman-Kardon AVR 430 is an outstanding audio-video receiver that caters to both audiophiles and casual users. Its combination of powerful amplification, extensive connectivity options, intuitive controls, and high-quality sound processing technologies make it a top choice for anyone looking to upgrade their home theater system. Whether enjoying a blockbuster film or listening to favorite music tracks, the AVR 430 delivers an impressive audio experience that is sure to impress.