Basic Operation
Once you have completed the initial setup and configu- ration of the DPR 1001, it is simple to operate and enjoy. The following instructions will help you maximize the enjoyment of your new receiver:
Turning the DPR 1001 On or Off
•When using the DPR 1001 for the first time, you must press the Main Power Switch ( located behind the Drop-Down Door # on the front panel to turn the unit on. This places the unit in a Standby mode, as
indicated by the red color of the Power Indicator 1. Once the unit is in Standby, you may begin a
listening session by pressing the Standby/On Button 2 on the front panel or the AVR Selector e. The Power Indicator 1 will turn green. This will turn the unit on and return it to the input source that was last used. The unit may also be turned on from Standby by pressing any of the Input Selector buttons on the remote d 34 43 ∫ç∂.
NOTE: After pressing one of the Input Selector Buttons d 34 43 to turn the unit on, press the AVR Selector e to set the remote control to the DPR 1001 functions.
To turn the unit off at the end of a listening session, simply press the Standby/On Button 2 on the front panel or the Power Off Button aå on
the remote. Power will be shut off to any equipment plugged into the rear panel Switched AC Outlet g and the Power Indicator 1 will turn red.
When the remote is used to turn the unit “off” it is actually placing the system in a Standby mode, as indi- cated by the red color of the Power Indicator 1.
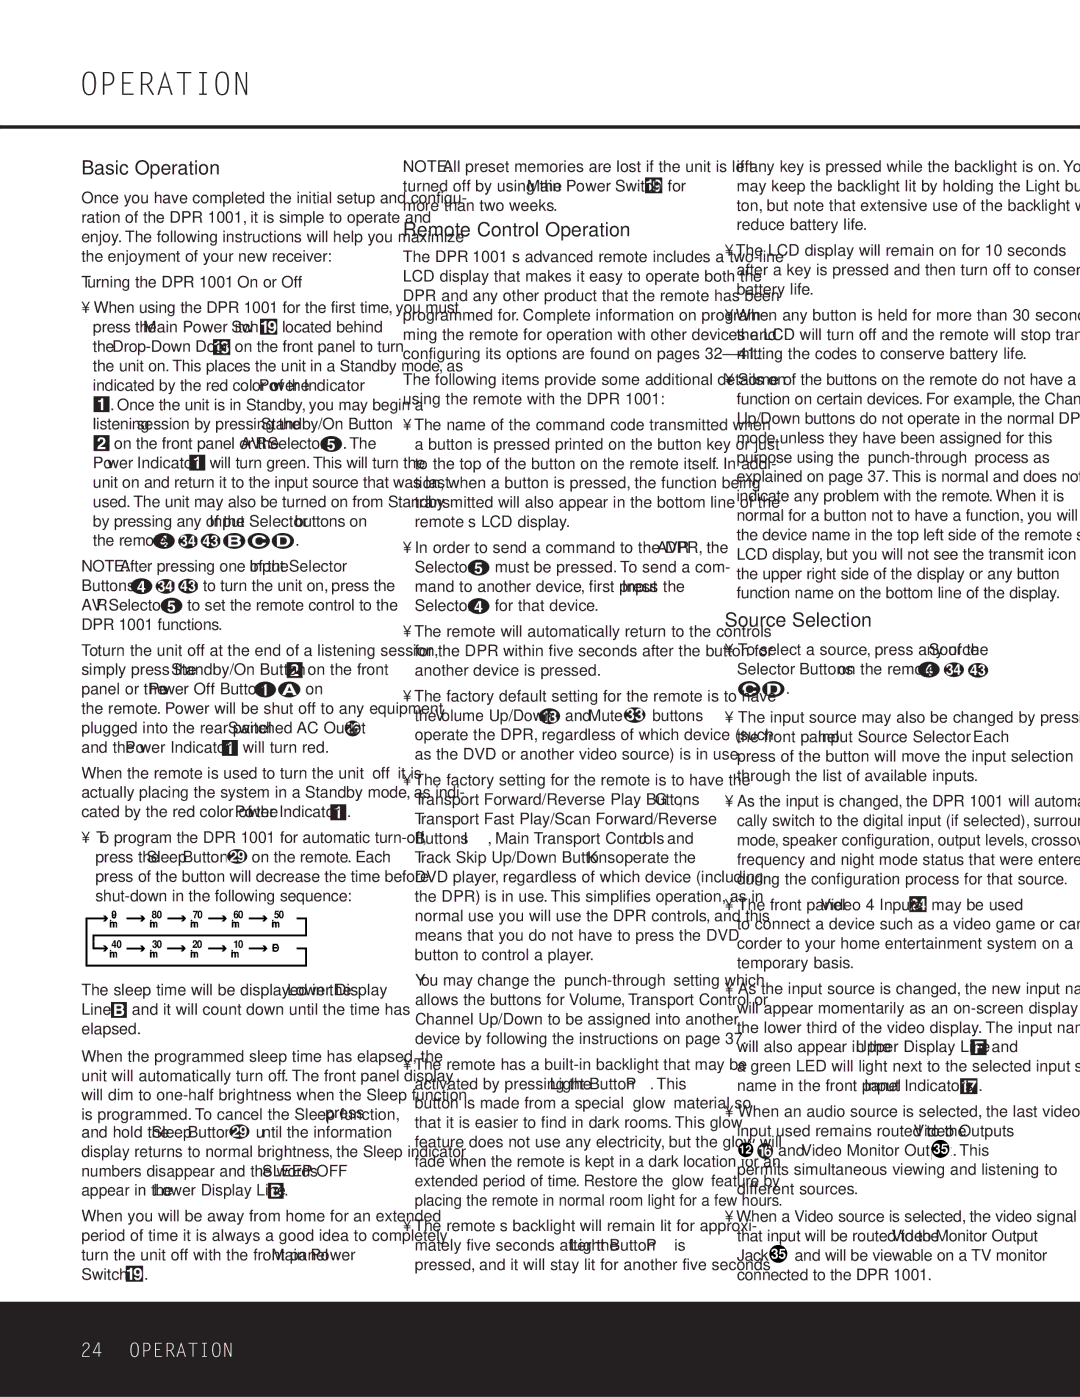
•To program the DPR 1001 for automatic turn-off, press the Sleep Button 29 on the remote. Each press of the button will decrease the time before
shut-down in the following sequence:
| | | 90 | | 80 | | | | 70 | | | | 60 | | 50 | |
| | | min | | min | | | min | | | min | | | min | |
| | | | | | | | | | | | | | | | | |
| | 40 | | 30 | | | 20 | | | 10 | | | OFF |
| | | min | | min | | | min | | | min | | |
| | | | | | | | | | | |
The sleep time will be displayed in the Lower Display Line B and it will count down until the time has elapsed.
When the programmed sleep time has elapsed, the unit will automatically turn off. The front panel display will dim to one-half brightness when the Sleep function is programmed. To cancel the Sleep function, press and hold the Sleep Button 29 until the information display returns to normal brightness, the Sleep indicator numbers disappear and the words SLEEP OFF appear in the Lower Display Line B.
When you will be away from home for an extended period of time it is always a good idea to completely turn the unit off with the front panel Main Power Switch (.
NOTE: All preset memories are lost if the unit is left turned off by using the Main Power Switch ( for more than two weeks.
Remote Control Operation
The DPR 1001’s advanced remote includes a two-line LCD display that makes it easy to operate both the DPR and any other product that the remote has been programmed for. Complete information on program- ming the remote for operation with other devices and configuring its options are found on pages 32–41.
The following items provide some additional details on using the remote with the DPR 1001:
•The name of the command code transmitted when a button is pressed printed on the button key or just to the top of the button on the remote itself. In addi- tion, when a button is pressed, the function being transmitted will also appear in the bottom line of the remote’s LCD display.
•In order to send a command to the DPR, the AVR Selector e must be pressed. To send a com- mand to another device, first press the Input Selector d for that device.
•The remote will automatically return to the controls for the DPR within five seconds after the button for another device is pressed.
•The factory default setting for the remote is to have the Volume Up/Down r and Mute 33 buttons operate the DPR, regardless of which device (such as the DVD or another video source) is in use.
•The factory setting for the remote is to have the Transport Forward/Reverse Play Buttons G, Transport Fast Play/Scan Forward/Reverse Buttons I, Main Transport Controls J and Track Skip Up/Down Buttons K operate the DVD player, regardless of which device (including the DPR) is in use. This simplifies operation, as in normal use you will use the DPR controls, and this means that you do not have to press the DVD button to control a player.
You may change the “punch-through” setting which allows the buttons for Volume, Transport Control or Channel Up/Down to be assigned into another device by following the instructions on page 37.
•The remote has a built-in backlight that may be activated by pressing the Light Button P. This button is made from a special “glow” material so that it is easier to find in dark rooms. This glow feature does not use any electricity, but the glow will fade when the remote is kept in a dark location for an extended period of time. Restore the “glow” feature by placing the remote in normal room light for a few hours.
•The remote’s backlight will remain lit for approxi- mately five seconds after the Light Button P is pressed, and it will stay lit for another five seconds
if any key is pressed while the backlight is on. You may keep the backlight lit by holding the Light but- ton, but note that extensive use of the backlight will reduce battery life.
•The LCD display will remain on for 10 seconds after a key is pressed and then turn off to conserve battery life.
•When any button is held for more than 30 seconds the LCD will turn off and the remote will stop trans- mitting the codes to conserve battery life.
•Some of the buttons on the remote do not have a function on certain devices. For example, the Channel Up/Down buttons do not operate in the normal DPR mode unless they have been assigned for this purpose using the “punch-through” process as explained on page 37. This is normal and does not indicate any problem with the remote. When it is normal for a button not to have a function, you will see the device name in the top left side of the remote’s LCD display, but you will not see the transmit icon on the upper right side of the display or any button function name on the bottom line of the display.
Source Selection
•To select a source, press any of the Source Selector Buttons on the remote d 34 43
ç∂.
•The input source may also be changed by pressing the front panel Input Source Selector 5. Each press of the button will move the input selection through the list of available inputs.
•As the input is changed, the DPR 1001 will automati- cally switch to the digital input (if selected), surround mode, speaker configuration, output levels, crossover frequency and night mode status that were entered during the configuration process for that source.
•The front panel Video 4 Inputs Ú may be used to connect a device such as a video game or cam- corder to your home entertainment system on a temporary basis.
•As the input source is changed, the new input name will appear momentarily as an on-screen display in the lower third of the video display. The input name will also appear in the Upper Display Line F and a green LED will light next to the selected input’s name in the front panel Input Indicators &.
•When an audio source is selected, the last video input used remains routed to the Video Outputs
12 fl and Video Monitor Output 35 . This permits simultaneous viewing and listening to different sources.
•When a Video source is selected, the video signal for that input will be routed to the Video Monitor Output Jack 35 and will be viewable on a TV monitor connected to the DPR 1001.