display any identifier transmitted by the radio station. Press the RDS icon to deselect it and remove the Station Name line from view.
#: The HS 500’s tuner includes a total of 60 preset station locations, 30 for each band (AM or FM), which may be viewed on screen. The numeric column on the left side of the station list indicates the preset number for each station. The first time you select the tuner as the source you will see a default list of presets. Most likely these stations are not in use in your area. You may select the # symbol at the head of this column and you will be presented with the following options (see Figure 91):
Auto Preset: Select this option to have the HS 500 automatically scan for stations with acceptable signal strength. Each station found will be added as a preset.
Clear List: Select this option to clear the list of presets.
Restore Default List: Select this option to reset the presets to the factory default list.
Figure 91 – Programming Presets
Station: The Station column lists your preset stations by name. Press the Enter Button to listen to the highlighted station, and press the Enter Button again when the proper name of the station is shown on the Station Name line to capture the station’s name, if it is being transmitted as an RDS signal and if you have selected RDS display using the icon.
Frequency: Unlike other tuners you may have used previously, the HS 500 is tuned using the preset locations. You may select a preset station to listen to as described above, or you may tune a new frequency for that preset using the Frequency column.
NOTE: Changing the frequency so that you may listen to a different station permanently changes the preset for that location. If you wish to listen to a new station, we recommend that you scroll down to an unused preset location, or one which you don’t wish to listen to before tuning to a new frequency.
To tune a new frequency:
1.Highlight the frequency of an unused preset, or a preset you no longer wish to save.
2.Tune to the new frequency in one of three ways:
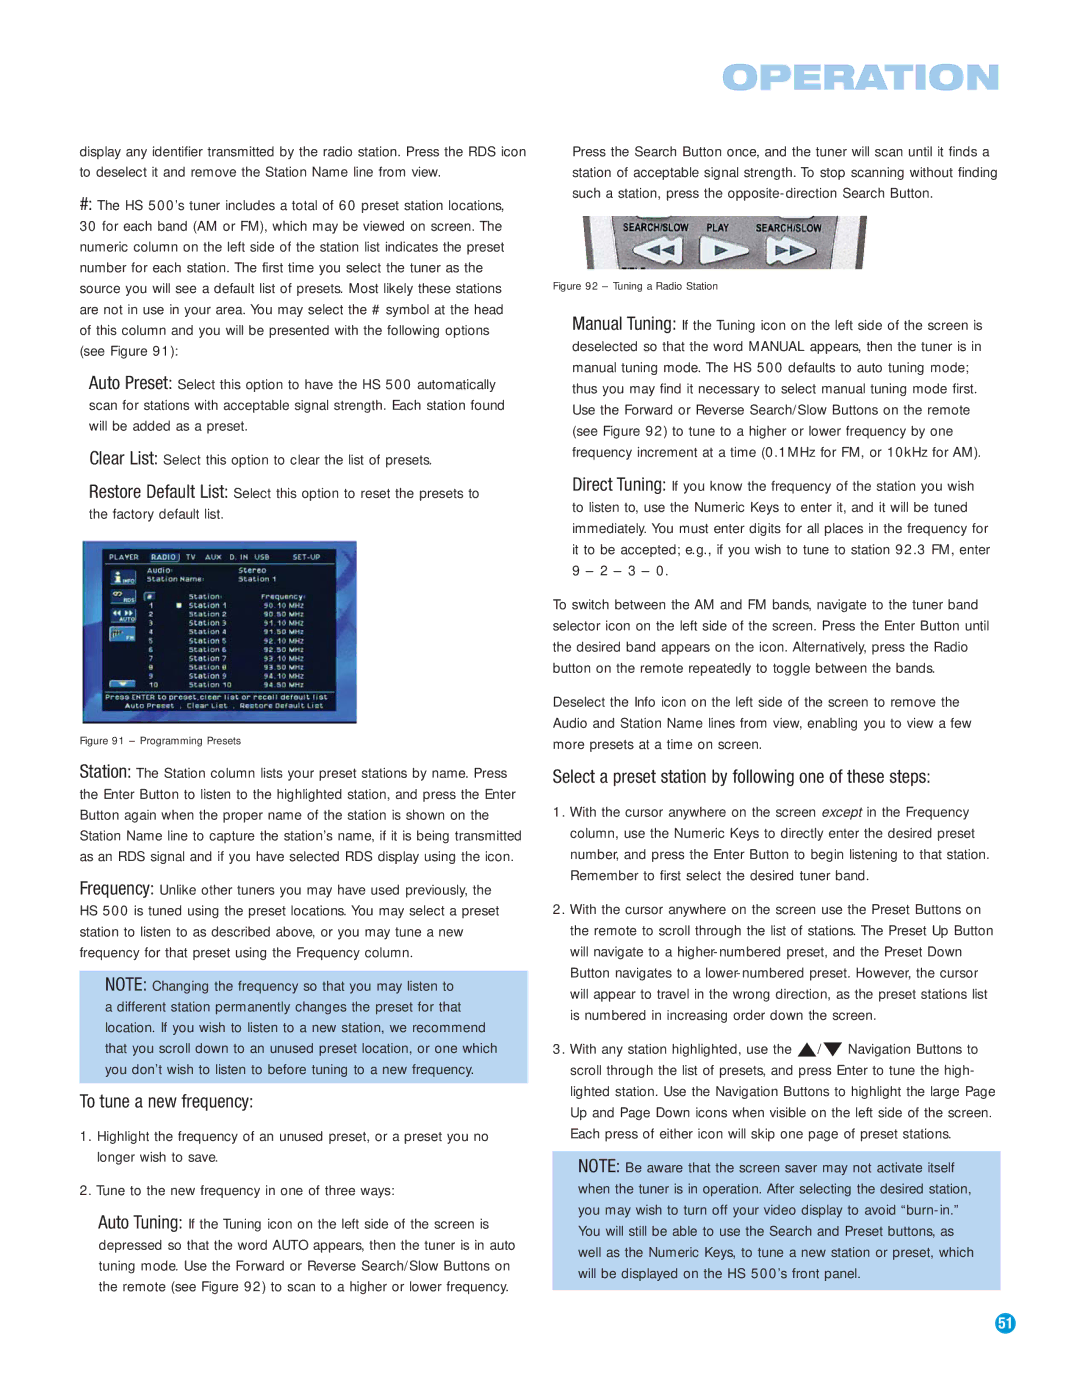
Auto Tuning: If the Tuning icon on the left side of the screen is depressed so that the word AUTO appears, then the tuner is in auto tuning mode. Use the Forward or Reverse Search/Slow Buttons on the remote (see Figure 92) to scan to a higher or lower frequency.
Press the Search Button once, and the tuner will scan until it finds a station of acceptable signal strength. To stop scanning without finding such a station, press the opposite-direction Search Button.
Figure 92 – Tuning a Radio Station
Manual Tuning: If the Tuning icon on the left side of the screen is deselected so that the word MANUAL appears, then the tuner is in manual tuning mode. The HS 500 defaults to auto tuning mode; thus you may find it necessary to select manual tuning mode first. Use the Forward or Reverse Search/Slow Buttons on the remote (see Figure 92) to tune to a higher or lower frequency by one frequency increment at a time (0.1MHz for FM, or 10kHz for AM).
Direct Tuning: If you know the frequency of the station you wish to listen to, use the Numeric Keys to enter it, and it will be tuned immediately. You must enter digits for all places in the frequency for it to be accepted; e.g., if you wish to tune to station 92.3 FM, enter 9 – 2 – 3 – 0.
To switch between the AM and FM bands, navigate to the tuner band selector icon on the left side of the screen. Press the Enter Button until the desired band appears on the icon. Alternatively, press the Radio button on the remote repeatedly to toggle between the bands.
Deselect the Info icon on the left side of the screen to remove the Audio and Station Name lines from view, enabling you to view a few more presets at a time on screen.
Select a preset station by following one of these steps:
1.With the cursor anywhere on the screen except in the Frequency column, use the Numeric Keys to directly enter the desired preset number, and press the Enter Button to begin listening to that station. Remember to first select the desired tuner band.
2.With the cursor anywhere on the screen use the Preset Buttons on the remote to scroll through the list of stations. The Preset Up Button will navigate to a higher-numbered preset, and the Preset Down Button navigates to a lower-numbered preset. However, the cursor will appear to travel in the wrong direction, as the preset stations list is numbered in increasing order down the screen.
3.With any station highlighted, use the ⁄/¤ Navigation Buttons to scroll through the list of presets, and press Enter to tune the high- lighted station. Use the Navigation Buttons to highlight the large Page Up and Page Down icons when visible on the left side of the screen. Each press of either icon will skip one page of preset stations.
NOTE: Be aware that the screen saver may not activate itself when the tuner is in operation. After selecting the desired station, you may wish to turn off your video display to avoid “burn-in.” You will still be able to use the Search and Preset buttons, as well as the Numeric Keys, to tune a new station or preset, which will be displayed on the HS 500’s front panel.

