Step Two – Audio Setup
In this step you may make adjustments to the audio settings using the Audio Setup submenu.
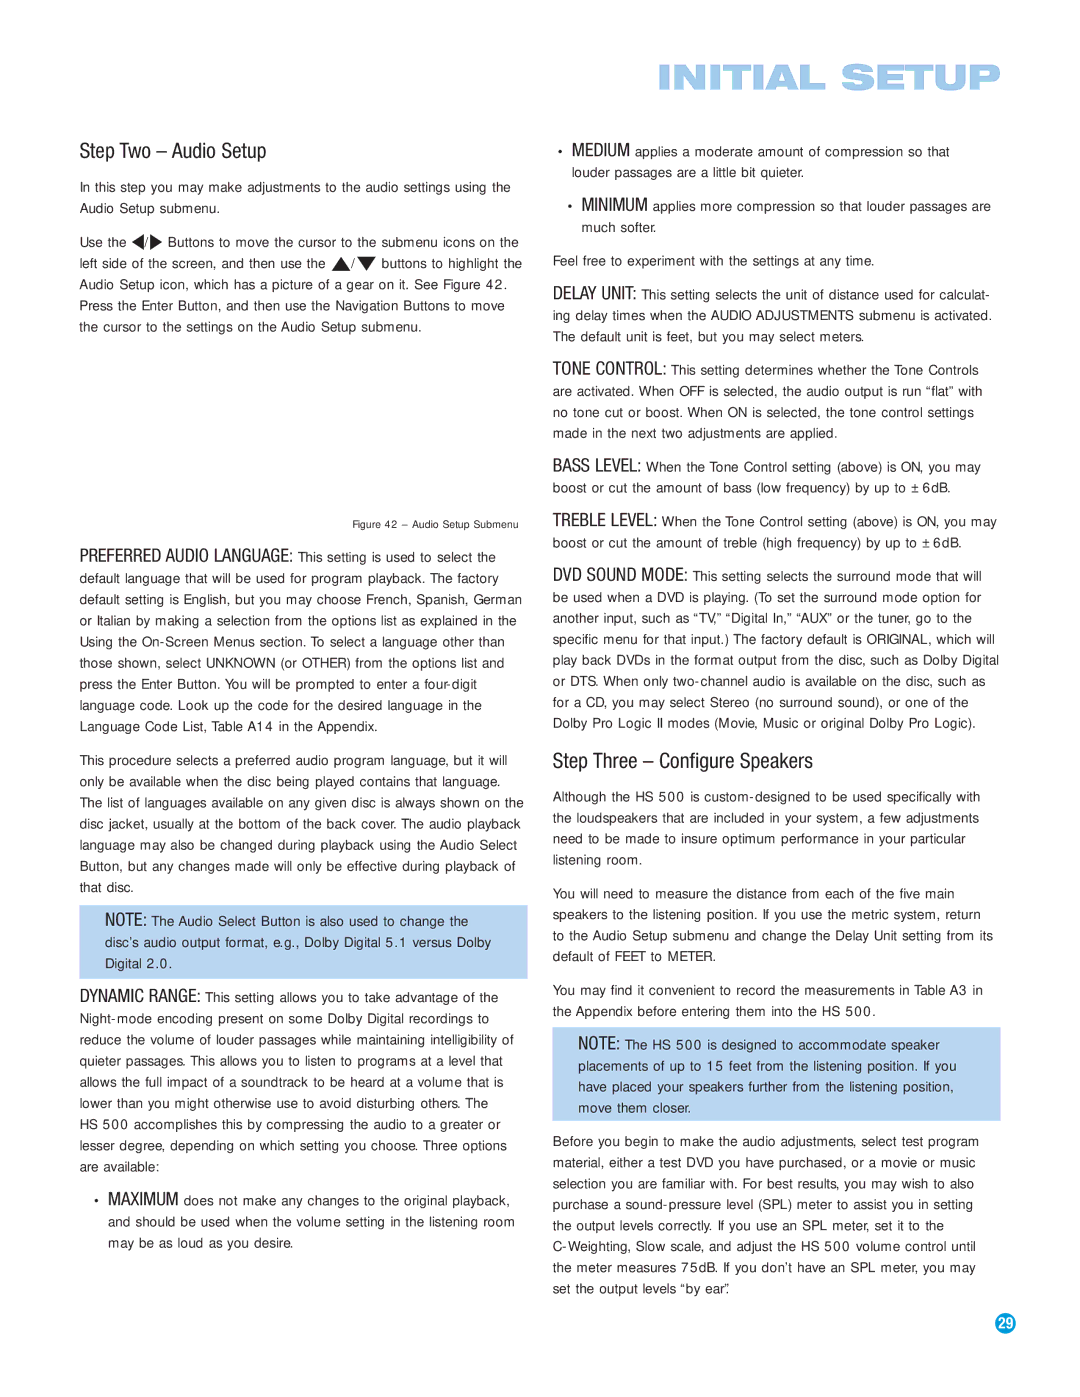
Use the ‹/› Buttons to move the cursor to the submenu icons on the left side of the screen, and then use the ⁄/¤ buttons to highlight the Audio Setup icon, which has a picture of a gear on it. See Figure 42.
Press the Enter Button, and then use the Navigation Buttons to move the cursor to the settings on the Audio Setup submenu.
Figure 42 – Audio Setup Submenu
PREFERRED AUDIO LANGUAGE: This setting is used to select the default language that will be used for program playback. The factory default setting is English, but you may choose French, Spanish, German or Italian by making a selection from the options list as explained in the Using the On-Screen Menus section. To select a language other than those shown, select UNKNOWN (or OTHER) from the options list and press the Enter Button. You will be prompted to enter a four-digit language code. Look up the code for the desired language in the Language Code List, Table A14 in the Appendix.
This procedure selects a preferred audio program language, but it will only be available when the disc being played contains that language. The list of languages available on any given disc is always shown on the disc jacket, usually at the bottom of the back cover. The audio playback language may also be changed during playback using the Audio Select Button, but any changes made will only be effective during playback of that disc.
NOTE: The Audio Select Button is also used to change the disc’s audio output format, e.g., Dolby Digital 5.1 versus Dolby Digital 2.0.
DYNAMIC RANGE: This setting allows you to take advantage of the Night-mode encoding present on some Dolby Digital recordings to reduce the volume of louder passages while maintaining intelligibility of quieter passages. This allows you to listen to programs at a level that allows the full impact of a soundtrack to be heard at a volume that is lower than you might otherwise use to avoid disturbing others. The HS 500 accomplishes this by compressing the audio to a greater or lesser degree, depending on which setting you choose. Three options are available:
•MAXIMUM does not make any changes to the original playback, and should be used when the volume setting in the listening room may be as loud as you desire.
INITIAL SETUP
•MEDIUM applies a moderate amount of compression so that louder passages are a little bit quieter.
•MINIMUM applies more compression so that louder passages are much softer.
Feel free to experiment with the settings at any time.
DELAY UNIT: This setting selects the unit of distance used for calculat- ing delay times when the AUDIO ADJUSTMENTS submenu is activated. The default unit is feet, but you may select meters.
TONE CONTROL: This setting determines whether the Tone Controls are activated. When OFF is selected, the audio output is run “flat” with no tone cut or boost. When ON is selected, the tone control settings made in the next two adjustments are applied.
BASS LEVEL: When the Tone Control setting (above) is ON, you may boost or cut the amount of bass (low frequency) by up to ±6dB.
TREBLE LEVEL: When the Tone Control setting (above) is ON, you may boost or cut the amount of treble (high frequency) by up to ±6dB.
DVD SOUND MODE: This setting selects the surround mode that will be used when a DVD is playing. (To set the surround mode option for another input, such as “TV,” “Digital In,” “AUX” or the tuner, go to the specific menu for that input.) The factory default is ORIGINAL, which will play back DVDs in the format output from the disc, such as Dolby Digital or DTS. When only two-channel audio is available on the disc, such as for a CD, you may select Stereo (no surround sound), or one of the Dolby Pro Logic II modes (Movie, Music or original Dolby Pro Logic).
Step Three – Configure Speakers
Although the HS 500 is custom-designed to be used specifically with the loudspeakers that are included in your system, a few adjustments need to be made to insure optimum performance in your particular listening room.
You will need to measure the distance from each of the five main speakers to the listening position. If you use the metric system, return to the Audio Setup submenu and change the Delay Unit setting from its default of FEET to METER.
You may find it convenient to record the measurements in Table A3 in the Appendix before entering them into the HS 500.
NOTE: The HS 500 is designed to accommodate speaker placements of up to 15 feet from the listening position. If you have placed your speakers further from the listening position, move them closer.
Before you begin to make the audio adjustments, select test program material, either a test DVD you have purchased, or a movie or music selection you are familiar with. For best results, you may wish to also purchase a sound-pressure level (SPL) meter to assist you in setting the output levels correctly. If you use an SPL meter, set it to the C-Weighting, Slow scale, and adjust the HS 500 volume control until the meter measures 75dB. If you don’t have an SPL meter, you may set the output levels “by ear”.