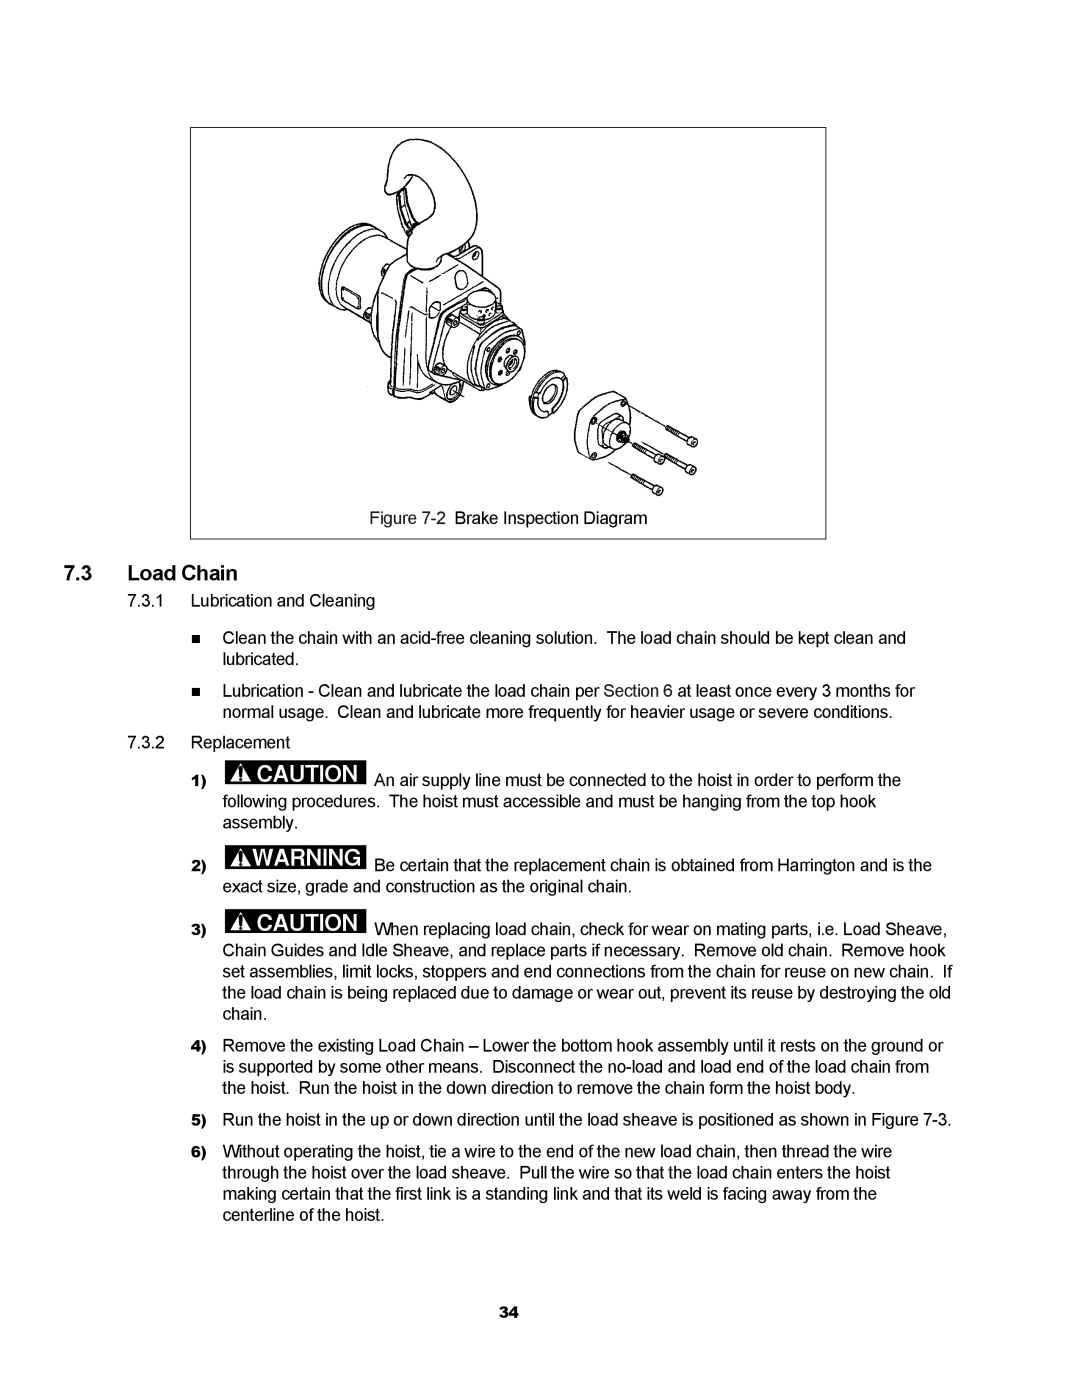
Figure 7-2 Brake Inspection Diagram
7.3Load Chain
7.3.1 Lubrication and Cleaning
Clean the chain with an
Lubrication - Clean and lubricate the load chain per Section 6 at least once every 3 months for normal usage. Clean and lubricate more frequently for heavier usage or severe conditions.
7.3.2Replacement
1) ![]()
![]() CAUTION An air supply line must be connected to the hoist in order to perform the following procedures. The hoist must accessible and must be hanging from the top hook assembly.
CAUTION An air supply line must be connected to the hoist in order to perform the following procedures. The hoist must accessible and must be hanging from the top hook assembly.
![]()
![]() Be certain that the replacement chain is obtained from Harrington and is the exact size, grade and construction as the original chain.
Be certain that the replacement chain is obtained from Harrington and is the exact size, grade and construction as the original chain.
3) ![]()
![]() CAUTION When replacing load chain, check for wear on mating parts, i.e. Load Sheave, Chain Guides and Idle Sheave, and replace parts if necessary. Remove old chain. Remove hook set assemblies, limit locks, stoppers and end connections from the chain for reuse on new chain. If the load chain is being replaced due to damage or wear out, prevent its reuse by destroying the old chain.
CAUTION When replacing load chain, check for wear on mating parts, i.e. Load Sheave, Chain Guides and Idle Sheave, and replace parts if necessary. Remove old chain. Remove hook set assemblies, limit locks, stoppers and end connections from the chain for reuse on new chain. If the load chain is being replaced due to damage or wear out, prevent its reuse by destroying the old chain.
4)Remove the existing Load Chain – Lower the bottom hook assembly until it rests on the ground or is supported by some other means. Disconnect the
5)Run the hoist in the up or down direction until the load sheave is positioned as shown in Figure
6)Without operating the hoist, tie a wire to the end of the new load chain, then thread the wire through the hoist over the load sheave. Pull the wire so that the load chain enters the hoist making certain that the first link is a standing link and that its weld is facing away from the centerline of the hoist.
34