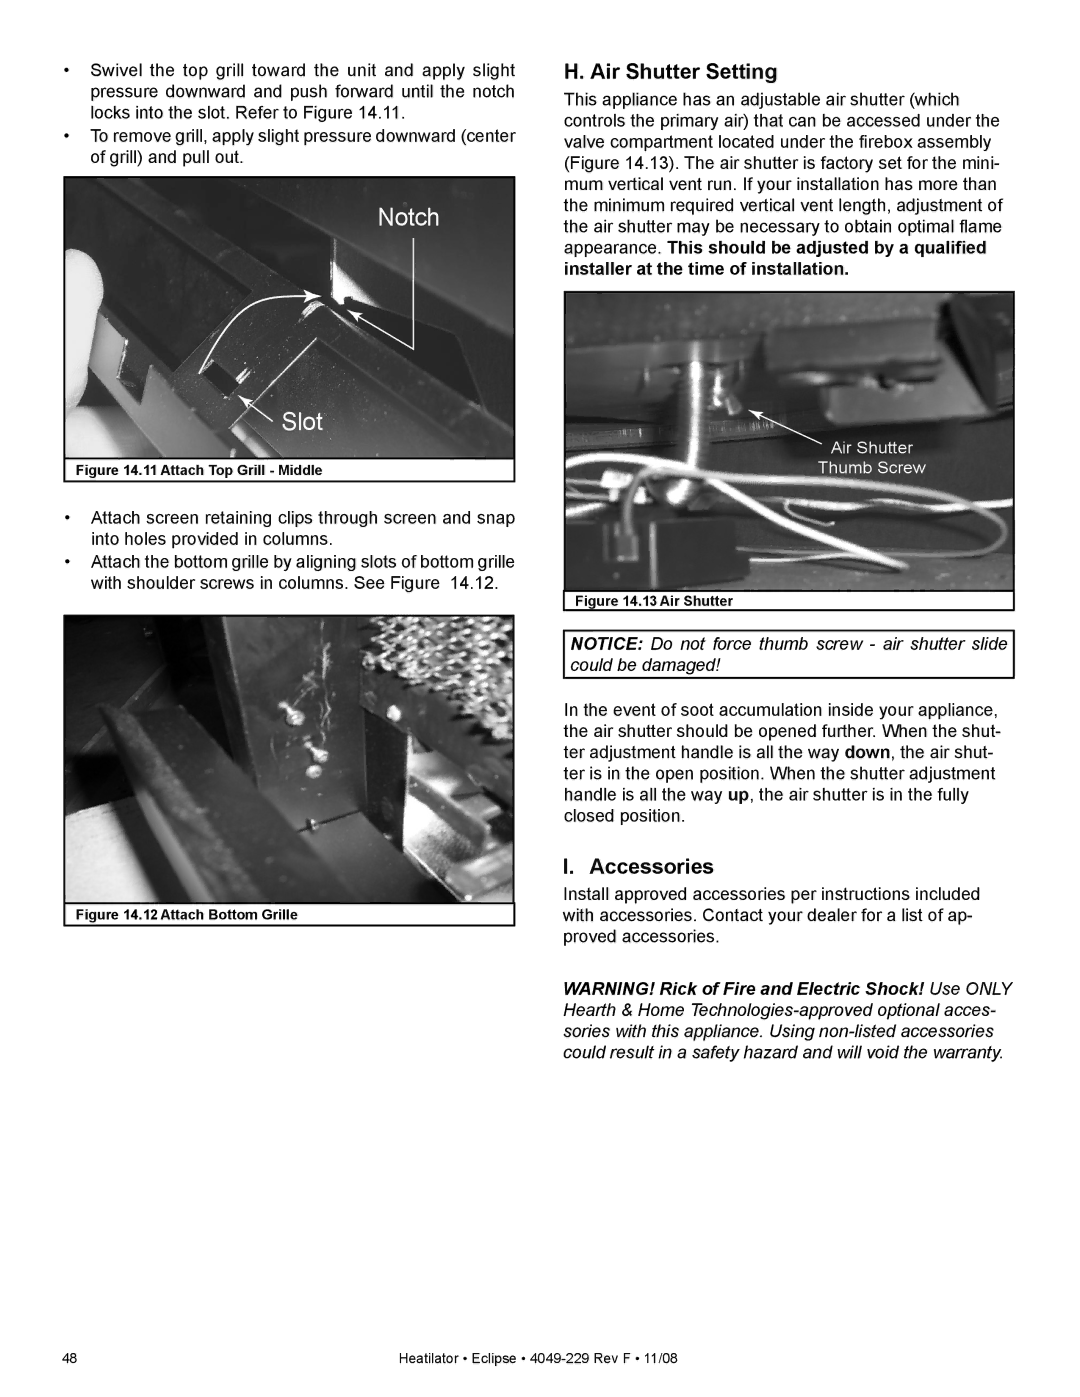
•Swivel the top grill toward the unit and apply slight pressure downward and push forward until the notch locks into the slot. Refer to Figure 14.11.
•To remove grill, apply slight pressure downward (center of grill) and pull out.
Notch
 Slot
Slot
Figure 14.11 Attach Top Grill - Middle
•Attach screen retaining clips through screen and snap into holes provided in columns.
•Attach the bottom grille by aligning slots of bottom grille with shoulder screws in columns. See Figure 14.12.
Figure 14.12 Attach Bottom Grille
H. Air Shutter Setting
This appliance has an adjustable air shutter (which controls the primary air) that can be accessed under the valve compartment located under the firebox assembly (Figure 14.13). The air shutter is factory set for the mini- mum vertical vent run. If your installation has more than the minimum required vertical vent length, adjustment of the air shutter may be necessary to obtain optimal flame appearance. This should be adjusted by a qualified installer at the time of installation.
Air Shutter
Thumb Screw
Figure 14.13 Air Shutter
NOTICE: Do not force thumb screw - air shutter slide could be damaged!
In the event of soot accumulation inside your appliance, the air shutter should be opened further. When the shut- ter adjustment handle is all the way down, the air shut- ter is in the open position. When the shutter adjustment handle is all the way up, the air shutter is in the fully closed position.
I. Accessories
Install approved accessories per instructions included with accessories. Contact your dealer for a list of ap- proved accessories.
WARNING! Rick of Fire and Electric Shock! Use ONLY Hearth & Home
48 | Heatilator • Eclipse • |