14 Appliance Setup
A. Remove Packaging Materials
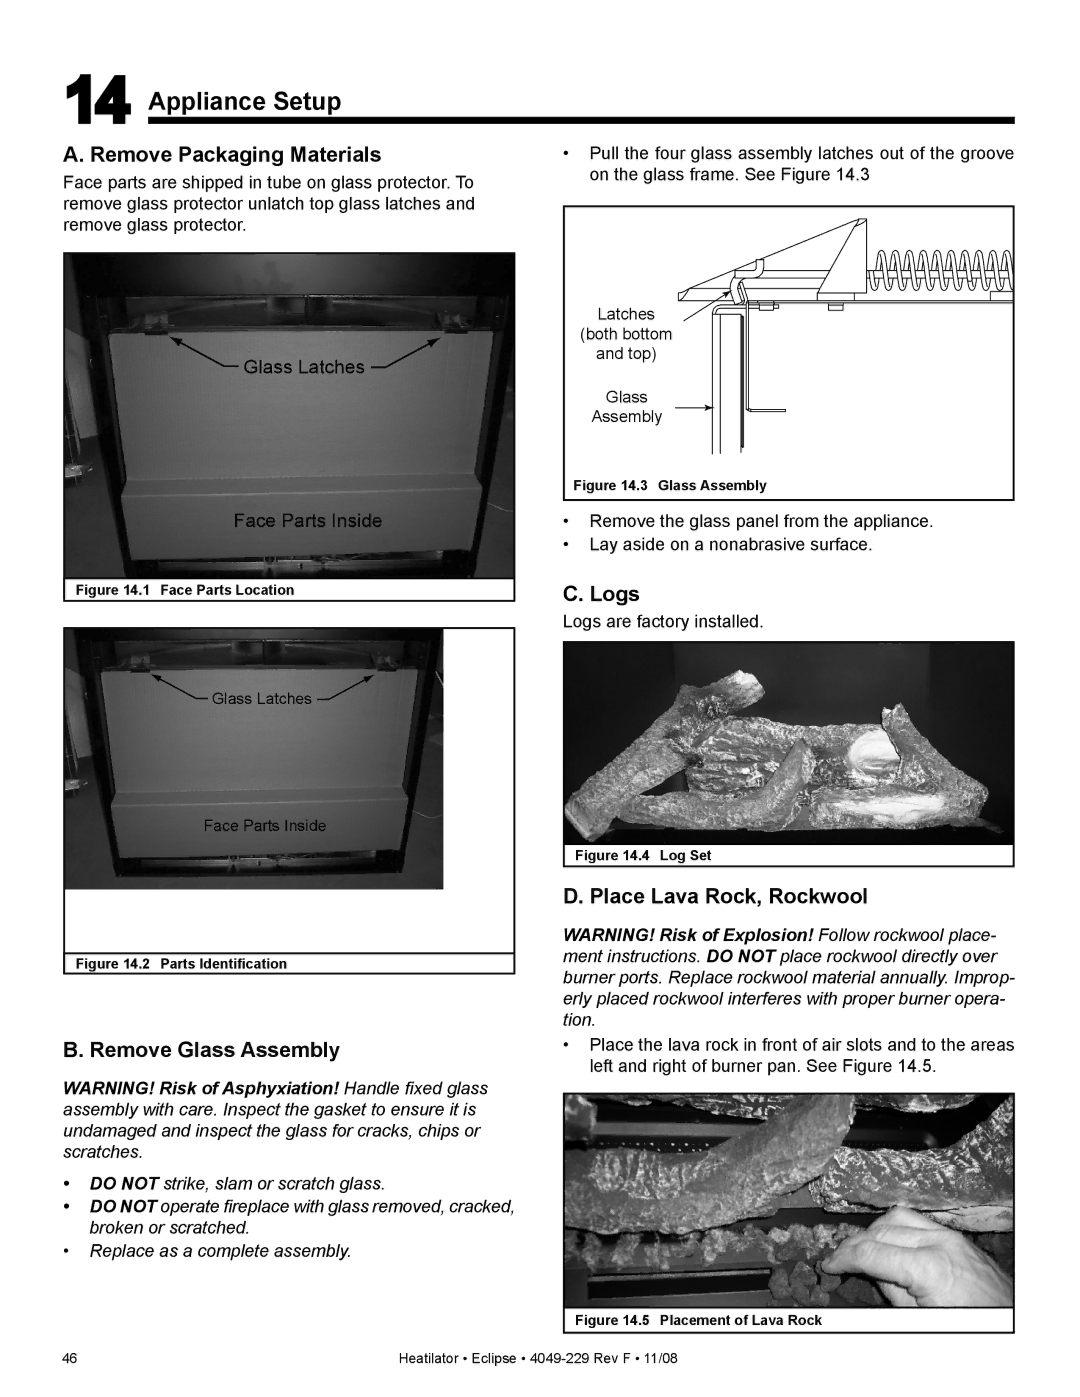
Face parts are shipped in tube on glass protector. To remove glass protector unlatch top glass latches and remove glass protector.
![]() Glass Latches
Glass Latches ![]()
Face Parts Inside
Figure 14.1 Face Parts Location
![]() Glass Latches
Glass Latches ![]()
Face Parts Inside
Figure 14.2 Parts Identification
B. Remove Glass Assembly
WARNING! Risk of Asphyxiation! Handle fixed glass assembly with care. Inspect the gasket to ensure it is undamaged and inspect the glass for cracks, chips or scratches.
•DO NOT strike, slam or scratch glass.
•DO NOT operate fireplace with glass removed, cracked, broken or scratched.
•Replace as a complete assembly.
•Pull the four glass assembly latches out of the groove on the glass frame. See Figure 14.3
Latches
(both bottom
and top)
Glass
Assembly
Figure 14.3 Glass Assembly
•Remove the glass panel from the appliance.
•Lay aside on a nonabrasive surface.
C. Logs
Logs are factory installed.
Figure 14.4 Log Set
D. Place Lava Rock, Rockwool
WARNING! Risk of Explosion! Follow rockwool place- ment instructions. DO NOT place rockwool directly over burner ports. Replace rockwool material annually. Improp- erly placed rockwool interferes with proper burner opera- tion.
•Place the lava rock in front of air slots and to the areas left and right of burner pan. See Figure 14.5.
Figure 14.5 Placement of Lava Rock
46 | Heatilator • Eclipse • |