3 | 4 | 1 |
2 | 5 | 6 |
|
|
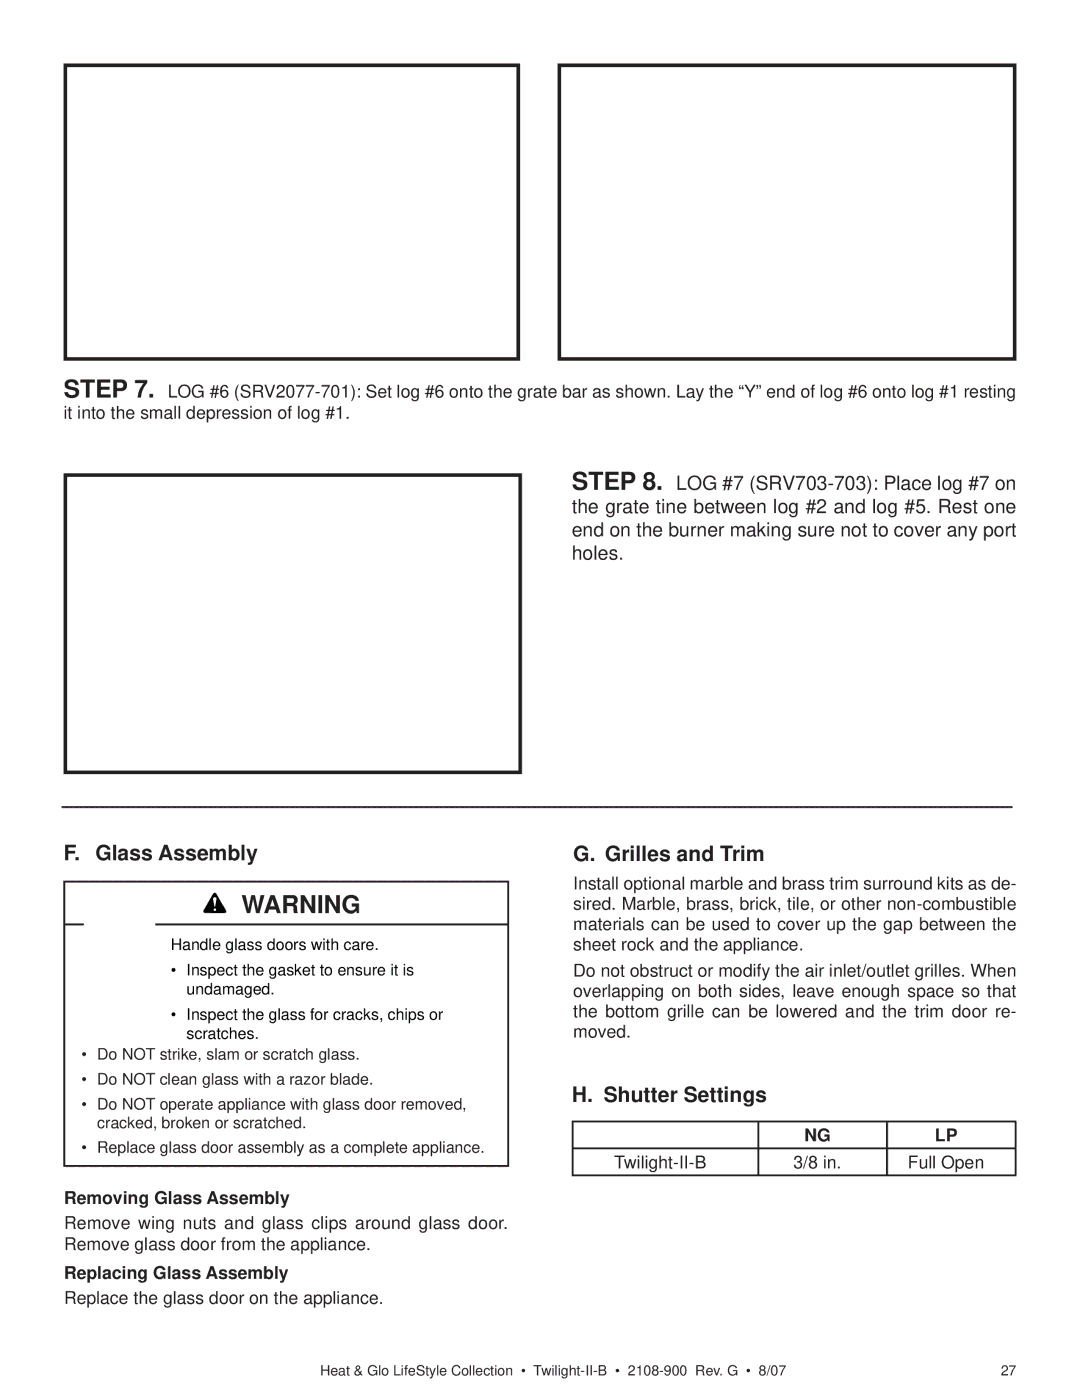
STEP 7. LOG #6
3 | 4 | 1 |
2 | 5 | 6 |
| 7 | |
|
| |
|
|
|
STEP 8. LOG #7
F. Glass Assembly
![]() WARNING
WARNING
Handle glass doors with care.
•Inspect the gasket to ensure it is undamaged.
•Inspect the glass for cracks, chips or scratches.
•Do NOT strike, slam or scratch glass.
•Do NOT clean glass with a razor blade.
•Do NOT operate appliance with glass door removed, cracked, broken or scratched.
•Replace glass door assembly as a complete appliance.
Removing Glass Assembly
Remove wing nuts and glass clips around glass door. Remove glass door from the appliance.
Replacing Glass Assembly
Replace the glass door on the appliance.
G. Grilles and Trim
Install optional marble and brass trim surround kits as de- sired. Marble, brass, brick, tile, or other
Do not obstruct or modify the air inlet/outlet grilles. When overlapping on both sides, leave enough space so that the bottom grille can be lowered and the trim door re- moved.
H. Shutter Settings
| NG | LP |
3/8 in. | Full Open |
Heat & Glo LifeStyle Collection • | 27 |