Intellifire Ignition System - (continued)
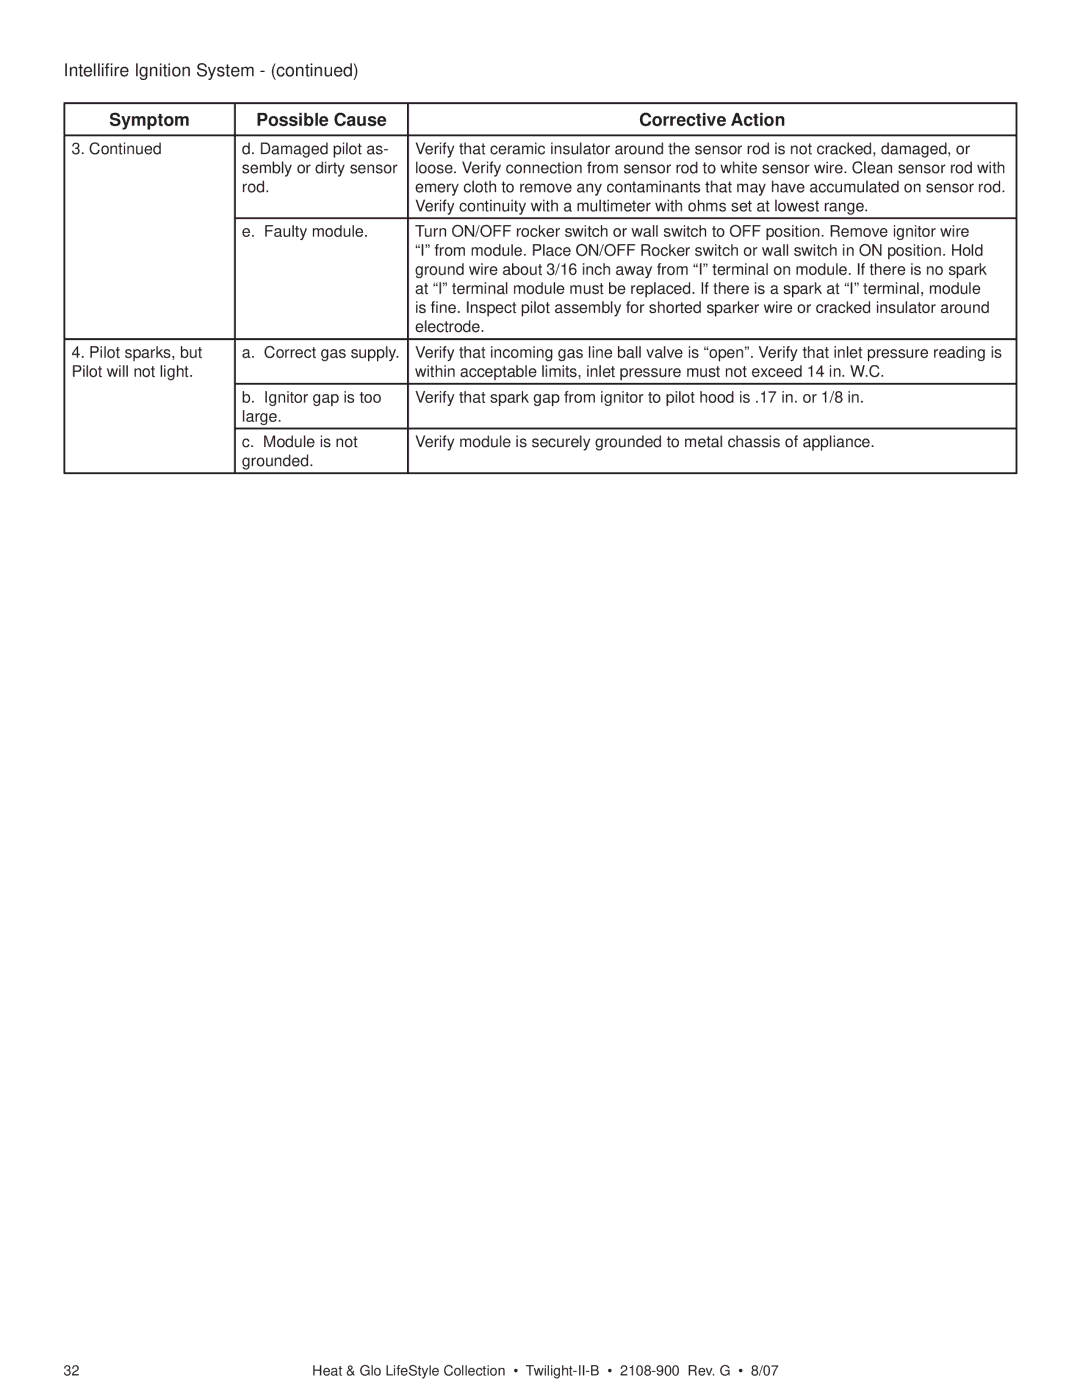
Symptom | Possible Cause | Corrective Action |
|
|
|
3. Continued | d. Damaged pilot as- | Verify that ceramic insulator around the sensor rod is not cracked, damaged, or |
| sembly or dirty sensor | loose. Verify connection from sensor rod to white sensor wire. Clean sensor rod with |
| rod. | emery cloth to remove any contaminants that may have accumulated on sensor rod. |
|
| Verify continuity with a multimeter with ohms set at lowest range. |
| e. Faulty module. | Turn ON/OFF rocker switch or wall switch to OFF position. Remove ignitor wire |
|
| “I” from module. Place ON/OFF Rocker switch or wall switch in ON position. Hold |
|
| ground wire about 3/16 inch away from “I” terminal on module. If there is no spark |
|
| at “I” terminal module must be replaced. If there is a spark at “I” terminal, module |
|
| is fine. Inspect pilot assembly for shorted sparker wire or cracked insulator around |
|
| electrode. |
4. Pilot sparks, but | a. Correct gas supply. | Verify that incoming gas line ball valve is “open”. Verify that inlet pressure reading is |
Pilot will not light. |
| within acceptable limits, inlet pressure must not exceed 14 in. W.C. |
| b. Ignitor gap is too | Verify that spark gap from ignitor to pilot hood is .17 in. or 1/8 in. |
| large. |
|
| c. Module is not | Verify module is securely grounded to metal chassis of appliance. |
| grounded. |
|
32 | Heat & Glo LifeStyle Collection • |
