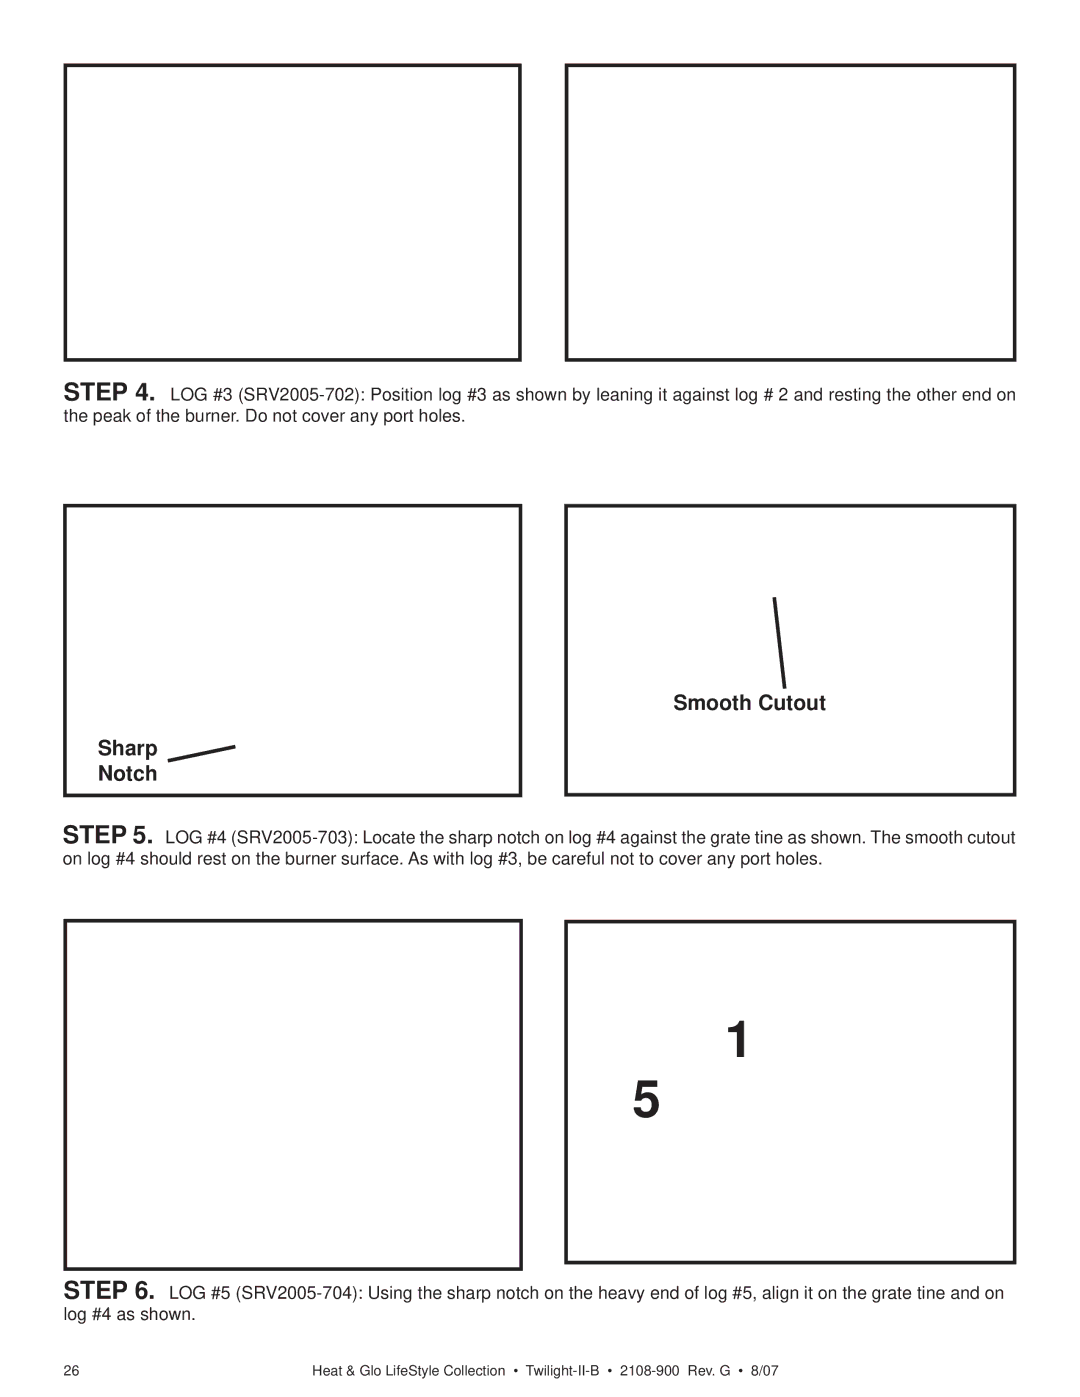
32 1

STEP 4. LOG #3 (SRV2005-702): Position log #3 as shown by leaning it against log # 2 and resting the other end on the peak of the burner. Do not cover any port holes.

Sharp Notch

2

4

1

3


Smooth Cutout

STEP 5. LOG #4 (SRV2005-703): Locate the sharp notch on log #4 against the grate tine as shown. The smooth cutout on log #4 should rest on the burner surface. As with log #3, be careful not to cover any port holes.

Sharp Notch

1

5

STEP 6. LOG #5 (SRV2005-704): Using the sharp notch on the heavy end of log #5, align it on the grate tine and on log #4 as shown.

26

Heat & Glo LifeStyle Collection • Twilight-II-B2108-900 Rev. G • 8/07

Page 26
Image 26
Hearth and Home Technologies II-B owner manual Sharp Notch Smooth Cutout