Step 13. Lighting the Fireplace
You’ve reviewed all safety warnings, you’ve checked the fireplace for gas leaks, you know the vent system is unobstructed, and you’ve checked for faulty components. Now you’re ready to light the fireplace.
WARNING: PLEASE REFER TO THE USER’S
!MANUAL FOR ALL CAUTIONS, SAFETY, AND WARNING INFORMATION PERTAINING TO THE LIGHTING AND OPERATION OF THE FIREPLACE.
After the Installation
!LEAVE THIS INSTALLATION MANUAL WITH THE APPLIANCE FOR FUTURE REFERENCE.
4Maintaining and Servicing Your Fireplace
Fireplace Maintenance
Although the frequency of your fireplace servicing and main- tenance will depend on use and the type of installation, you should have a qualified service technician perform an appli- ance
IMPORTANT: TURN OFF THE GAS BEFORE SERVICING YOUR FIREPLACE.
Replacing old ember material
Frequency: Once annually, during the checkup.
By: Qualified service technician.
Task: Brush away loose ember material near the burner. Replace old ember material with new Mystic Ember pieces. Save the remaining ember material and repeat this procedure at your next servicing. For more information, see Placing Ember Material.
Cleaning Burner and Controls Frequency: Once annually. By: Qualified service technician.
Task: Brush or vacuum the control compartment, fireplace logs and burner areas surrounding the logs.
Cleaning Flame Sensor Rod (IPI Systems)
Frequency: Annually.
By: Qualified service technician.
Task: Make a visual check of the straight flame sensor rod (see Figure 33). Use emery cloth to carefully remove any existing film or white deposits.
Checking Flame Patterns, Flame Height
Frequency: Periodically.
By: Qualified service technician/Home owner.
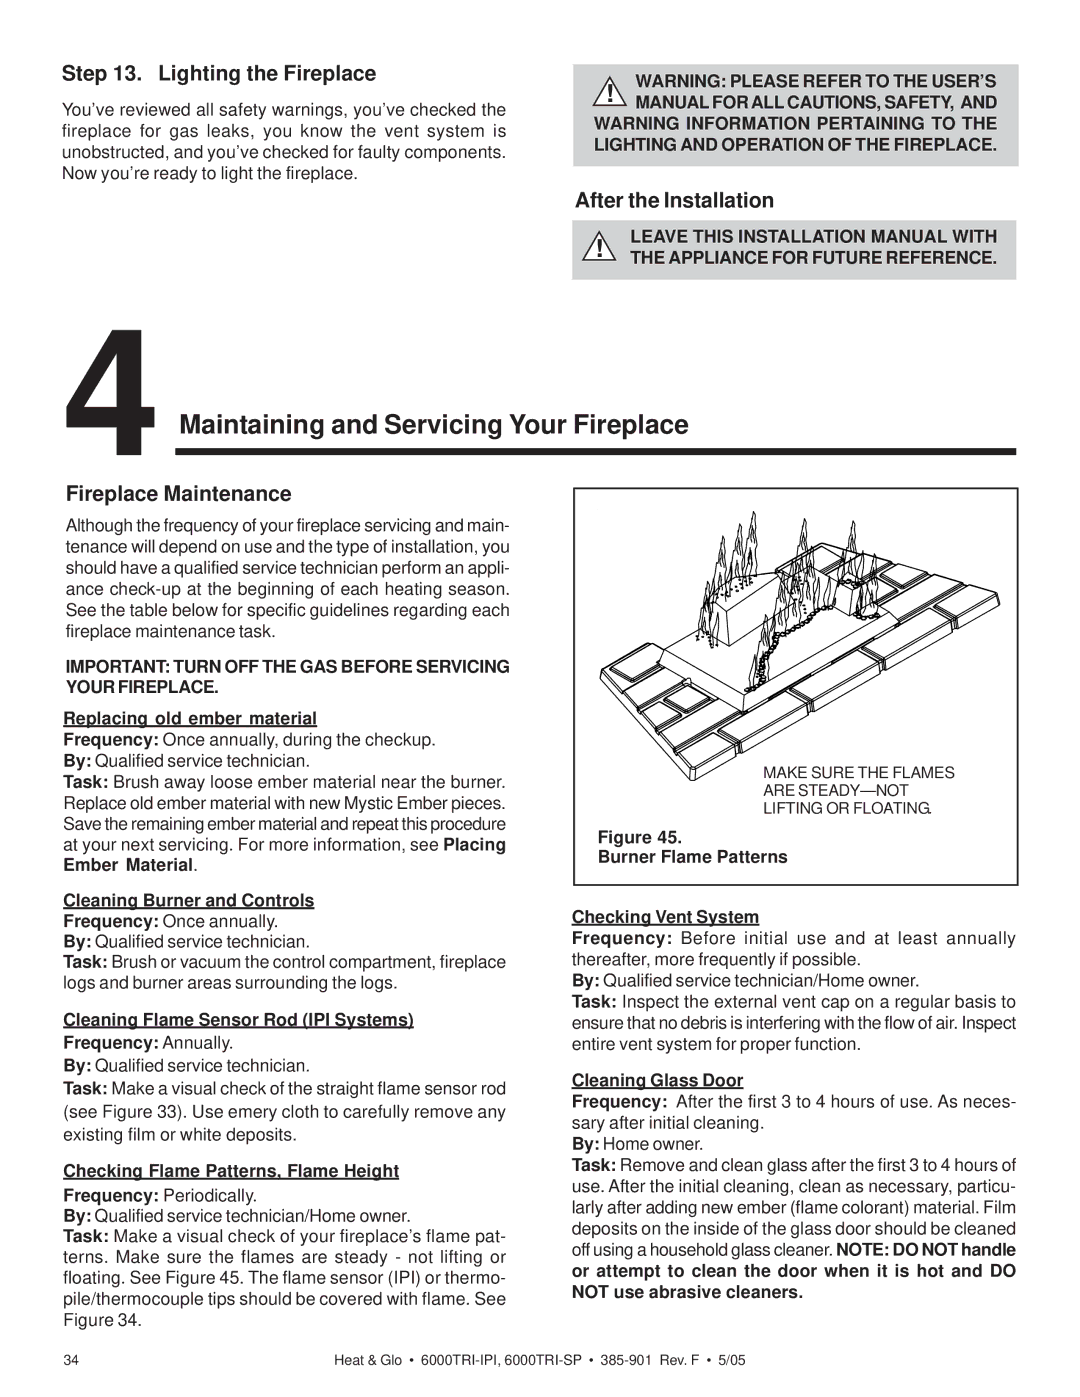
Task: Make a visual check of your fireplace’s flame pat- terns. Make sure the flames are steady - not lifting or floating. See Figure 45. The flame sensor (IPI) or thermo- pile/thermocouple tips should be covered with flame. See Figure 34.
MAKE SURE THE FLAMES
ARE
LIFTING OR FLOATING.
Figure 45.
Burner Flame Patterns
Checking Vent System
Frequency: Before initial use and at least annually thereafter, more frequently if possible.
By: Qualified service technician/Home owner.
Task: Inspect the external vent cap on a regular basis to ensure that no debris is interfering with the flow of air. Inspect entire vent system for proper function.
Cleaning Glass Door
Frequency: After the first 3 to 4 hours of use. As neces- sary after initial cleaning.
By: Home owner.
Task: Remove and clean glass after the first 3 to 4 hours of use. After the initial cleaning, clean as necessary, particu- larly after adding new ember (flame colorant) material. Film deposits on the inside of the glass door should be cleaned off using a household glass cleaner. NOTE: DO NOT handle or attempt to clean the door when it is hot and DO NOT use abrasive cleaners.
34 | Heat & Glo • |
