Model 590/592
OF SAFETY RELIEFcounterclockwise to remove.
VALVE (Continued)
3.Clean the inside of the pipe tee with hot water.
Turn the safety relief valve towards the rear of the fryer when reinstalling safety relief valve.
4.Immerse the safety relief valve in a soapy water solution for 24 hours. Use a 1 to 1 dilution rate. The valve cannot be disassembled. It is factory preset to open at 14 1/2 pounds of pressure. If it does not open or close, it must be replaced.
2-18. PRESSURE GAUGE
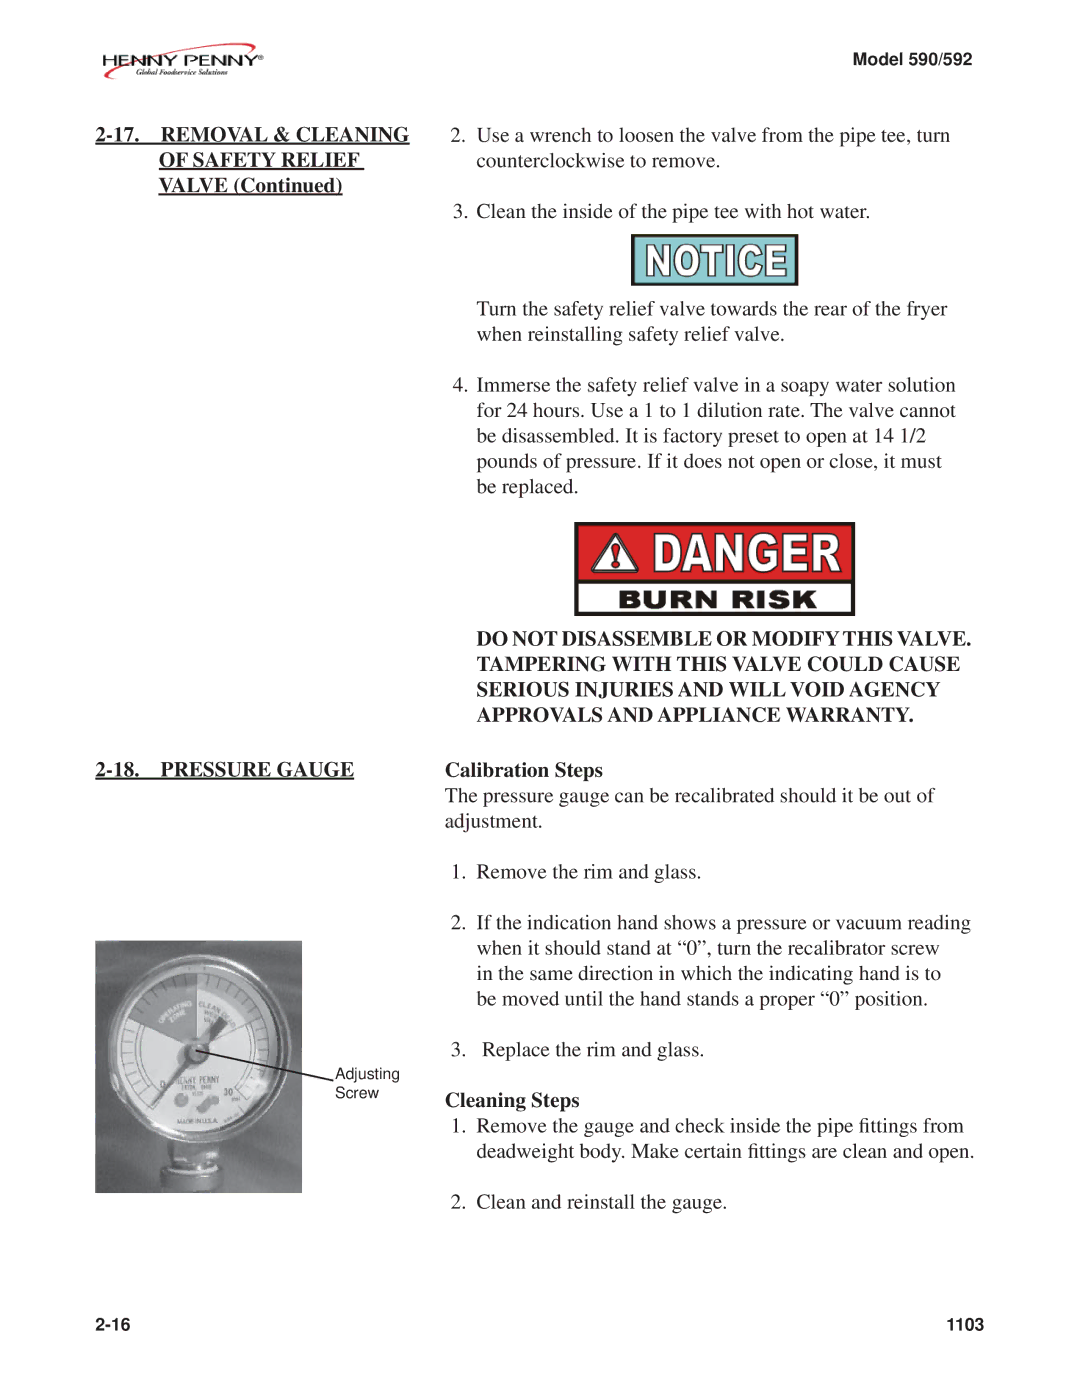
![]() Adjusting
Adjusting
Screw
DO NOT DISASSEMBLE OR MODIFY THIS VALVE. TAMPERING WITH THIS VALVE COULD CAUSE SERIOUS INJURIES AND WILL VOID AGENCY APPROVALS AND APPLIANCE WARRANTY.
Calibration Steps
The pressure gauge can be recalibrated should it be out of adjustment.
1.Remove the rim and glass.
2.If the indication hand shows a pressure or vacuum reading when it should stand at “0”, turn the recalibrator screw in the same direction in which the indicating hand is to be moved until the hand stands a proper “0” position.
3.Replace the rim and glass.
Cleaning Steps
1.Remove the gauge and check inside the pipe fittings from deadweight body. Make certain fittings are clean and open.
2.Clean and reinstall the gauge.
1103 |