Model 590/592
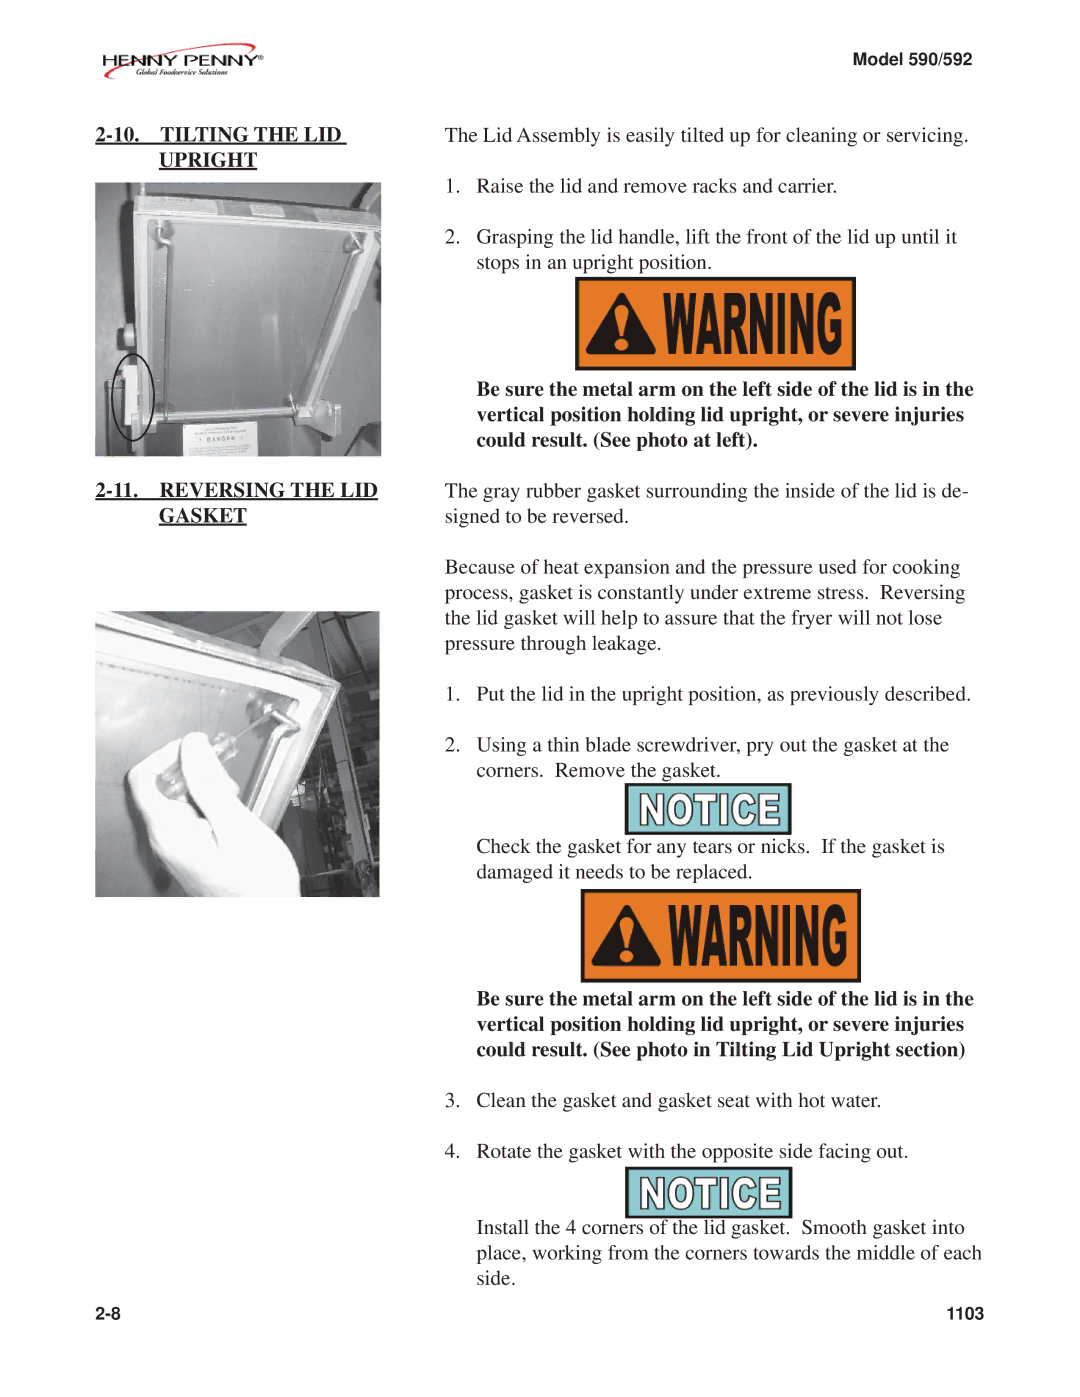
UPRIGHT
1.Raise the lid and remove racks and carrier.
2.Grasping the lid handle, lift the front of the lid up until it stops in an upright position.
| Be sure the metal arm on the left side of the lid is in the |
| vertical position holding lid upright, or severe injuries |
| could result. (See photo at left). |
| The gray rubber gasket surrounding the inside of the lid is de- |
GASKET | signed to be reversed. |
| Because of heat expansion and the pressure used for cooking |
| process, gasket is constantly under extreme stress. Reversing |
| the lid gasket will help to assure that the fryer will not lose |
| pressure through leakage. |
1.Put the lid in the upright position, as previously described.
2.Using a thin blade screwdriver, pry out the gasket at the corners. Remove the gasket.
Check the gasket for any tears or nicks. If the gasket is damaged it needs to be replaced.
Be sure the metal arm on the left side of the lid is in the vertical position holding lid upright, or severe injuries could result. (See photo in Tilting Lid Upright section)
3.Clean the gasket and gasket seat with hot water.
4.Rotate the gasket with the opposite side facing out.
Install the 4 corners of the lid gasket. Smooth gasket into place, working from the corners towards the middle of each side.
1103 |