Capturing Images by Looking into the Viewfinder (LCD Monitor off)
If the subjects are located at very close to the camera (approximately 110 cm or less), the image you see in the viewfinder won,t be exactly the same as the image that is captured. In this case it is recommended that you capture images by viewing the LCD monitor by Setting the Camera to the
1 | Open the lens cover and press the power | |
| switch to turn on the power. | |
| The camera will enter the Still Image Capture mode. | |
2 | Press three times to set the view finder | |
Press | to the Display Off mode. | |
three | ||
| ||
times. | Switching the LCD Monitor Display Mode P15 |
■ Using the Flash
Select a desired flash setting according to the condition and purpose of image capture. The flash sequence consists of two flashes: the preliminary flash and the main flash. The amount of light required by the main flash is calculated based on the exposure information of the subjects as obtained with the preliminary flash. This ensures that the image is captured under appropriate lighting.
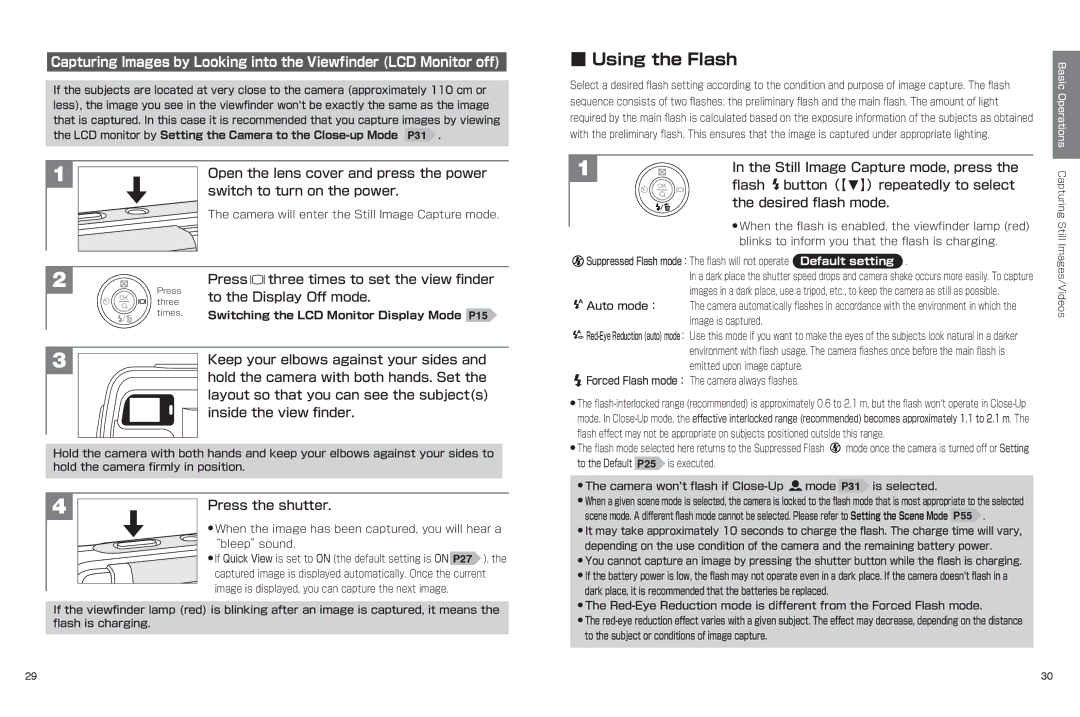
1 | In the Still Image Capture mode, press the |
| flash button(【N】)repeatedly to select |
the desired flash mode.
●When the flash is enabled, the viewfinder lamp (red) blinks to inform you that the flash is charging.
![]() Suppressed Flash mode:The flash will not operate Default setting .
Suppressed Flash mode:The flash will not operate Default setting .
In a dark place the shutter speed drops and camera shake occurs more easily. To capture images in a dark place, use a tripod, etc., to keep the camera as still as possible.
![]() Auto mode: The camera automatically flashes in accordance with the environment in which the image is captured.
Auto mode: The camera automatically flashes in accordance with the environment in which the image is captured.
Basic Operations Capturing Still Images/Videos
3 |
Keep your elbows against your sides and hold the camera with both hands. Set the layout so that you can see the subject(s) inside the view finder.
![]()
 Forced Flash mode: The camera always flashes.
● The | |
mode. In | |
flash effect may not be appropriate on subjects positioned outside this range. | |
● The flash mode selected here returns to the Suppressed Flash | mode once the camera is turned off or Setting |
Hold the camera with both hands and keep your elbows against your sides to hold the camera firmly in position.
4 | Press the shutter. |
●When the image has been captured, you will hear a
“bleep”sound.
● If Quick View is set to ON (the default setting is ON P27 ), the captured image is displayed automatically. Once the current image is displayed, you can capture the next image.
If the viewfinder lamp (red) is blinking after an image is captured, it means the flash is charging.
to the Default P25 is executed.
● The camera won,t flash if ![]() mode P31 is selected.
mode P31 is selected.
●When a given scene mode is selected, the camera is locked to the flash mode that is most appropriate to the selected
scene mode. A different flash mode cannot be selected. Please refer to Setting the Scene Mode P55 .
●It may take approximately 10 seconds to charge the flash. The charge time will vary, depending on the use condition of the camera and the remaining battery power.
●You cannot capture an image by pressing the shutter button while the flash is charging.
●If the battery power is low, the flash may not operate even in a dark place. If the camera doesn,t flash in a dark place, it is recommended that the batteries be replaced.
●The
●The
29 | 30 |