accessory.
4 Connect the AC adaptor DC plug to the DC IN jack of the camcorder.
Charging will start within five seconds. During charging, the CHARGE indicator of the camcorder will flash or light to give you a reference of the charged level.
Note: If the CHARGE Indicator flashes once every two seconds, the battery could be defective.
Note: The CHARGE indicator will not light at all when the AC adaptor is defective.
Note: You can use the battery before it Is completely charged.
Note: When charging is complete, the CHARGE indicator on the camcorder will light. IF the fully charged battery is removed and then reattached, the camcorder will again enter the charge mode, and the CHARGE indicator will flash. It wilt take a few minutes for the camcorder to enter the charge complete status.
Note: Charging at low temperatures will decrease charge capacity.
5 After charging is complete, disconnect the AC adaptor DC plug from the camcorder.
6 Disconnect the AC plug from the AC outlet.
7 Detach the battery from the camcorder.
Note: Always remove the battery from the camcorder after use.
Note: Charging is not done when the CAM/OFFLINE switch of the camcorder is set to CAM or VIDEO, However, if recording pause continues for more than 5 minutes in the CAM mode, the camcorder will automatically turn off, after which charging will start.
Note: If the DC plug is disconnected when the battery is attached and the CAM!OFFNIDEO switch Is set to CAM or VIDEO, the camcorder wilt turn off once, but then automatically turn on again, Note that the battery wilt discharge If the camcorder is left as is.
Removing the Battery Pack
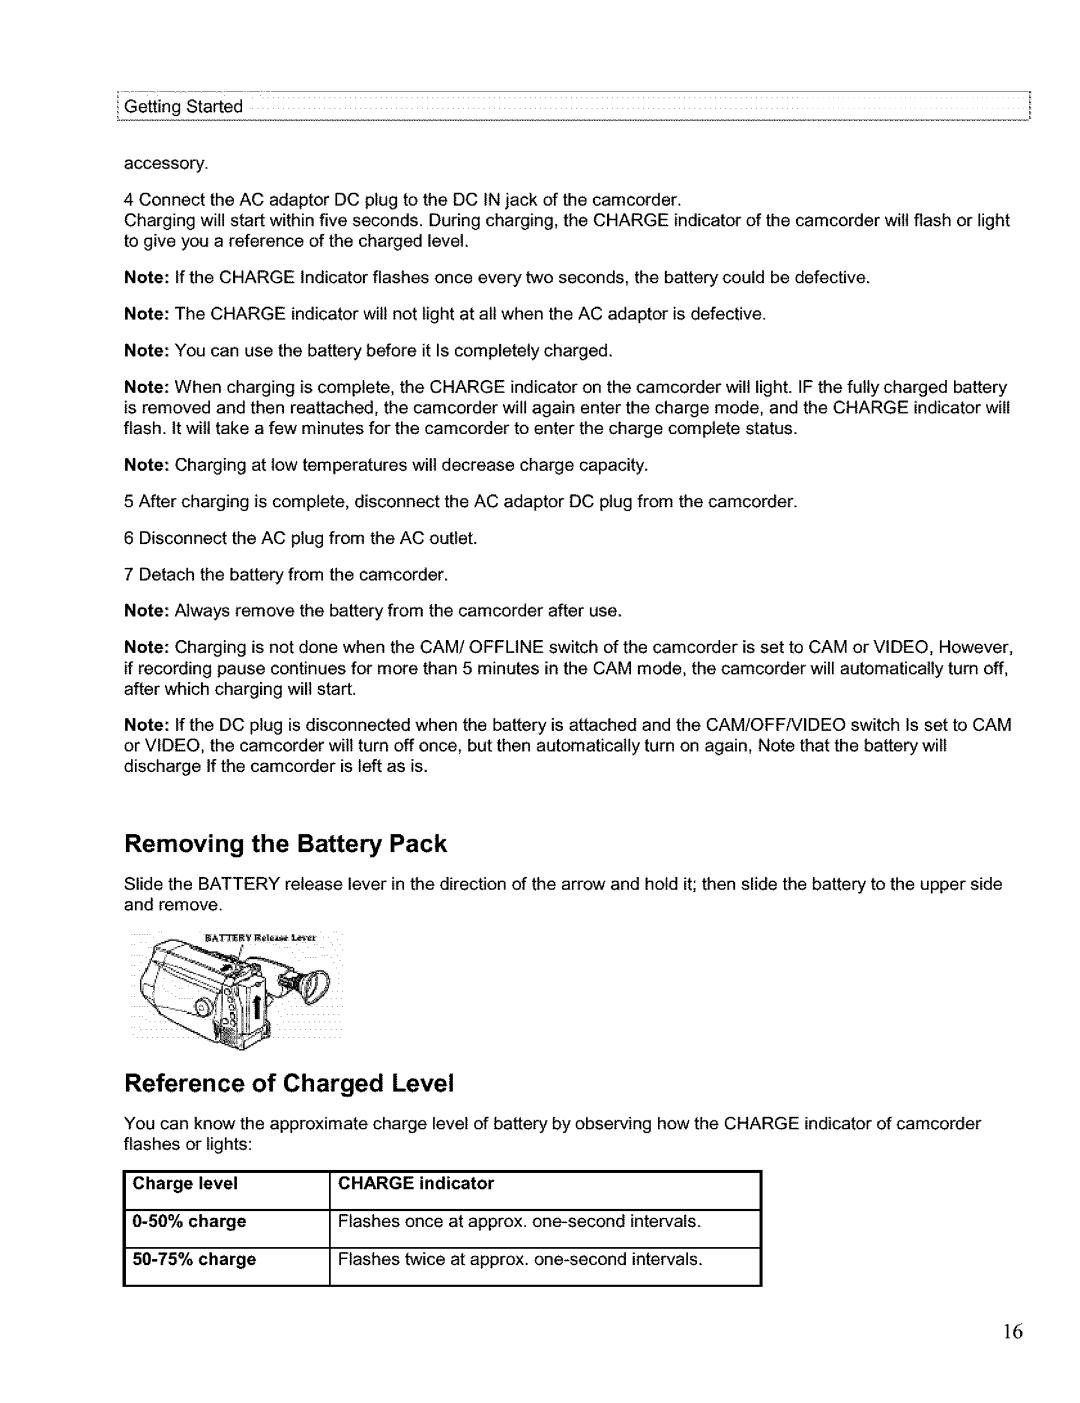
Slide the BATTERY release lever in the direction of the arrow and hold it; then slide the battery to the upper side and remove.
Reference of Charged Level
You can know the approximate charge level of battery by observing how the CHARGE indicator of camcorder flashes or lights:
Charge | level | CHARGE indicator |
Flashes once at approx, | ||
charge | Flashes twice at approx, | |
]6
