
RSX-972 specifications
The Rotel RSX-972 is a high-performance home theater receiver that combines sophisticated audio processing with versatile connectivity options, making it an ideal choice for audiophiles and home theater enthusiasts alike. Known for its robust build quality and impeccable sound reproduction, the RSX-972 exemplifies Rotel's commitment to delivering premium audio experiences.One of the hallmark features of the RSX-972 is its exceptional power amplification. The unit is outfitted with a high-output, multi-channel amplifier that provides 100 watts per channel across all five channels. This ensures that your audio sources, whether they be movies, music, or games, are delivered with clarity and impact, allowing users to enjoy an immersive soundstage. Additionally, the receiver employs Rotel's proprietary Distributed Mode Radiators (DMR) technology that enhances bass response and overall frequency performance, further enriching the audio experience.
In terms of connectivity, the RSX-972 is equipped with a plethora of input and output options to accommodate various audio and video components. It features multiple digital audio inputs, including coaxial and optical connections, as well as traditional analog inputs. The inclusion of a built-in AM/FM tuner also allows users to access radio broadcasts with ease.
The RSX-972 supports multiple surround sound formats, including Dolby Digital, DTS, and other advanced audio technologies. This allows the receiver to decode high-definition soundtracks seamlessly, ensuring a cinema-like experience at home. Moreover, the integrated video upscaling capability enhances standard-definition video sources, providing improved clarity and resolution for a more engaging visual experience.
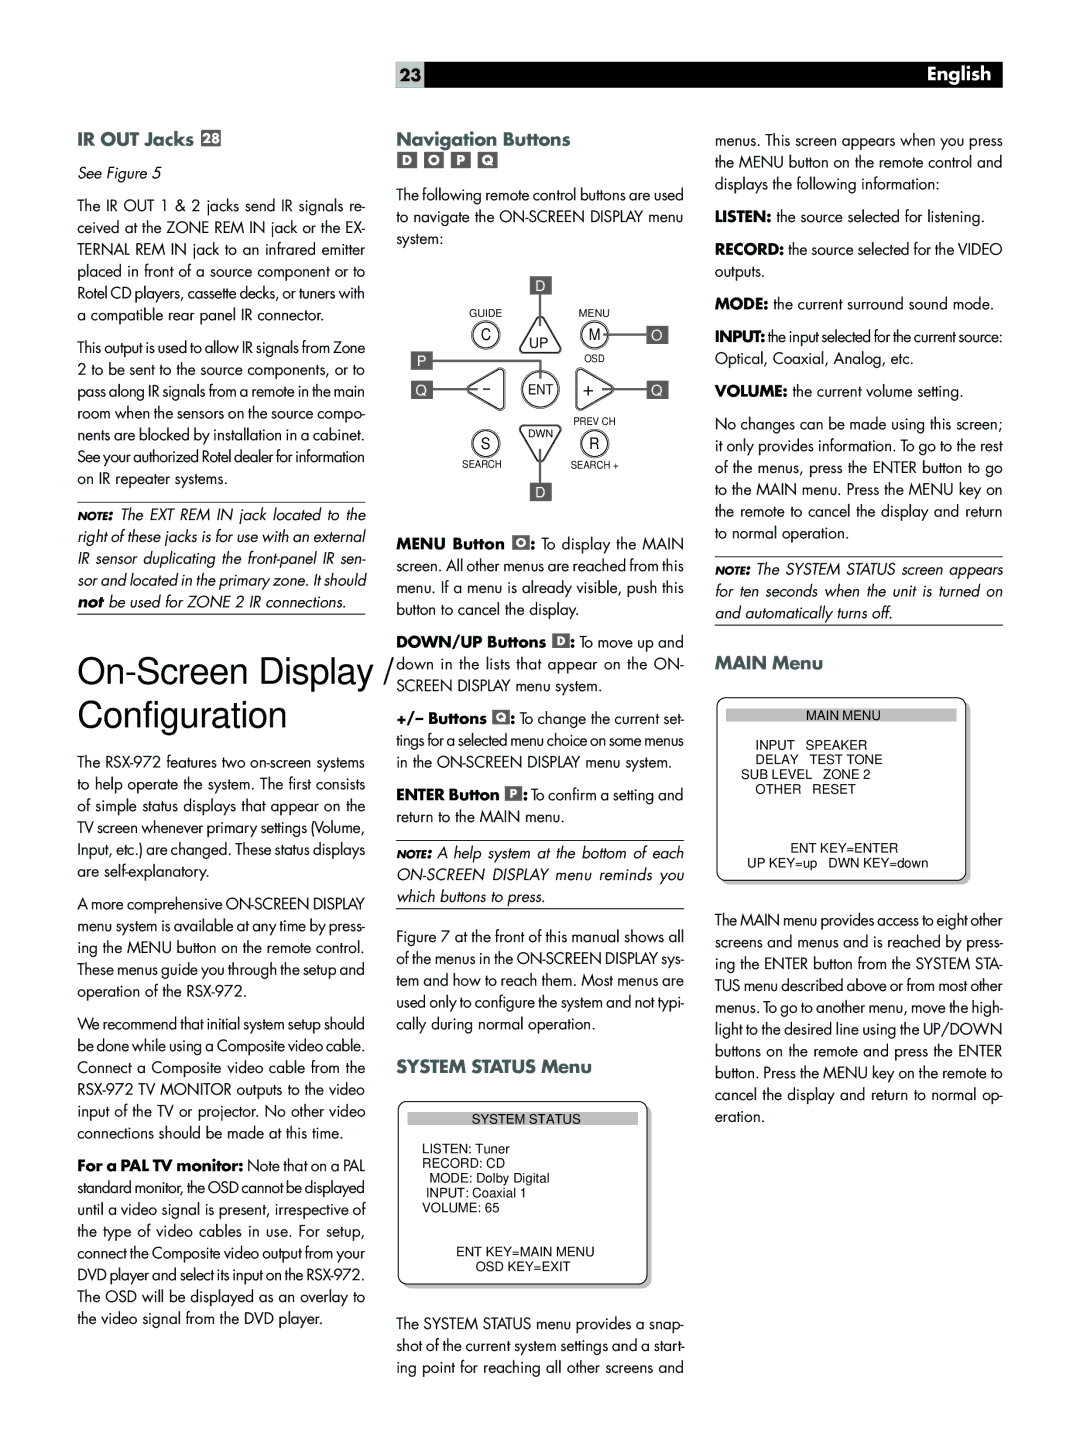
Another standout aspect of the RSX-972 is its user-friendly interface. The receiver comes with an intuitive remote control and an on-screen display that simplifies navigation and setup. Users can easily switch between sources, adjust audio settings, and configure speaker settings without hassle.
The build quality of the Rotel RSX-972 is exceptional, featuring a sleek aluminum front panel and high-grade components designed to minimize distortion and improve overall sound fidelity. Whether you're watching action-packed films or listening to your favorite music, the RSX-972 stands out as a solid performer, delivering a versatile and high-fidelity audio experience that is hard to surpass in its class. With these features, it remains a strong choice for anyone looking to enhance their home entertainment system.