FRYING PROCEDURE FOR ALL FOODS
Pressure is created by the containment of moisture escaping from the product being fried. Dry products that produce little or no moisture will not create sufficient pressure to fry that product. Pressure will not build without product in the kettle.
1.For the first cooking cycle of the day, make certain oil is at set temperature (white cooking light is not glowing). After the first cooking cycle of the day, product may be loaded whether the white cooking light is glowing or not.
2.Place fryer basket in hot oil. Be sure basket is submerged in the oil.
3.Using tongs or other
4.After loading 10 to 12 pieces of chicken, use the insulated mitts and lift the basket high enough to clear the bottom of the kettle. Swirl the basket a couple of times in the oil. This will keep pieces from sticking together.
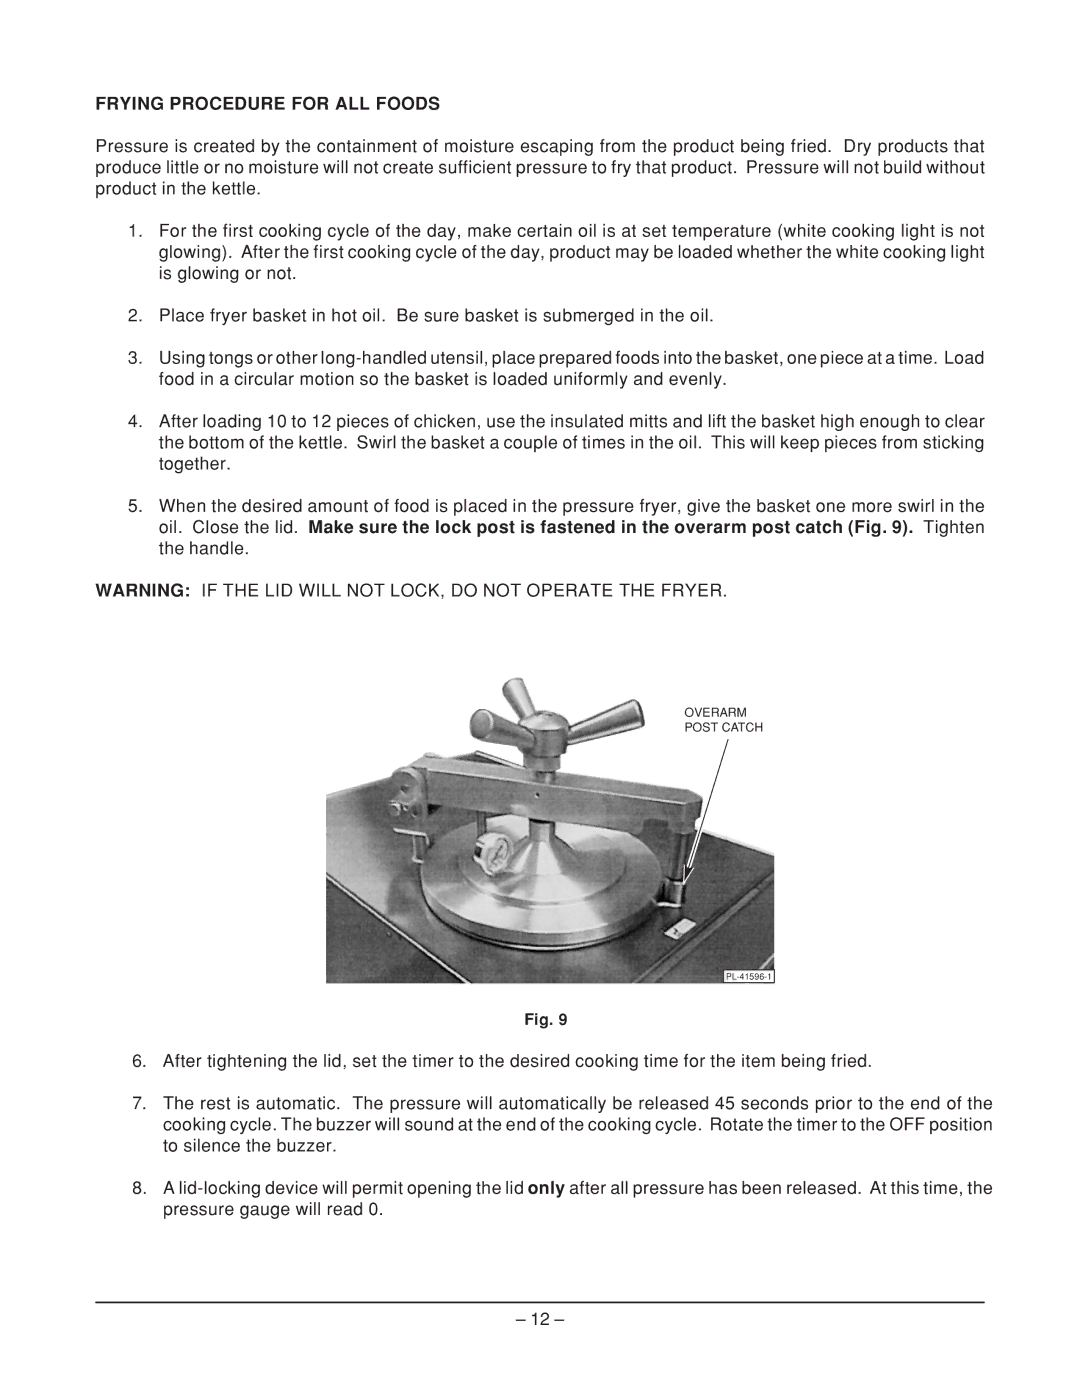
5.When the desired amount of food is placed in the pressure fryer, give the basket one more swirl in the oil. Close the lid. Make sure the lock post is fastened in the overarm post catch (Fig. 9). Tighten the handle.
WARNING: IF THE LID WILL NOT LOCK, DO NOT OPERATE THE FRYER.
OVERARM
POST CATCH
Fig. 9
6.After tightening the lid, set the timer to the desired cooking time for the item being fried.
7.The rest is automatic. The pressure will automatically be released 45 seconds prior to the end of the cooking cycle. The buzzer will sound at the end of the cooking cycle. Rotate the timer to the OFF position to silence the buzzer.
8.A
– 12 –
