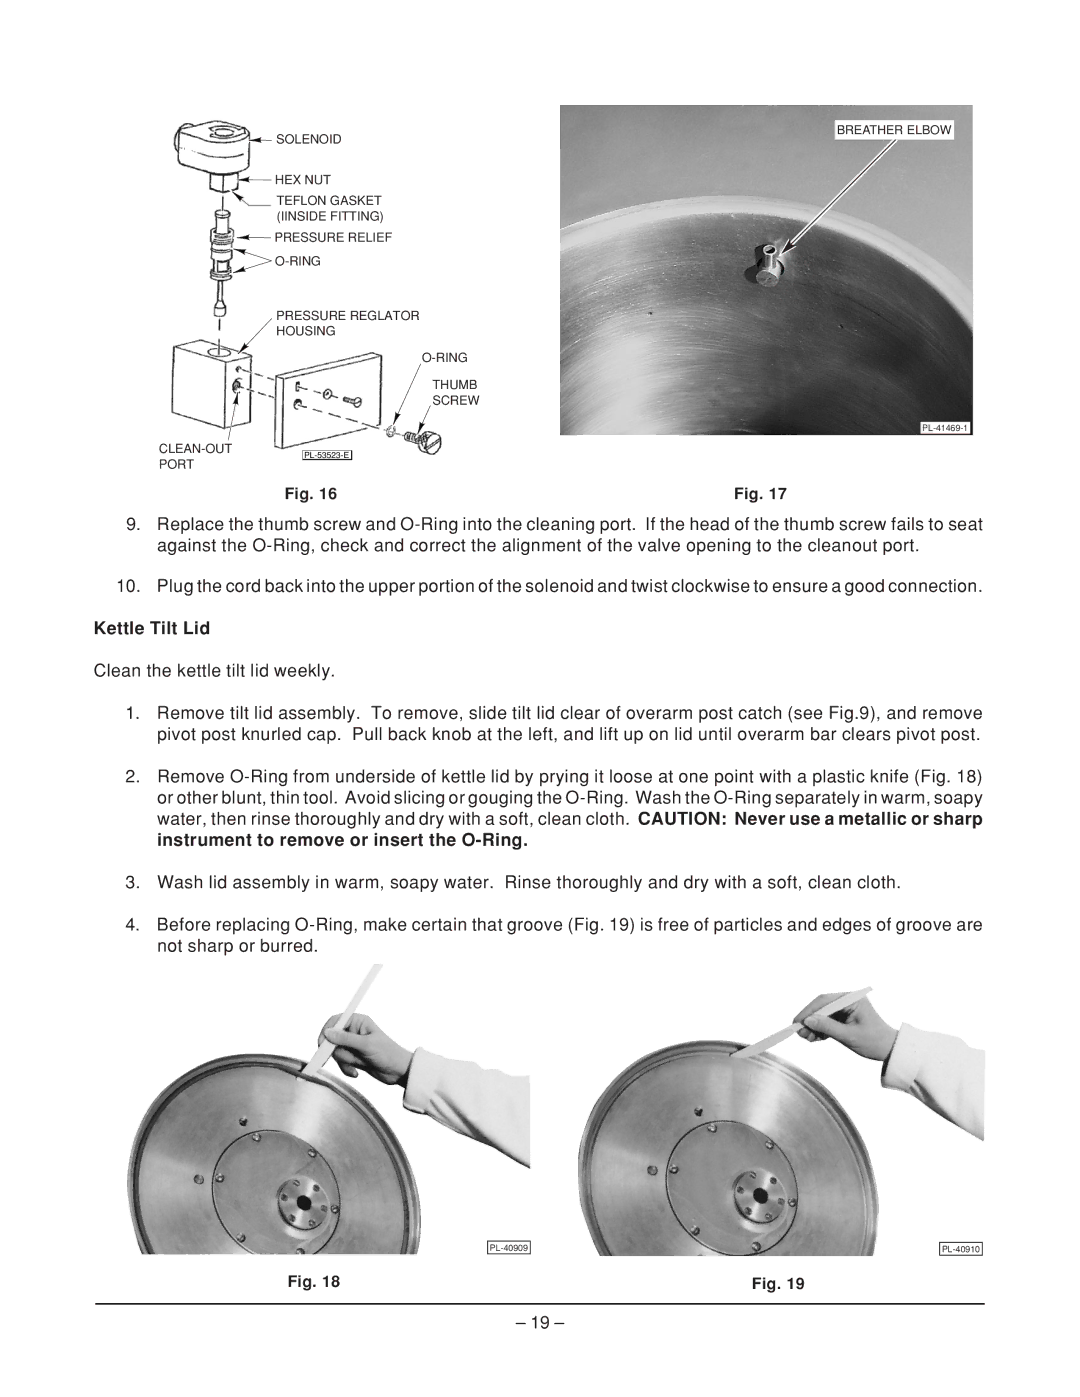
Hobart HPGF15 manual Kettle Tilt Lid

Models: HPGF15

1 24
Download 24 pages 51.95 Kb
Page 19
Image 19
Kettle Tilt Lid

BREATHER ELBOW

Manual background SOLENOID

Manual background HEX NUT

Manual background TEFLON GASKET

(IINSIDE FITTING)

Manual background PRESSURE RELIEF

Manual background O-RING

PRESSURE REGLATOR

HOUSING

O-RING

THUMB

SCREW

CLEAN-OUT PORT

PL-41469-1

PL-53523-E

Fig. 16

Fig. 17

9.Replace the thumb screw and O-Ring into the cleaning port. If the head of the thumb screw fails to seat against the O-Ring, check and correct the alignment of the valve opening to the cleanout port.

10.Plug the cord back into the upper portion of the solenoid and twist clockwise to ensure a good connection.

Kettle Tilt Lid

Clean the kettle tilt lid weekly.

1.Remove tilt lid assembly. To remove, slide tilt lid clear of overarm post catch (see Fig.9), and remove pivot post knurled cap. Pull back knob at the left, and lift up on lid until overarm bar clears pivot post.

2.Remove O-Ring from underside of kettle lid by prying it loose at one point with a plastic knife (Fig. 18) or other blunt, thin tool. Avoid slicing or gouging the O-Ring. Wash the O-Ring separately in warm, soapy water, then rinse thoroughly and dry with a soft, clean cloth. CAUTION: Never use a metallic or sharp instrument to remove or insert the O-Ring.

3.Wash lid assembly in warm, soapy water. Rinse thoroughly and dry with a soft, clean cloth.

4.Before replacing O-Ring, make certain that groove (Fig. 19) is free of particles and edges of groove are not sharp or burred.

PL-40909

Fig. 18

PL-40910

Fig. 19

– 19 –

Page 19
Image 19
Hobart HPGF15 manual Kettle Tilt Lid