Hobart HPGF15 manual Cleaning After Every Production Period, Exhaust Tank, Solenoid Assembly Fig

Models: HPGF15

1 24
Download 24 pages 51.95 Kb
Page 18
Image 18
Cleaning After Every Production Period

Cleaning After Every Production Period

Exhaust Tank

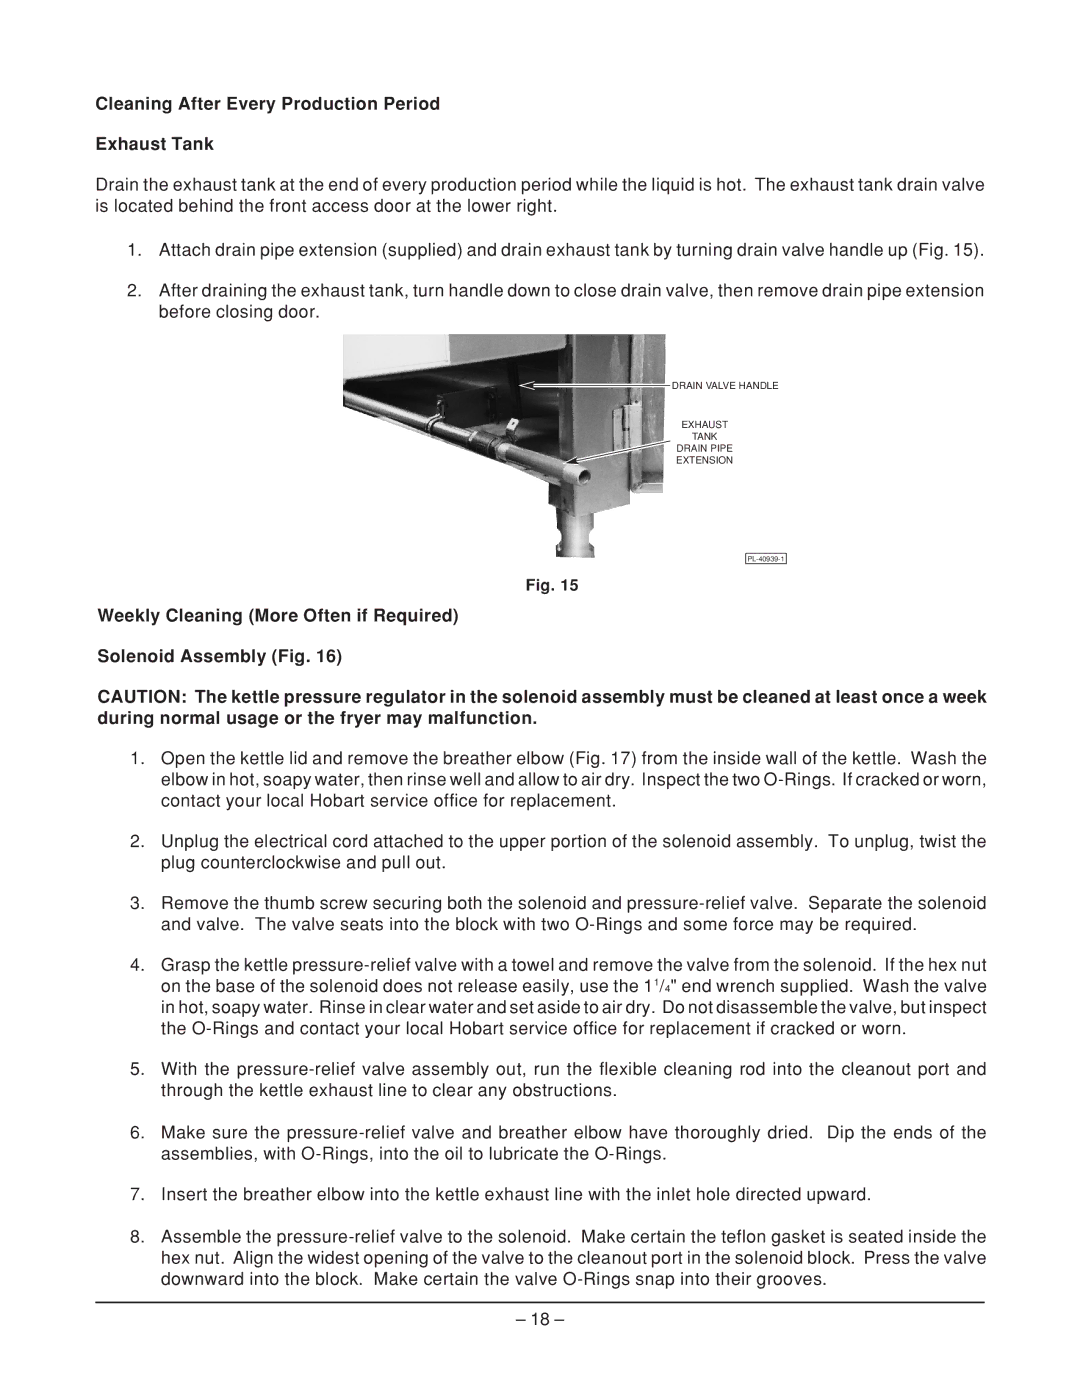
Drain the exhaust tank at the end of every production period while the liquid is hot. The exhaust tank drain valve is located behind the front access door at the lower right.

1.Attach drain pipe extension (supplied) and drain exhaust tank by turning drain valve handle up (Fig. 15).

2.After draining the exhaust tank, turn handle down to close drain valve, then remove drain pipe extension before closing door.

DRAIN VALVE HANDLE

EXHAUST

TANK

DRAIN PIPE

EXTENSION

PL-40939-1

Fig. 15

Weekly Cleaning (More Often if Required)

Solenoid Assembly (Fig. 16)

CAUTION: The kettle pressure regulator in the solenoid assembly must be cleaned at least once a week during normal usage or the fryer may malfunction.

1.Open the kettle lid and remove the breather elbow (Fig. 17) from the inside wall of the kettle. Wash the elbow in hot, soapy water, then rinse well and allow to air dry. Inspect the two O-Rings. If cracked or worn, contact your local Hobart service office for replacement.

2.Unplug the electrical cord attached to the upper portion of the solenoid assembly. To unplug, twist the plug counterclockwise and pull out.

3.Remove the thumb screw securing both the solenoid and pressure-relief valve. Separate the solenoid and valve. The valve seats into the block with two O-Rings and some force may be required.

4.Grasp the kettle pressure-relief valve with a towel and remove the valve from the solenoid. If the hex nut on the base of the solenoid does not release easily, use the 11/4" end wrench supplied. Wash the valve in hot, soapy water. Rinse in clear water and set aside to air dry. Do not disassemble the valve, but inspect the O-Rings and contact your local Hobart service office for replacement if cracked or worn.

5.With the pressure-relief valve assembly out, run the flexible cleaning rod into the cleanout port and through the kettle exhaust line to clear any obstructions.

6.Make sure the pressure-relief valve and breather elbow have thoroughly dried. Dip the ends of the assemblies, with O-Rings, into the oil to lubricate the O-Rings.

7.Insert the breather elbow into the kettle exhaust line with the inlet hole directed upward.

8.Assemble the pressure-relief valve to the solenoid. Make certain the teflon gasket is seated inside the hex nut. Align the widest opening of the valve to the cleanout port in the solenoid block. Press the valve downward into the block. Make certain the valve O-Rings snap into their grooves.

18 –

Page 18
Image 18
Hobart HPGF15 manual Cleaning After Every Production Period, Exhaust Tank, Weekly Cleaning More Often if Required