Installing Casters
Place the fryer on its side, being careful to avoid scratching the surface. Use only the casters supplied with your pressure fryer.
Thread the four casters to the flanges on the bottom corners of the fryer. Use the
TIGHTEN AT FLATS
Fig. 1
For pressure fryers equipped with casters, the installation shall be made with a connector that complies with the Standard for Connectors for Movable Gas Appliances, ANSI Z21.69 (latest edition) and CGA 6.16 (latest edition), and a
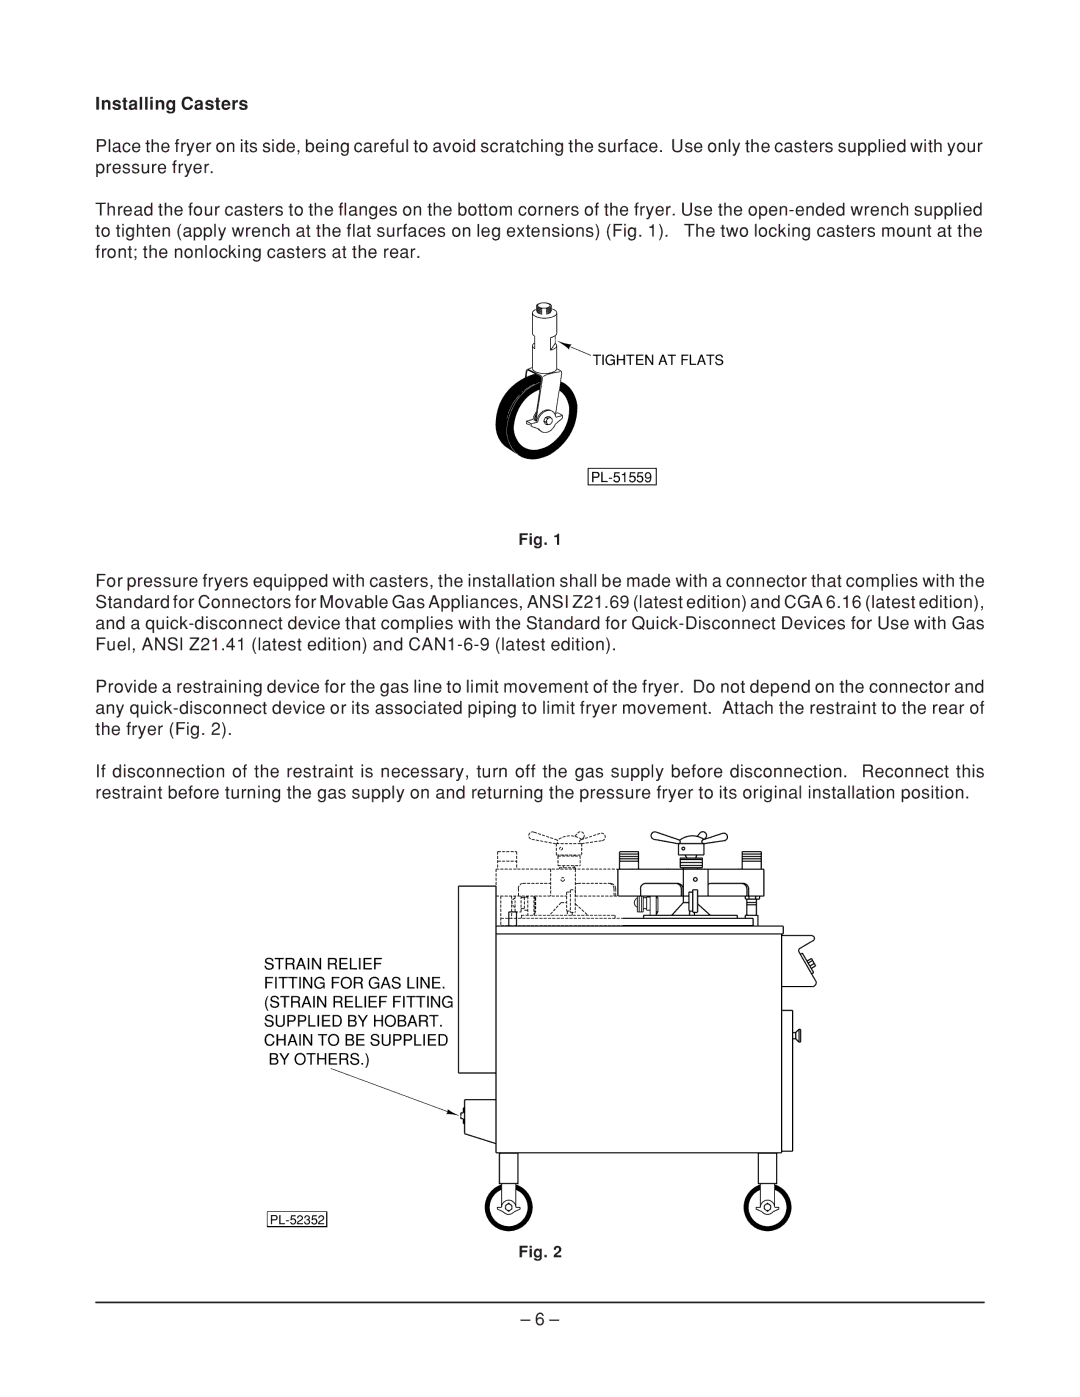
Provide a restraining device for the gas line to limit movement of the fryer. Do not depend on the connector and any
If disconnection of the restraint is necessary, turn off the gas supply before disconnection. Reconnect this restraint before turning the gas supply on and returning the pressure fryer to its original installation position.
STRAIN RELIEF FITTING FOR GAS LINE. (STRAIN RELIEF FITTING SUPPLIED BY HOBART. CHAIN TO BE SUPPLIED BY OTHERS.)
Fig. 2
– 6 –