Hobart HPGF15 manual Pressure-ReliefValve, Monthly Cleaning Exhaust Tank

Models: HPGF15

1 24
Download 24 pages 51.95 Kb
Page 20
Image 20
Pressure-Relief Valve

5.The flexible diaphragm of the
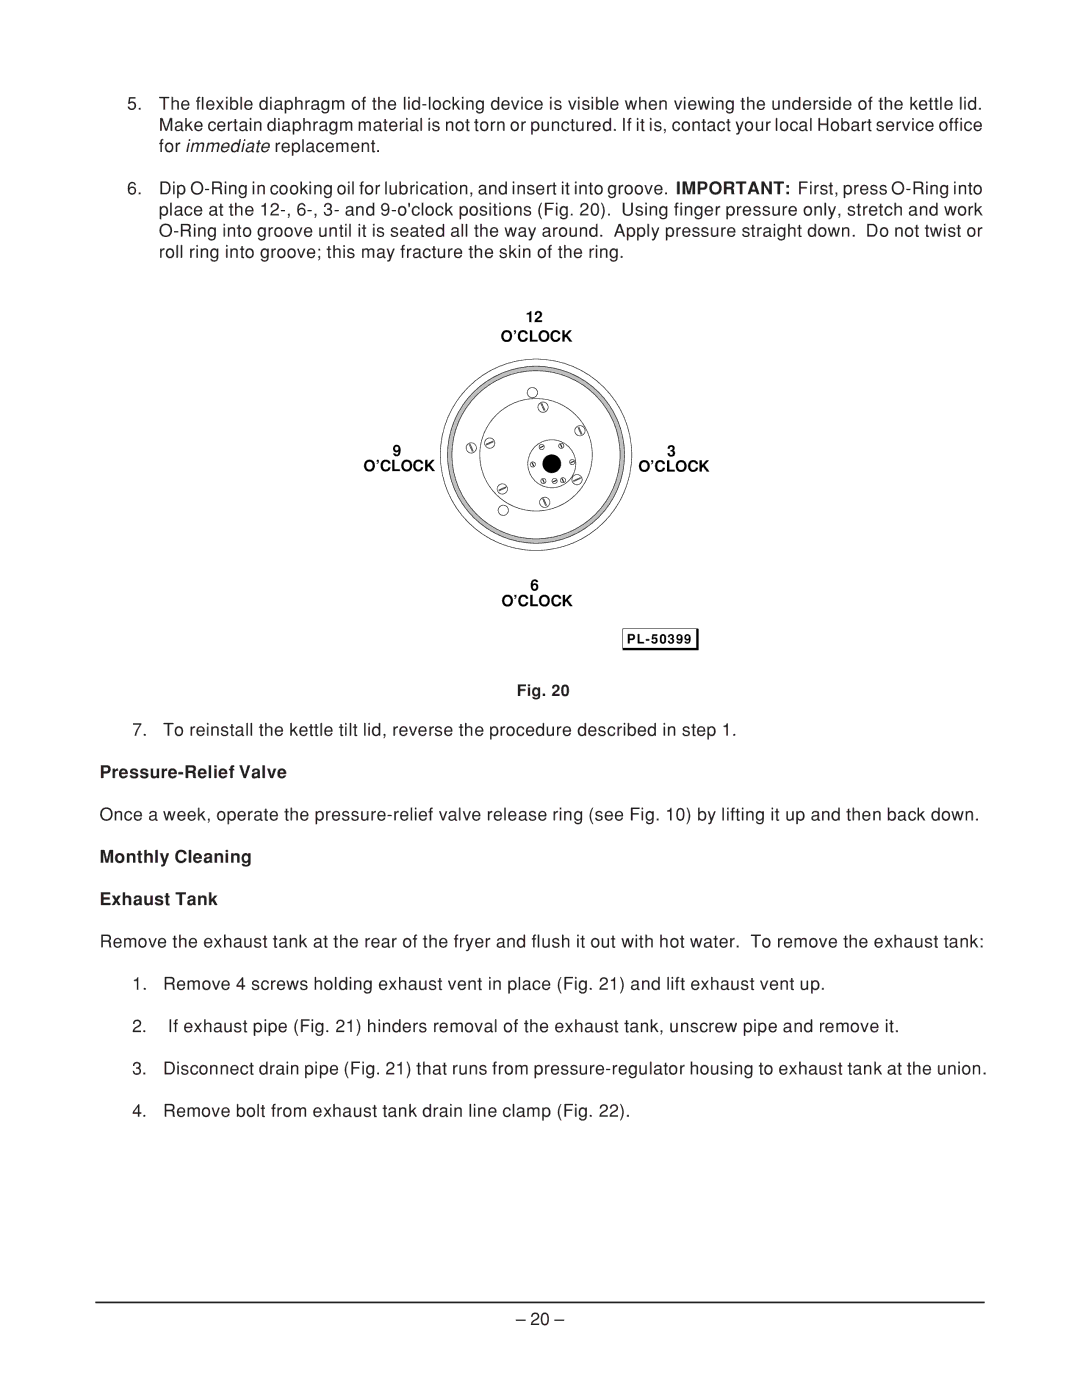
 lid-locking device is visible when viewing the underside of the kettle lid. Make certain diaphragm material is not torn or punctured. If it is, contact your local Hobart service office for immediate replacement.

6.Dip O-Ring in cooking oil for lubrication, and insert it into groove. IMPORTANT: First, press O-Ring into place at the 12-, 6-, 3- and 9-o'clock positions (Fig. 20). Using finger pressure only, stretch and work O-Ring into groove until it is seated all the way around. Apply pressure straight down. Do not twist or roll ring into groove; this may fracture the skin of the ring.

12 O’CLOCK

9

3

O’CLOCK

O’CLOCK

6 O’CLOCK

PL-50399 Monthly Cleaning

Fig. 20

7. To reinstall the kettle tilt lid, reverse the procedure described in step 1.

Pressure-Relief Valve

Once a week, operate the pressure-relief valve release ring (see Fig. 10) by lifting it up and then back down.

Monthly Cleaning

Exhaust Tank

Remove the exhaust tank at the rear of the fryer and flush it out with hot water. To remove the exhaust tank:

1.Remove 4 screws holding exhaust vent in place (Fig. 21) and lift exhaust vent up.

2.If exhaust pipe (Fig. 21) hinders removal of the exhaust tank, unscrew pipe and remove it.

3.Disconnect drain pipe (Fig. 21) that runs from pressure-regulator housing to exhaust tank at the union.

4.Remove bolt from exhaust tank drain line clamp (Fig. 22).

– 20 –

Page 20
Image 20
Hobart HPGF15 manual Pressure-ReliefValve, Monthly Cleaning Exhaust Tank