4 | scan photos |
scan photos (Windows)
You can scan images directly into the HP Photo & Imaging Gallery.
Note: Install the HP Photo & Imaging software before connecting the scanner to the computer.
If you are not connected to a computer, attach the scanner to the computer with the USB cable.
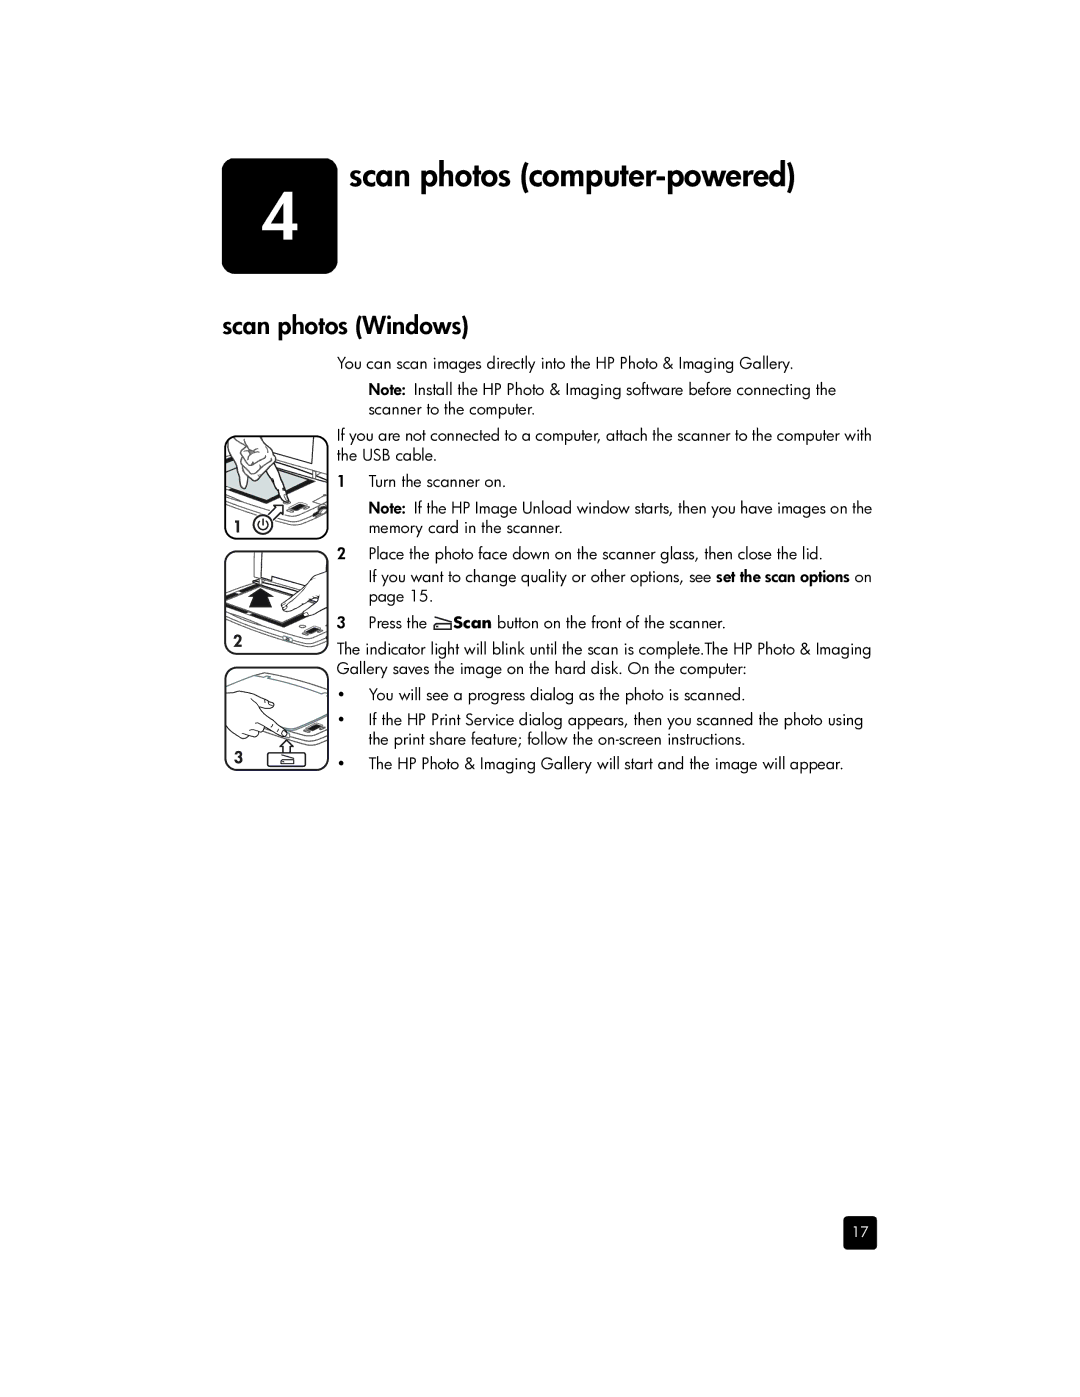
1 Turn the scanner on.
Note: If the HP Image Unload window starts, then you have images on the memory card in the scanner.
2Place the photo face down on the scanner glass, then close the lid.
If you want to change quality or other options, see set the scan options on page 15.
3 Press the ![]() Scan button on the front of the scanner.
Scan button on the front of the scanner.
The indicator light will blink until the scan is complete.The HP Photo & Imaging Gallery saves the image on the hard disk. On the computer:
•You will see a progress dialog as the photo is scanned.
• If the HP Print Service dialog appears, then you scanned the photo using the print share feature; follow the
• The HP Photo & Imaging Gallery will start and the image will appear.
17
