Chapter 1
produce great results, time after time. Printer service or repairs required as a result of printer failure or damage attributable to the use of
Caution The ink supply may become pressurized. Inserting a foreign object into the ink supply could result in ink being expelled and coming in contact with persons or property.
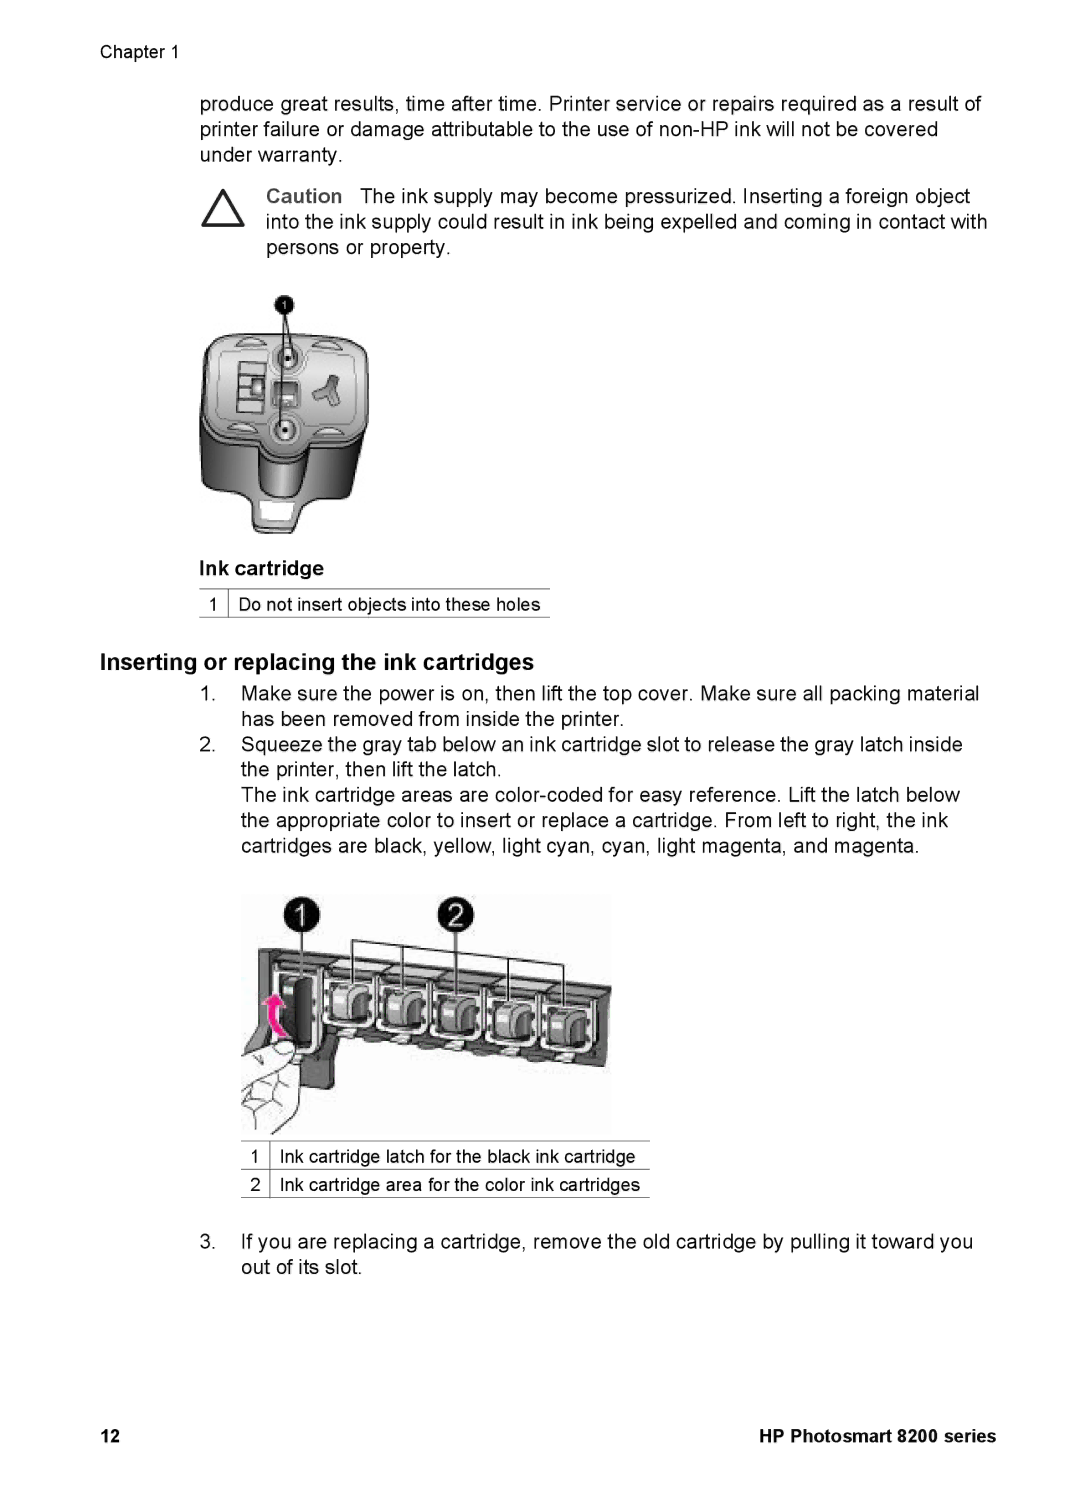
Ink cartridge
1 ![]() Do not insert objects into these holes
Do not insert objects into these holes
Inserting or replacing the ink cartridges
1.Make sure the power is on, then lift the top cover. Make sure all packing material has been removed from inside the printer.
2.Squeeze the gray tab below an ink cartridge slot to release the gray latch inside the printer, then lift the latch.
The ink cartridge areas are
1![]() Ink cartridge latch for the black ink cartridge
Ink cartridge latch for the black ink cartridge
2![]() Ink cartridge area for the color ink cartridges
Ink cartridge area for the color ink cartridges
3.If you are replacing a cartridge, remove the old cartridge by pulling it toward you out of its slot.
12 | HP Photosmart 8200 series |