Chapter 1
Printer parts
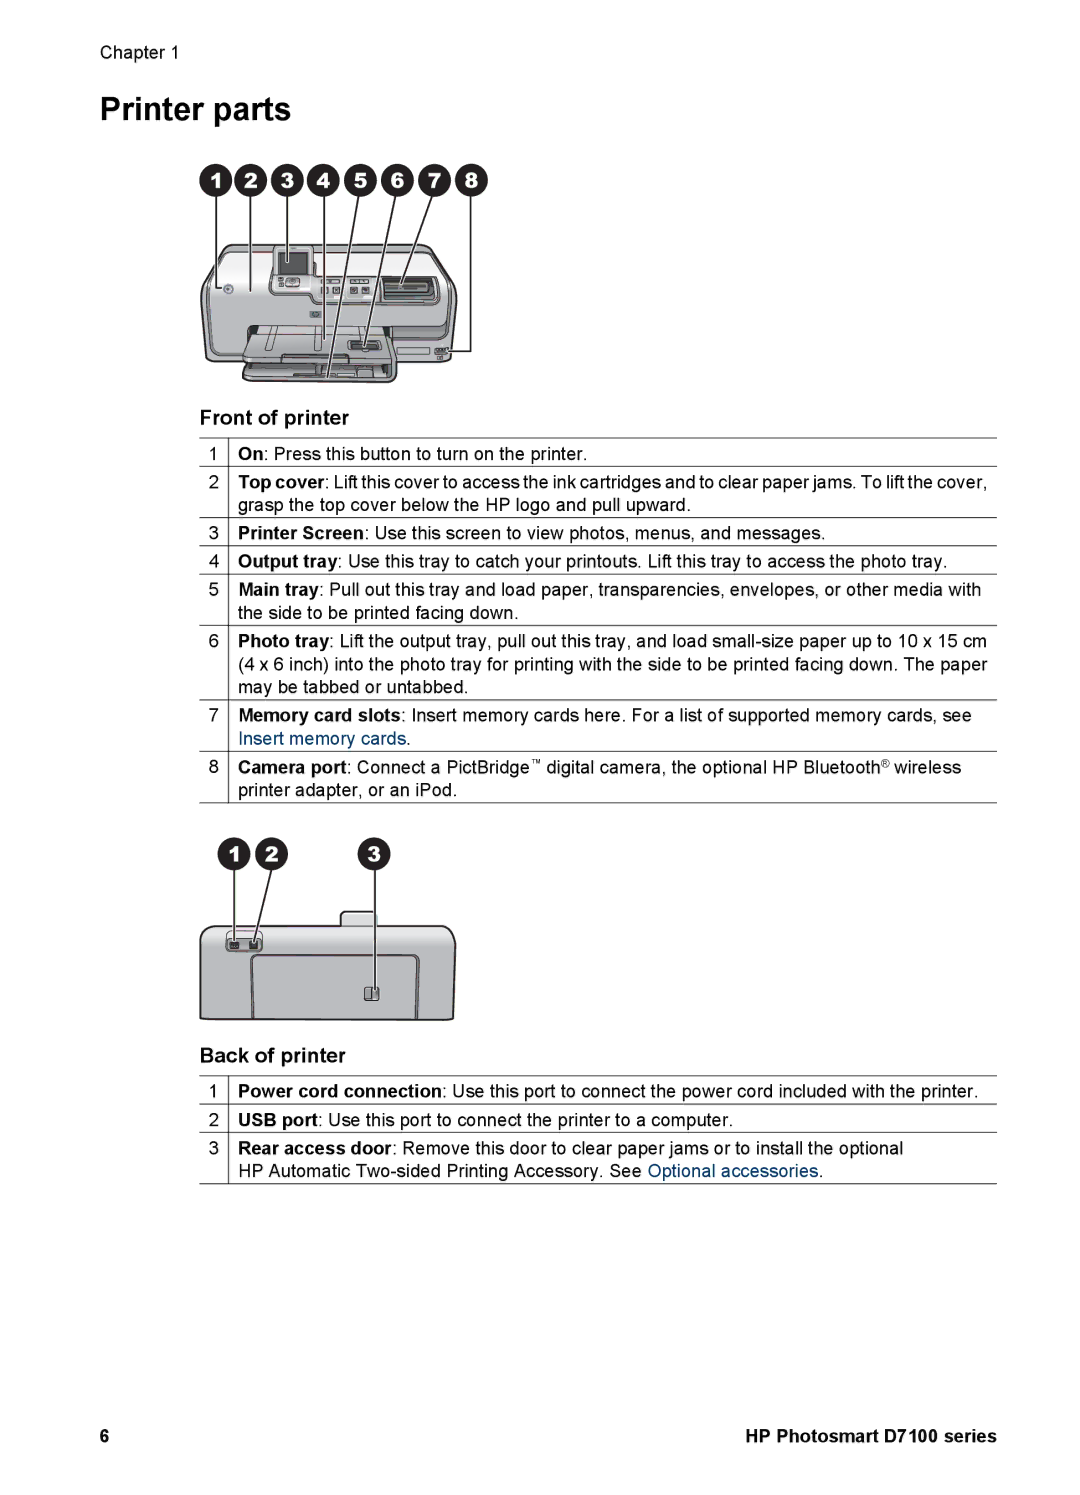
Front of printer
1On: Press this button to turn on the printer.
2Top cover: Lift this cover to access the ink cartridges and to clear paper jams. To lift the cover, grasp the top cover below the HP logo and pull upward.
3Printer Screen: Use this screen to view photos, menus, and messages.
4Output tray: Use this tray to catch your printouts. Lift this tray to access the photo tray.
5Main tray: Pull out this tray and load paper, transparencies, envelopes, or other media with the side to be printed facing down.
6Photo tray: Lift the output tray, pull out this tray, and load
7Memory card slots: Insert memory cards here. For a list of supported memory cards, see Insert memory cards.
8Camera port: Connect a PictBridge™ digital camera, the optional HP Bluetooth® wireless printer adapter, or an iPod.
Back of printer
1Power cord connection: Use this port to connect the power cord included with the printer.
2USB port: Use this port to connect the printer to a computer.
3Rear access door: Remove this door to clear paper jams or to install the optional HP Automatic
6 | HP Photosmart D7100 series |