Product Features
Changing from a Minitower to a Desktop Configuration
1.If you have locked the Smart Cover Lock, restart the computer and enter Computer Setup to unlock the lock.
2.Turn off the computer properly through the operating system and turn off any external devices. Disconnect the power cord from the power outlet and disconnect any external devices.
3.Remove the computer access panel as described in the “Removing the Computer Access Panel” section.
4.Remove the front bezel as described in the “Removing the Front Bezel” section.
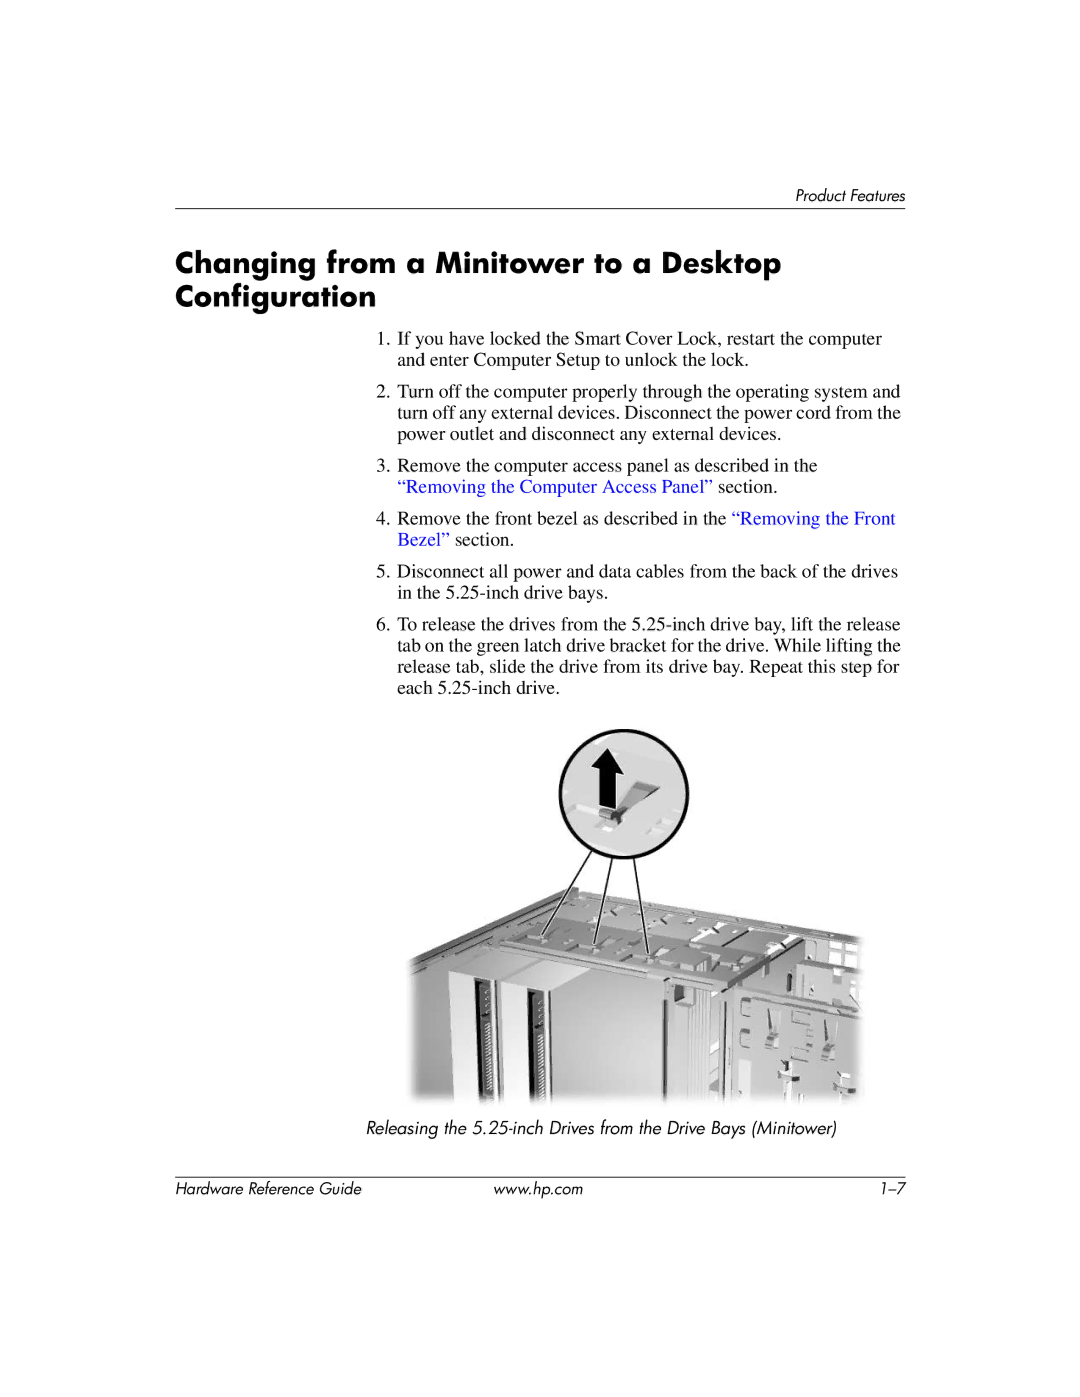
5.Disconnect all power and data cables from the back of the drives in the
6.To release the drives from the
Releasing the
Hardware Reference Guide | www.hp.com |