Manuals
/
HP
/
Computer Equipment
/
Desktops
HP
dc7600 tower
manual
Padlock
Models:
dc7600 tower
1
57
69
69
Download
69 pages
21.09 Kb
54
55
56
57
58
59
60
61
Specification
Install
Connecting the Drive Cables
Cleaning
Battery Replacement
Serviceability Features
Product Features
Using the Windows Logo Key
Page 57
Image 57
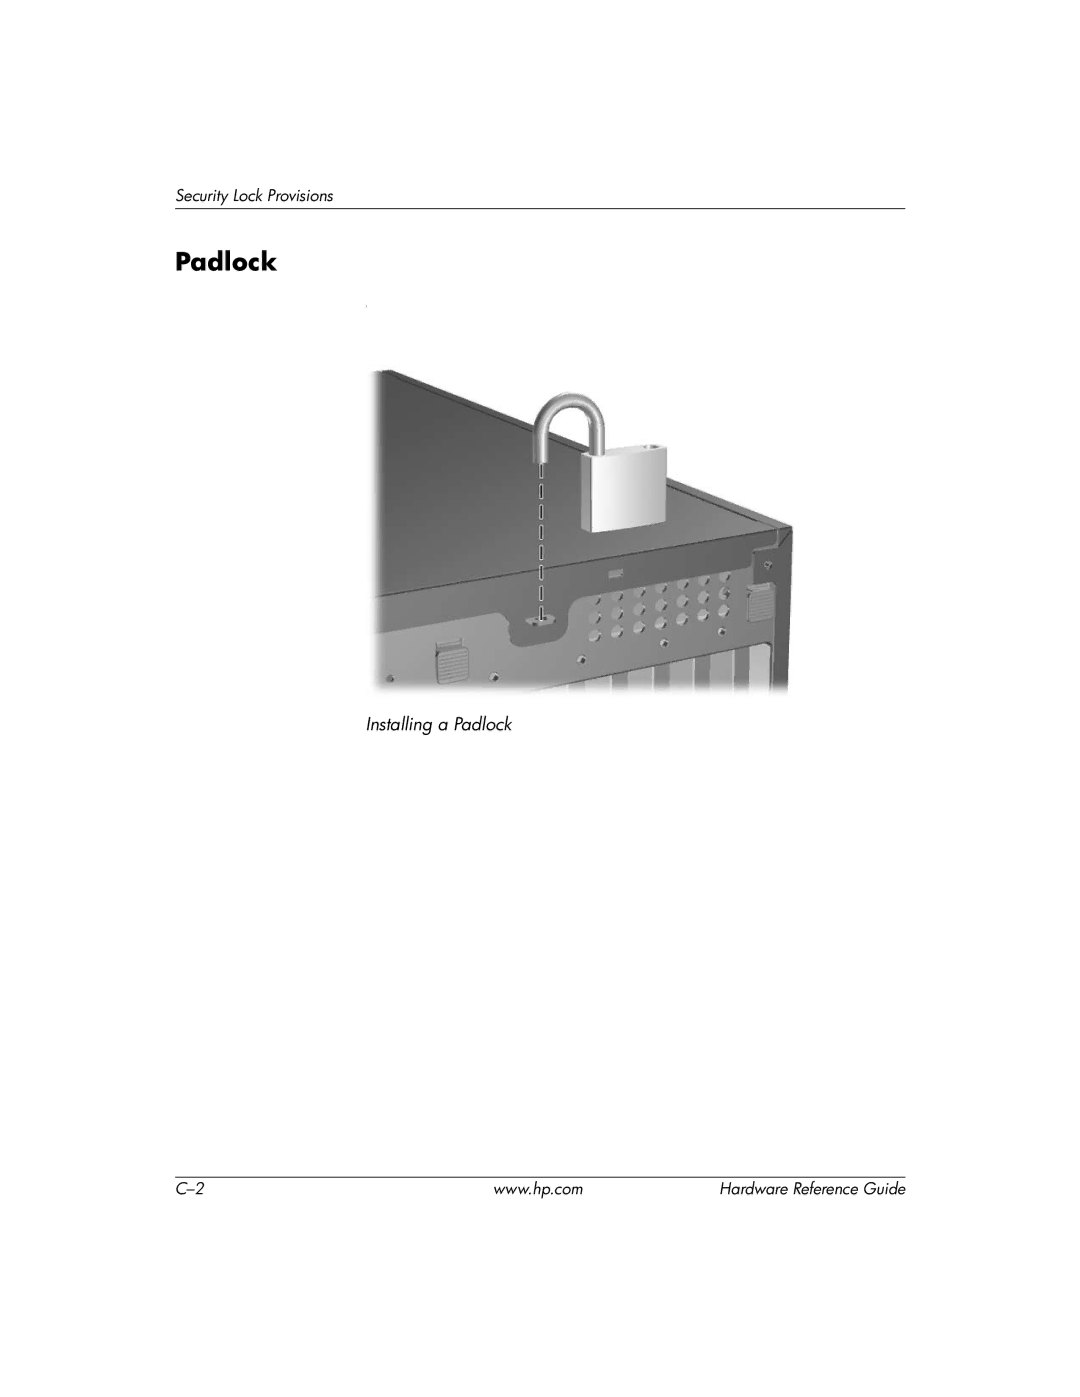
Security Lock Provisions
Padlock
I
Installing a Padlock
C–2
www.hp.com
Hardware Reference Guide
Page 56
Page 58
Page 57
Image 57
Page 56
Page 58
Contents
Hardware Reference Guide
Hardware Reference Guide
Contents
Index
Standard Configuration Features
Product Features
Front Panel Components
Front Panel Components
Rear Panel Components
Rear Panel Components
Keyboard Components
Keyboard
Special Mouse Functions
Using the Windows Logo Key
Serial Number Location
Changing from a Minitower to a Desktop Configuration
Installing a Drive in the Desktop Configuration
Changing from a Minitower to a Desktop Configuration
Changing from a Desktop to a Minitower Configuration
Installing a Drive in the Minitower Configuration
Changing from a Desktop to a Minitower Configuration
Serviceability Features
Hardware Upgrades
Smart Cover Lock
Using the Smart Cover FailSafe Key
Removing the Smart Cover Lock Screws
Removing the Computer Access Panel
Replacing the Computer Access Panel
Removing the Front Bezel
Replacing the Front Bezel
Removing Bezel Blanks
Installing Additional Memory
DIMMs
DDR2-SDRAM DIMMs
Populating Dimm Sockets
Description Socket Color
Installing DIMMs
Installing a Dimm
Hardware Upgrades
Installing or Removing an Expansion Card
Opening the Expansion Slot Retainer
Removing an Expansion Slot Cover
Removing a Standard PCI Expansion Card
Removing a PCI Express x16 Expansion Card
Installing an Expansion Card
Desktop and Minitower Drive Positions
Drive Positions
Installing Additional Drives
Hardware Upgrades
Installing an Optical or other Removable Storage Device
Hardware Upgrades
Connecting the Drive Cables
Installing a Sata Hard Drive into a 3.5-inch Drive Bay
Installing a Hard Drive into the Hard Drive Bay
Connect the power cable 1 and data cable 2 to the hard drive
Removing a Drive from the Drive Bay
Removing an Optical Drive in the Desktop Configuration
Hardware Upgrades
Store the removed drive in anti-static packaging
HP Compaq Convertible Minitower
Specifications
Heat Dissipation
Battery Replacement
Type
Removing and Replacing a Coin Cell Battery Type
Type
Installing a Security Lock
Security Lock Provisions
Cable Lock
Padlock
Without Security Cable
Universal Chassis Clamp Lock
Security Lock Provisions
With Security Cable
Security Lock Provisions
Electrostatic Discharge
Preventing Electrostatic Damage
Grounding Methods
Electrostatic Discharge
Computer Operating Guidelines and Routine Care
Cleaning
Optical Drive Precautions
Safety
Operation
Shipping Preparation
Index
Index
Sata
Top
Page
Image
Contents