Hardware Upgrades
Installing a SATA Hard Drive into a 3.5-inch Drive Bay
✎If you are replacing a hard drive, make sure to back up the data on the old hard drive before removing it so that you can install the data onto the new hard drive.
✎HP does not support connecting both SATA and
To install a hard drive in a
1.If you have locked the Smart Cover Lock, restart the computer and enter Computer Setup to unlock the lock.
2.Turn off the computer properly through the operating system and turn off any external devices. Disconnect the power cord from the power outlet and remove the computer access panel.
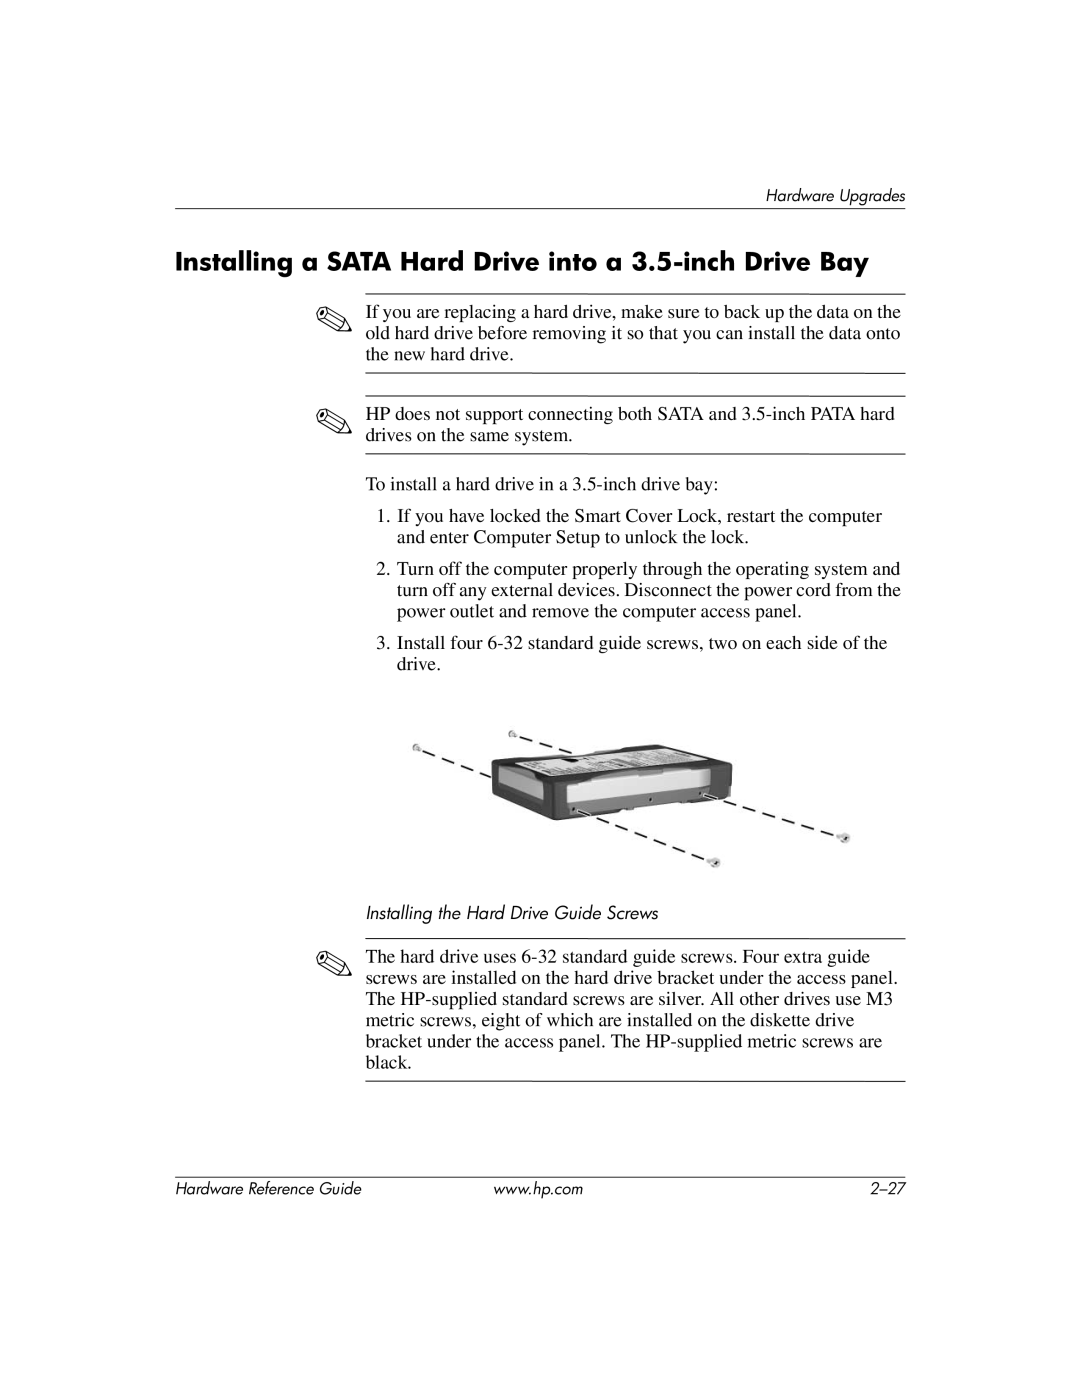
3.Install four
Installing the Hard Drive Guide Screws
✎The hard drive uses
Hardware Reference Guide | www.hp.com |