Repair
Fluid Adjustment Valve Repair
1.Prepare the gun for service, page 41.
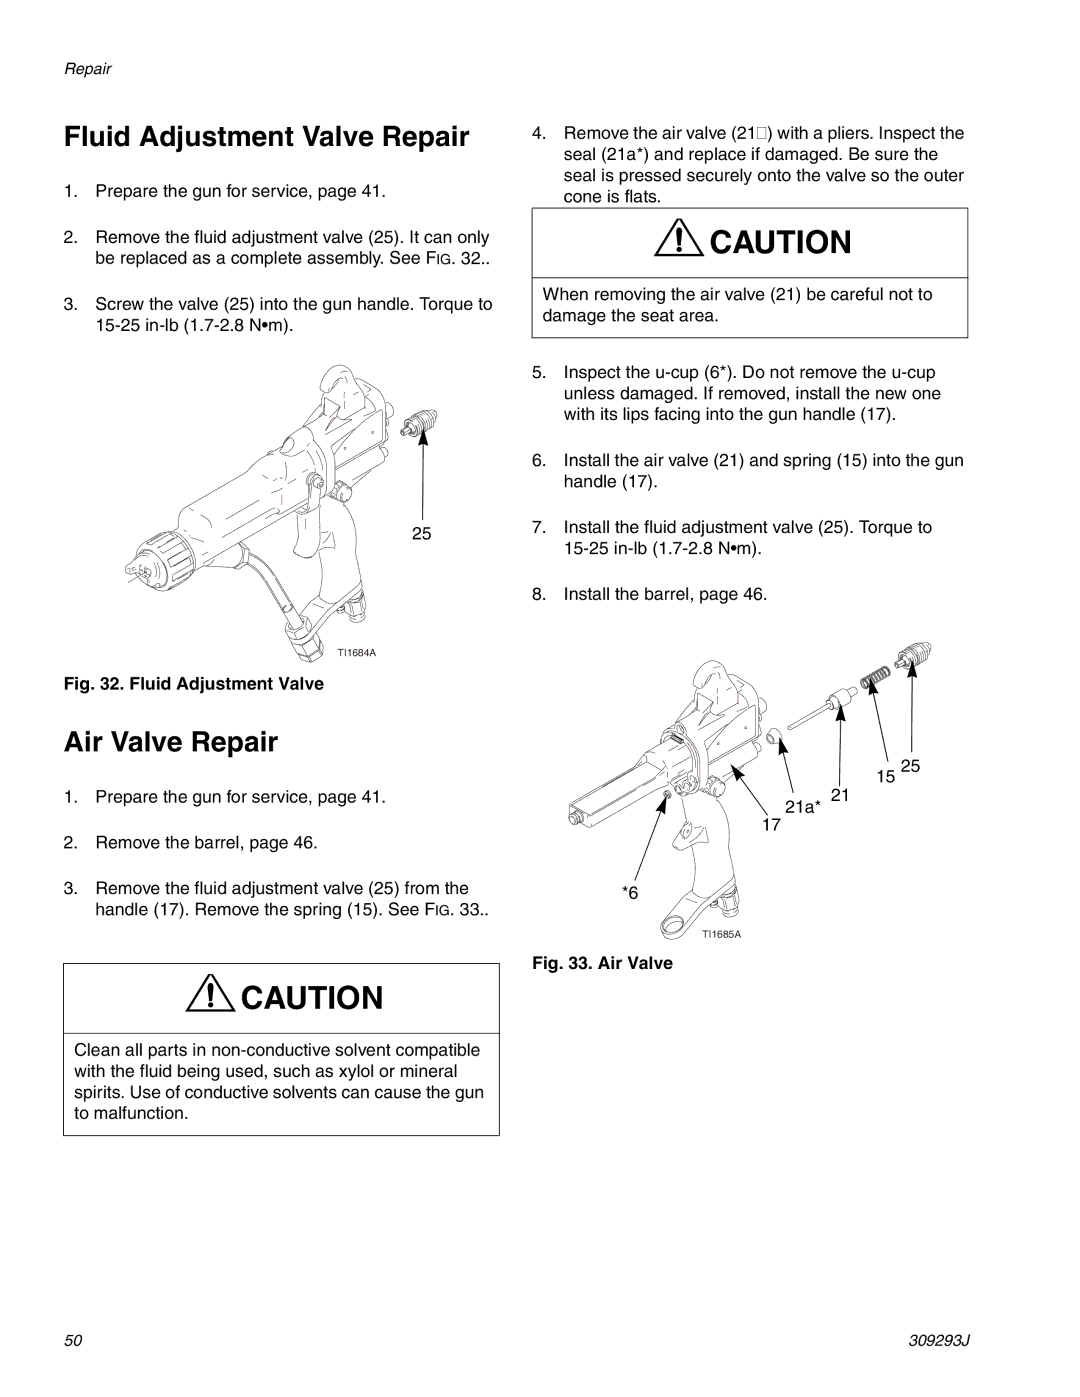
2.Remove the fluid adjustment valve (25). It can only be replaced as a complete assembly. See FIG. 32..
3.Screw the valve (25) into the gun handle. Torque to
25
TI1684A
Fig. 32. Fluid Adjustment Valve
Air Valve Repair
4.Remove the air valve (21 ) with a pliers. Inspect the seal (21a*) and replace if damaged. Be sure the seal is pressed securely onto the valve so the outer cone is flats.
![]() CAUTION
CAUTION
When removing the air valve (21) be careful not to damage the seat area.
5.Inspect the
6.Install the air valve (21) and spring (15) into the gun handle (17).
7.Install the fluid adjustment valve (25). Torque to
8.Install the barrel, page 46.
1.Prepare the gun for service, page 41.
2.Remove the barrel, page 46.
3.Remove the fluid adjustment valve (25) from the handle (17). Remove the spring (15). See FIG. 33..
![]() CAUTION
CAUTION
Clean all parts in
21a*
17
*6
TI1685A
Fig. 33. Air Valve
15
21
25
50 | 309293J |