Step 2: Install software for your HP Officejet/Officejet Pro device
You must run the installation program from the Starter CD. The installation program installs the software and creates a wireless connection.
Windows
IMPORTANT: Do not connect the USB wireless setup cable until prompted by the software.
1.Save any open documents. Close any applications that are running on your computer.
2.Place the Starter CD into the computer.
3.On the CD menu, click Install Network/Wireless Device, and then follow the onscreen instructions.
NOTE: If the firewall software on your computer displays any messages during the installation, select the “always permit/allow“ option in the messages. Selecting this option allows the software to install successfully on your computer.
4.When prompted, temporarily connect the USB wireless setup cable.
5.Follow the onscreen instructions to complete the installation.
6.Disconnect the USB wireless setup cable when prompted.
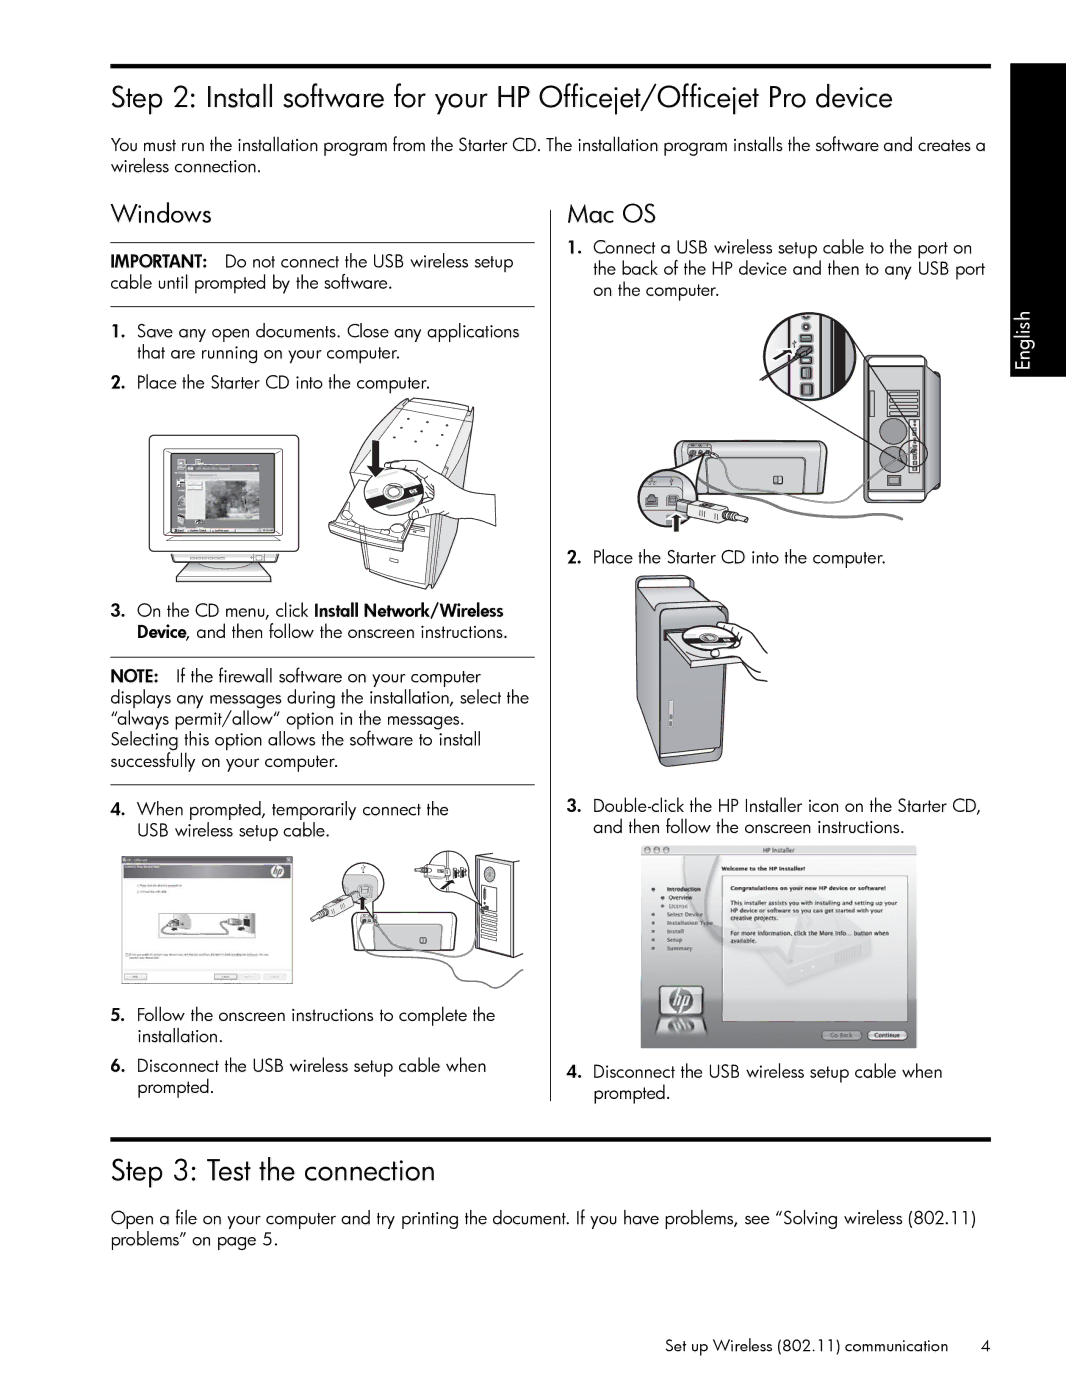
Mac OS
1.Connect a USB wireless setup cable to the port on the back of the HP device and then to any USB port on the computer.
2.Place the Starter CD into the computer.
3.
4.Disconnect the USB wireless setup cable when prompted.
English
Step 3: Test the connection
Open a file on your computer and try printing the document. If you have problems, see “Solving wireless (802.11) problems” on page 5.
Set up Wireless (802.11) communication | 4 |