f.When the download is complete, follow the
The utility checks for firmware updates for your HP product. If updates are found, the utility installs the available update.
g.When firmware updates are complete, try to resend the fax.
4.Verify that the fax was set up when the product software was installed. From the computer, in the HP program folder, run the Fax Setup Utility.
5.Verify that the telephone service supports analog fax.
![]() NOTE: HP products are designed specifically for use with analog phone services.
NOTE: HP products are designed specifically for use with analog phone services.
●If using ISDN or digital PBX, contact your service provider for information about configuring to an analog fax line.
●If using a VoIP service, change the Fax Speed to Slow(V.29) from the control panel. Ask if your service provider supports fax and for the recommended fax modem speed. Some companies might require an adapter.
●If you are using a DSL service, make sure that a filter is included on the
6.If the error persists, find more detailed
Faxes are sending slowly
The product is experiencing poor phone line quality.
●Retry sending the fax when the line conditions have improved.
●Check with the phone service provider that the line supports fax.
●Use white paper for the original. Do not use colors such as gray, yellow, or pink.
●Divide large fax jobs into smaller sections, and then fax them individually.
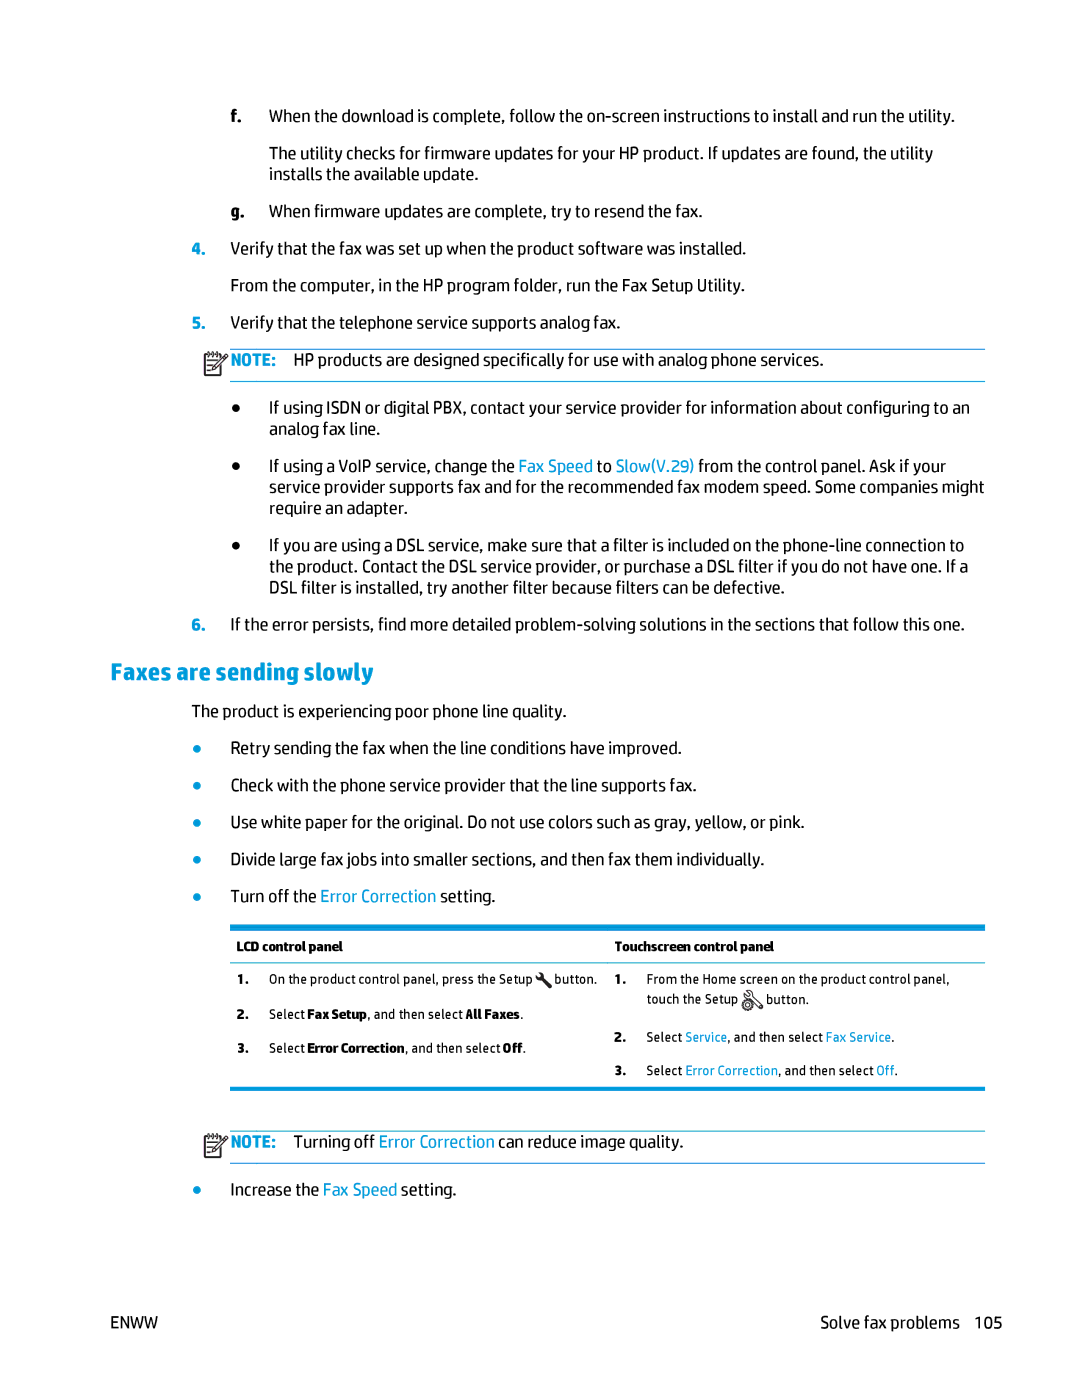
●Turn off the Error Correction setting.
LCD control panel | Touchscreen control panel |
1.On the product control panel, press the Setup ![]() button.
button.
2.Select Fax Setup, and then select All Faxes.
3.Select Error Correction, and then select Off.
1.From the Home screen on the product control panel,
touch the Setup ![]() button.
button.
2.Select Service, and then select Fax Service.
3.Select Error Correction, and then select Off.
![]() NOTE: Turning off Error Correction can reduce image quality.
NOTE: Turning off Error Correction can reduce image quality.
●Increase the Fax Speed setting.
ENWW | Solve fax problems 105 |
