Adding Photo Frame
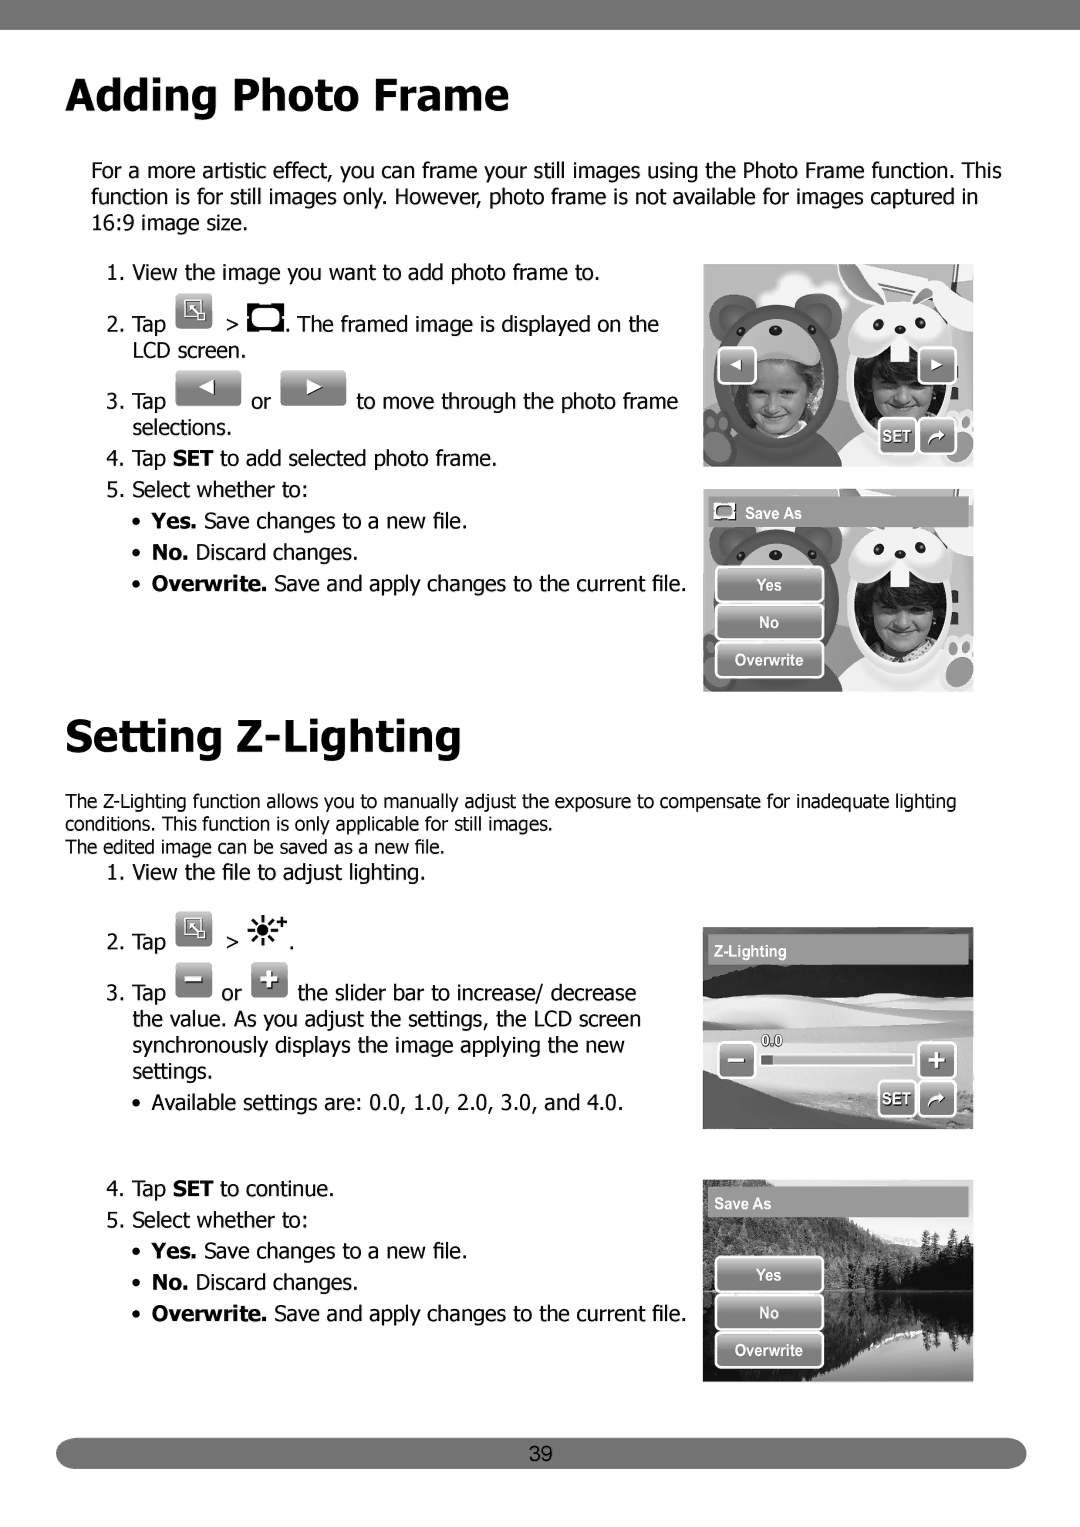
For a more artistic effect, you can frame your still images using the Photo Frame function. This function is for still images only. However, photo frame is not available for images captured in 16:9 image size.
1.View the image you want to add photo frame to.
2.Tap ![]() >
> ![]() . The framed image is displayed on the LCD screen.
. The framed image is displayed on the LCD screen.
3.Tap ![]() or
or ![]() to move through the photo frame selections.
to move through the photo frame selections.
4.Tap SET to add selected photo frame.
5.Select whether to:
•Yes. Save changes to a new file.
•No. Discard changes.
•Overwrite. Save and apply changes to the current file.
SET![]()
![]() Save As
Save As
Yes
No
Overwrite
Setting Z-Lighting
The
The edited image can be saved as a new file.
1. | View the file to adjust lighting. | ||||
2. | Tap | > | . | ||
|
|
|
|
| |
3. | Tap |
|
| or | the slider bar to increase/ decrease |
| |||||
| the value. As you adjust the settings, the LCD screen | ||||
| synchronously displays the image applying the new |
| settings. |
| • Available settings are: 0.0, 1.0, 2.0, 3.0, and 4.0. |
4. | Tap SET to continue. |
5. | Select whether to: |
| • Yes. Save changes to a new file. |
| • No. Discard changes. |
| • Overwrite. Save and apply changes to the current file. |
![]() 0.0
0.0
Save As
Yes
No
SET ![]()
Overwrite
39
