www..reelsche93x Man
CONNECTING THE CONTROL HEAD POWER CABLE TO THE BOAT
A 6' (2 m) long power cable is included to supply power to the control head. You may shorten or lengthen the cable using 18 gauge
CAUTION: Some boats have 24 or 36 Volt electric systems, but the control head MUST be connected to a 12 VDC power supply.
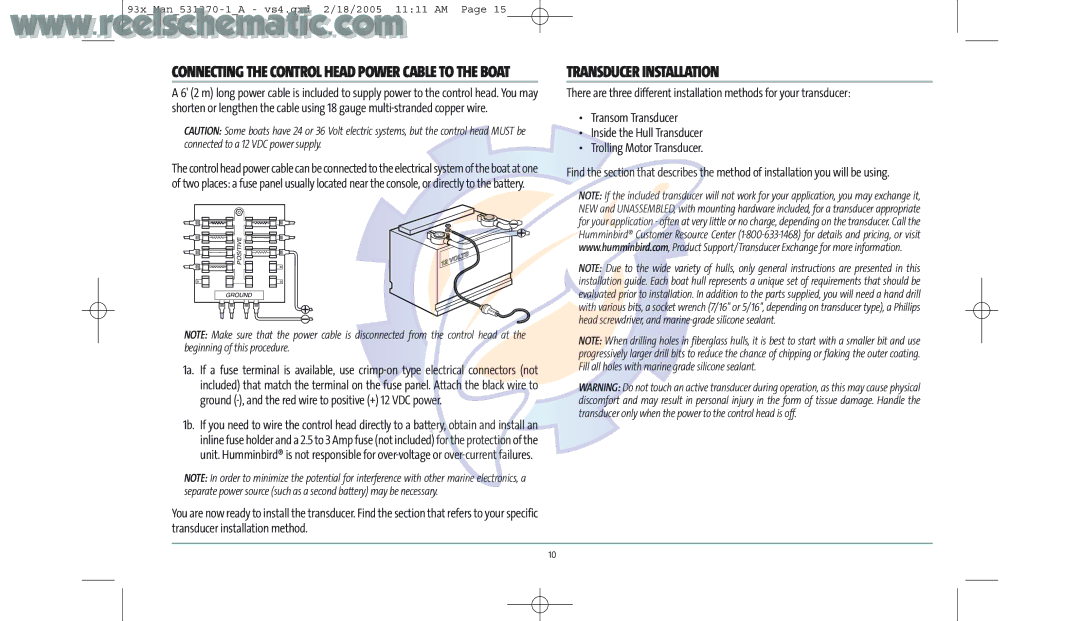
The control head power cable can be connected to the electrical system of the boat at one of two places: a fuse panel usually located near the console, or directly to the battery.
POSITIVE |
GROUND |
NOTE: Make sure that the power cable is disconnected from the control head at the beginning of this procedure.
1a. If a fuse terminal is available, use
1b. If you need to wire the control head directly to a battery, obtain and install an inline fuse holder and a 2.5 to 3 Amp fuse (not included) for the protection of the unit. Humminbird® is not responsible for
NOTE: In order to minimize the potential for interference with other marine electronics, a separate power source (such as a second battery) may be necessary.
You are now ready to install the transducer. Find the section that refers to your specific transducer installation method.
TRANSDUCER INSTALLATION
There are three different installation methods for your transducer:
•Transom Transducer
•Inside the Hull Transducer
•Trolling Motor Transducer.
Find the section that describes the method of installation you will be using.
NOTE: If the included transducer will not work for your application, you may exchange it, NEW and UNASSEMBLED, with mounting hardware included, for a transducer appropriate for your application - often at very little or no charge, depending on the transducer. Call the Humminbird® Customer Resource Center
NOTE: Due to the wide variety of hulls, only general instructions are presented in this installation guide. Each boat hull represents a unique set of requirements that should be evaluated prior to installation. In addition to the parts supplied, you will need a hand drill with various bits, a socket wrench (7/16" or 5/16", depending on transducer type), a Phillips head screwdriver, and
NOTE: When drilling holes in fiberglass hulls, it is best to start with a smaller bit and use progressively larger drill bits to reduce the chance of chipping or flaking the outer coating. Fill all holes with marine grade silicone sealant.
WARNING: Do not touch an active transducer during operation, as this may cause physical discomfort and may result in personal injury in the form of tissue damage. Handle the transducer only when the power to the control head is off.
10