C H A P T E R | 2 | Installing and Removing the Express Hub |
3.Insert two
4.Using a #2 Phillips screwdriver, tighten the screws to secure the hub to the rack.
5.Continue with “Completing the Installation” to finish this installation procedure.
Installing the Hub on a Table or Shelf
To install the hub on a table or shelf, follow these steps:
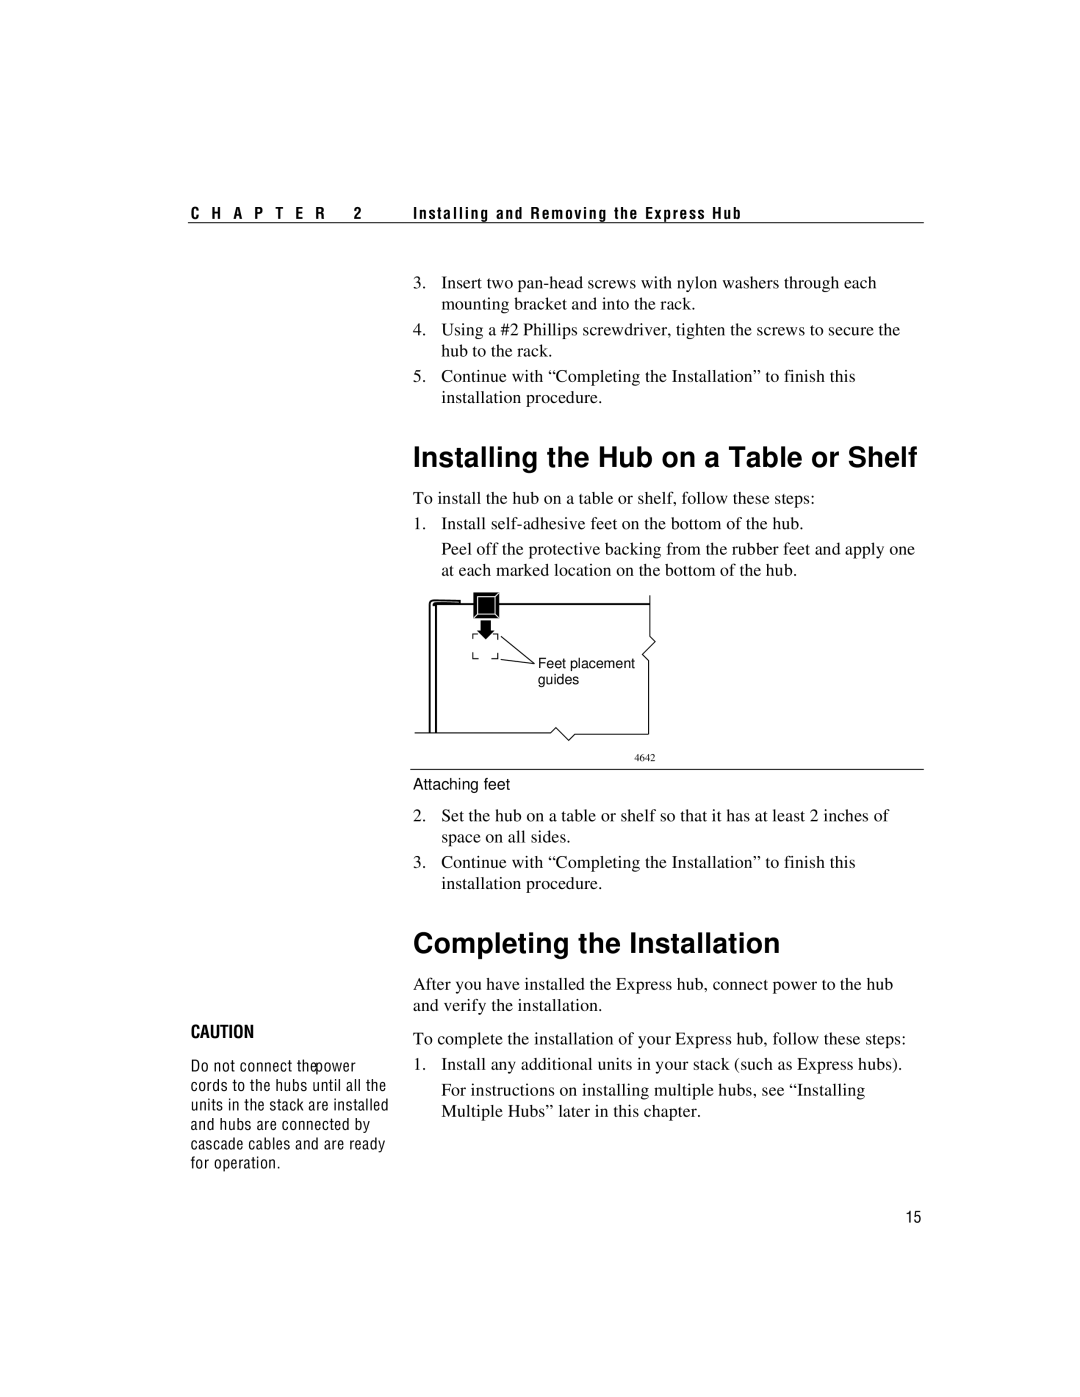
1.Install
Peel off the protective backing from the rubber feet and apply one at each marked location on the bottom of the hub.

 Feet placement guides
CAUTION
Do not connect thepower cords to the hubs until all the units in the stack are installed and hubs are connected by cascade cables and are ready for operation.
4642
Attaching feet
2.Set the hub on a table or shelf so that it has at least 2 inches of space on all sides.
3.Continue with “Completing the Installation” to finish this installation procedure.
Completing the Installation
After you have installed the Express hub, connect power to the hub and verify the installation.
To complete the installation of your Express hub, follow these steps:
1.Install any additional units in your stack (such as Express hubs). For instructions on installing multiple hubs, see “Installing Multiple Hubs” later in this chapter.
15