SECTION 2: INSTALLATION/OPERATION INSTRUCTIONS
CHANGING THE AJ-44CE/CS DIRECTION OF TRAVEL (CONTINUED)
|
|
| |
|
| Removing the bracket nut | |
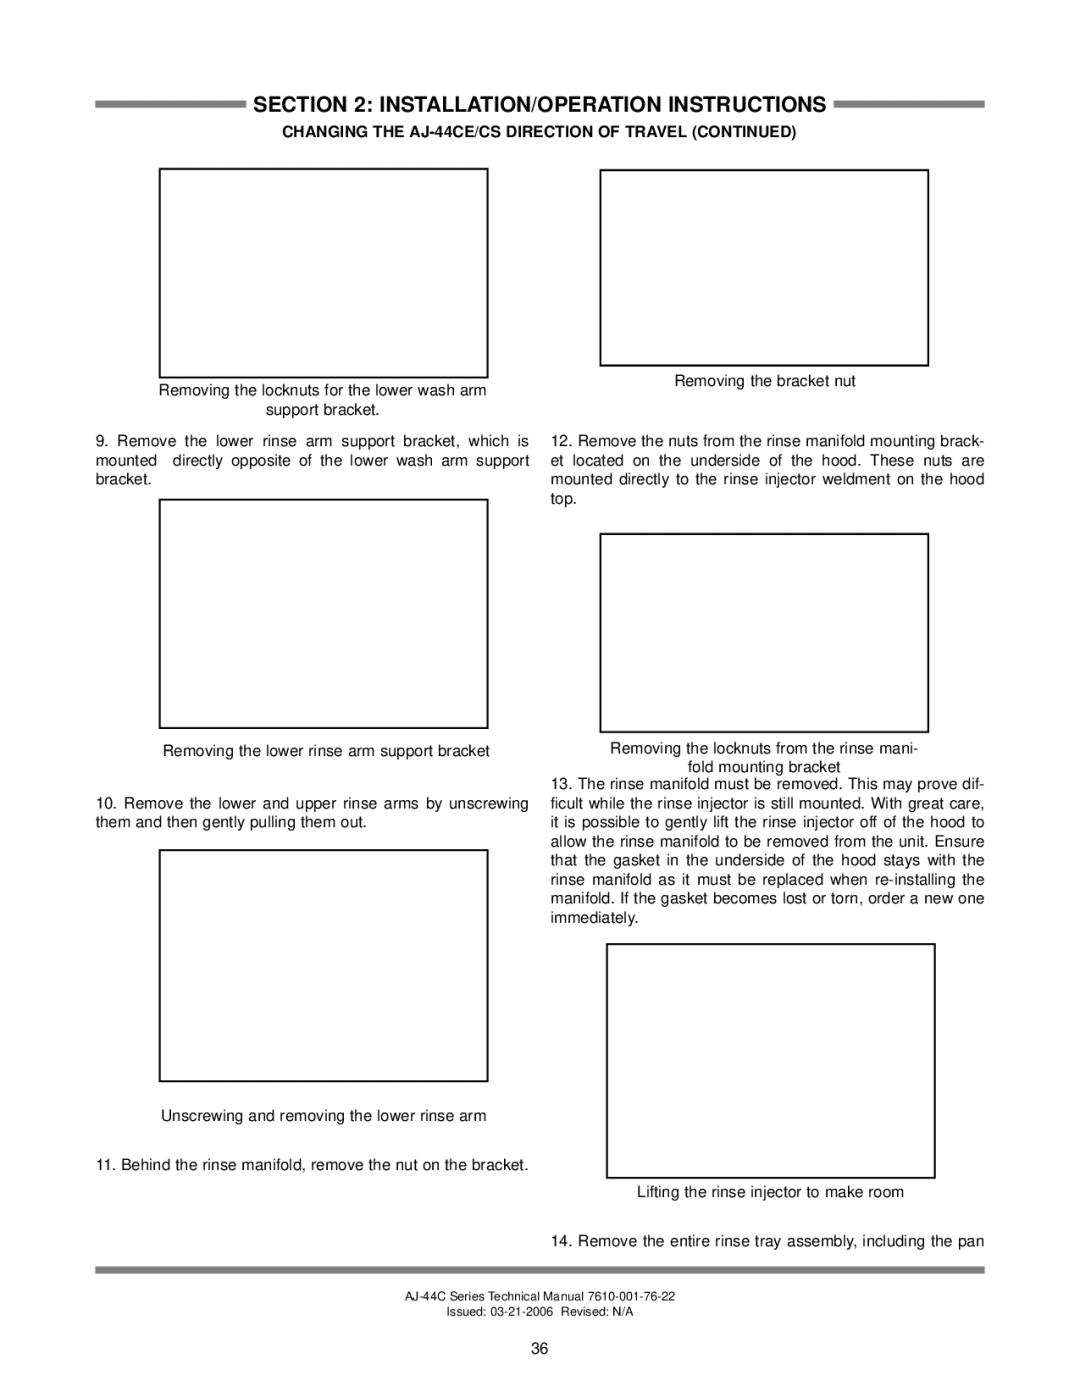
Removing the locknuts for the lower wash arm | |||
|
| ||
support bracket. |
|
|
9.Remove the lower rinse arm support bracket, which is mounted directly opposite of the lower wash arm support bracket.
Removing the lower rinse arm support bracket
10.Remove the lower and upper rinse arms by unscrewing them and then gently pulling them out.
Unscrewing and removing the lower rinse arm
11. Behind the rinse manifold, remove the nut on the bracket.
12.Remove the nuts from the rinse manifold mounting brack- et located on the underside of the hood. These nuts are mounted directly to the rinse injector weldment on the hood top.
Removing the locknuts from the rinse mani-
fold mounting bracket
13.The rinse manifold must be removed. This may prove dif- ficult while the rinse injector is still mounted. With great care, it is possible to gently lift the rinse injector off of the hood to allow the rinse manifold to be removed from the unit. Ensure that the gasket in the underside of the hood stays with the rinse manifold as it must be replaced when
Lifting the rinse injector to make room
14. Remove the entire rinse tray assembly, including the pan
Issued:
36