SECTION 2: INSTALLATION/OPERATION INSTRUCTIONS
CHANGING THE AJ-44CE/CS DIRECTION OF TRAVEL (CONTINUED)
4.Remove the upper wash arm assembly bracket. This step may require that you have help as the bolts for securing the bracket to the top of the inner hood are the same bolts that hold the control box to the hood top. Do not remove the bolts once the nuts are taken off. Once the bracket is removed, place the nuts immediately back on the bolts. To hold the bolts (to keep them from spinning), a 7/16” combination wrench or 7/16” nutdriver will be required in order to hold the bolt head inside the control box.
Removing bracket (bottom view)
Removing and turning splash shield
6. Remove the pawl bar and set to the side.
Remove the pawl bar by grasping firmly and
lifting up.
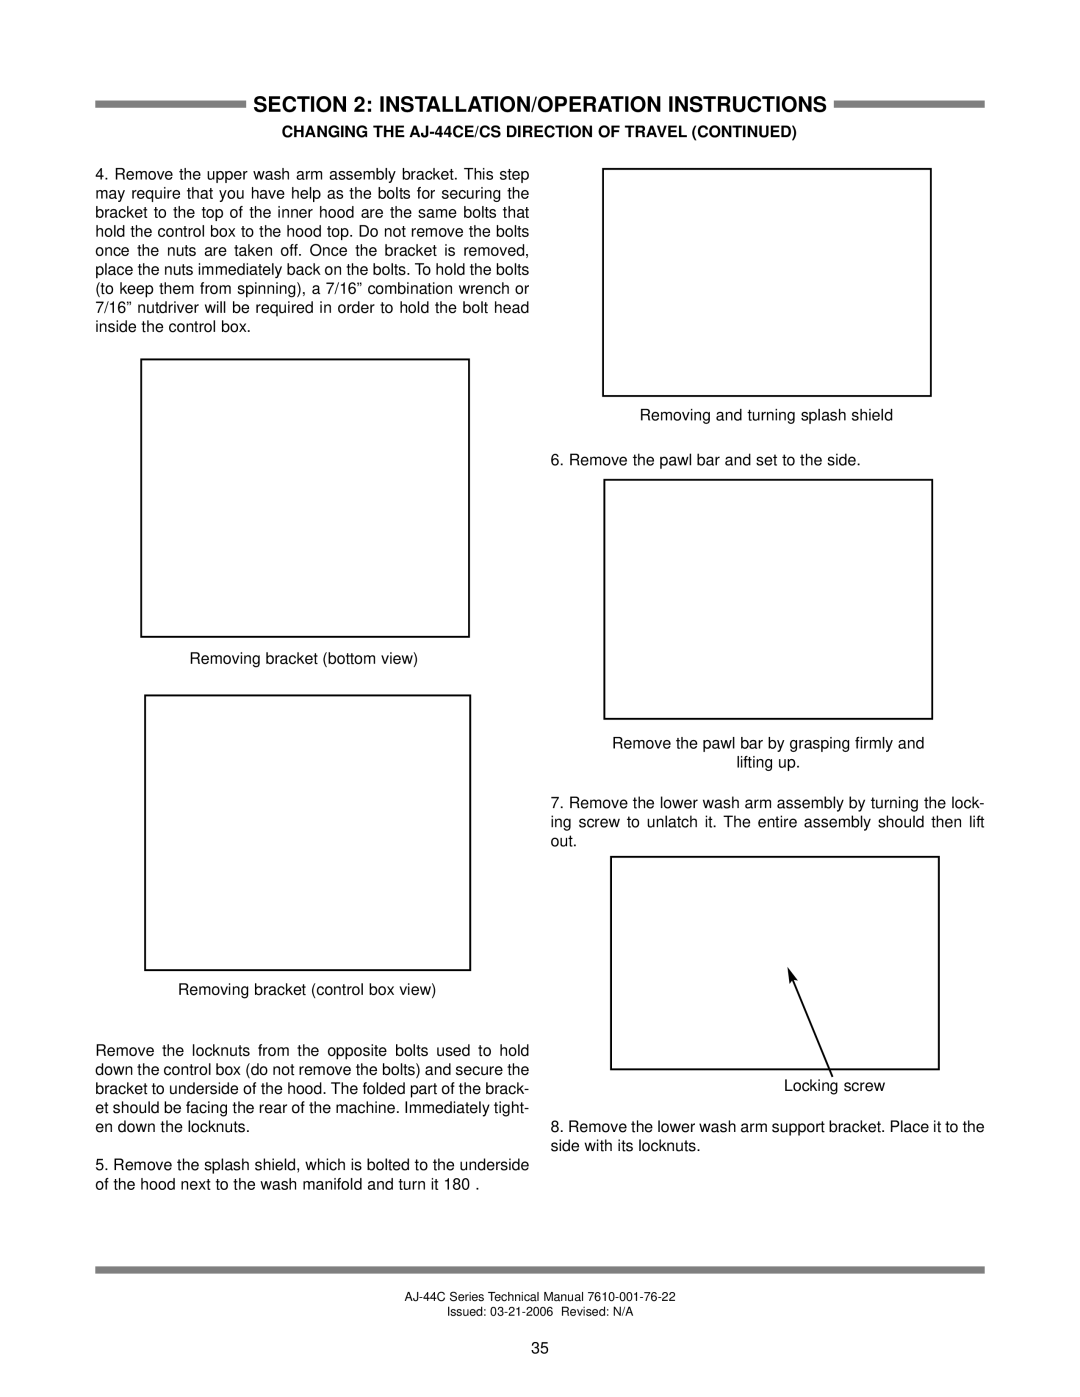
7.Remove the lower wash arm assembly by turning the lock- ing screw to unlatch it. The entire assembly should then lift out.
Removing bracket (control box view)
Remove the locknuts from the opposite bolts used to hold down the control box (do not remove the bolts) and secure the bracket to underside of the hood. The folded part of the brack- et should be facing the rear of the machine. Immediately tight- en down the locknuts.
5.Remove the splash shield, which is bolted to the underside of the hood next to the wash manifold and turn it 180°.
Locking screw
8.Remove the lower wash arm support bracket. Place it to the side with its locknuts.
Issued:
35