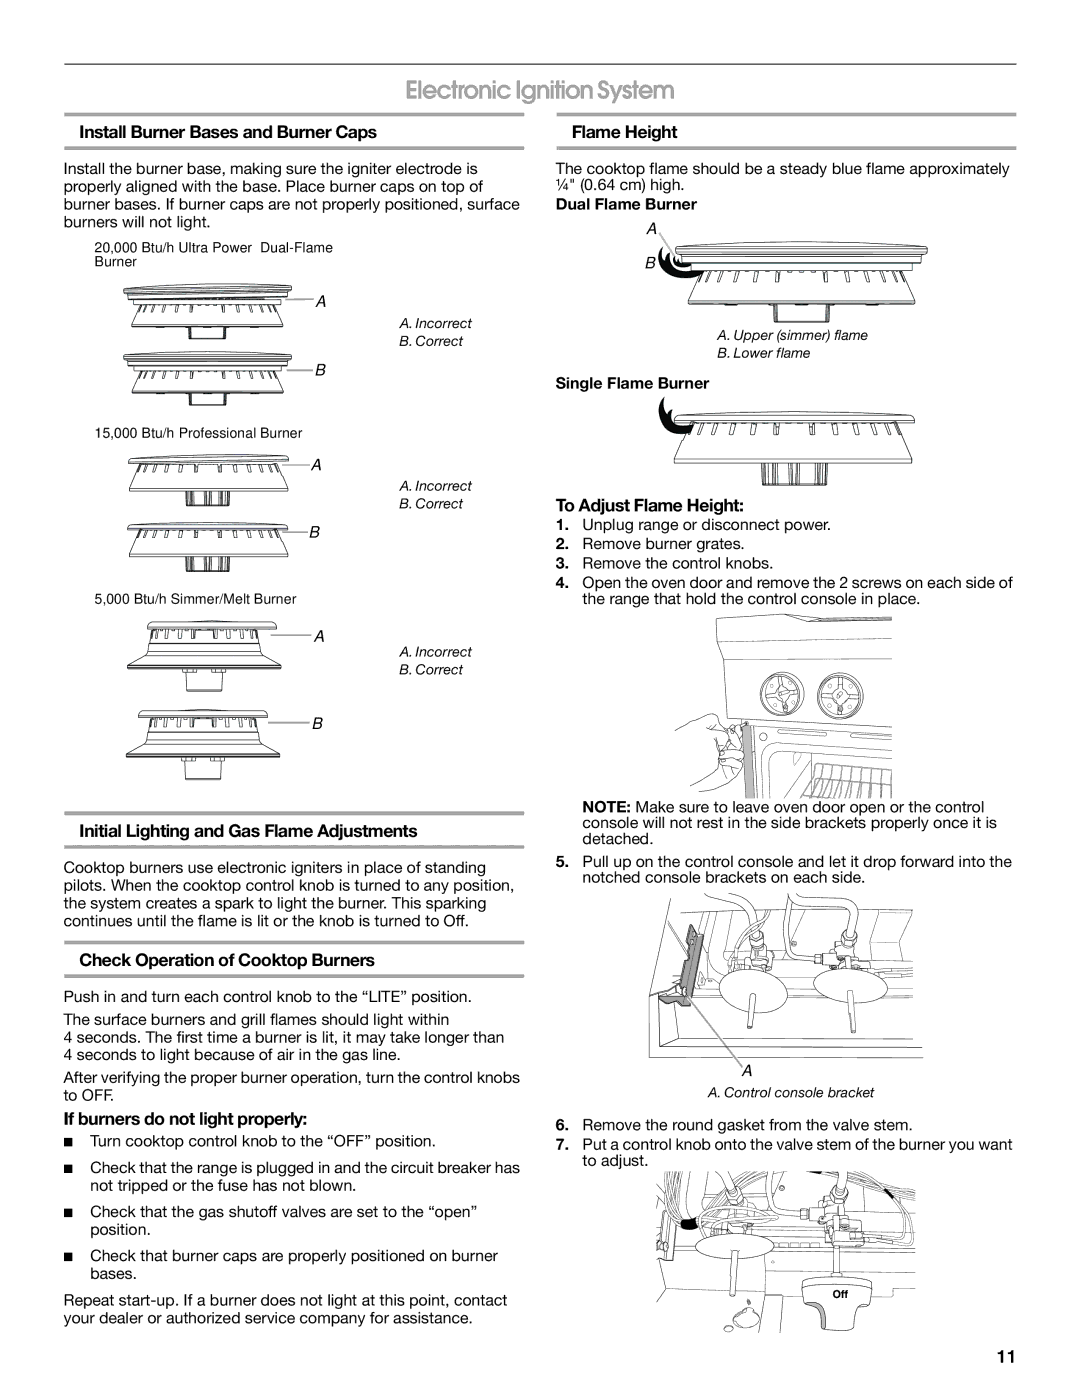
W10394575A specifications
The Jenn-Air W10394575A is a premium kitchen appliance that embodies the fusion of design, functionality, and cutting-edge technology, elevating the cooking experience for culinary enthusiasts and home chefs alike. This product is designed to offer superior performance while enhancing the aesthetic appeal of modern kitchen spaces.One of the standout features of the Jenn-Air W10394575A is its high-efficiency performance, which is driven by innovative technology that ensures consistent heating and cooking results. The appliance is equipped with powerful heating elements that provide quick responsiveness, reducing overall cooking time. With its precise temperature control, users can expect impeccable results in every dish, from delicate pastries to hearty casseroles.
A key characteristic of the Jenn-Air W10394575A is its elegant design, tailored to fit seamlessly into contemporary kitchen interiors. The sleek lines and high-quality materials used in its construction not only create a visually stunning appliance but also ensure durability and long-term reliability. The surface is designed for easy cleaning, allowing users to maintain its pristine appearance with minimal effort.
In addition to its aesthetic appeal, the Jenn-Air W10394575A also incorporates user-friendly features that enhance the cooking experience. Its intuitive interface includes a digital display and straightforward controls, making it easy for users to select their desired settings. The appliance offers multiple cooking modes, catering to various culinary techniques such as baking, broiling, and warming, which provides versatility for different cooking styles.
Safety is another priority in the design of the Jenn-Air W10394575A. The appliance comes equipped with advanced safety features, including automatic shut-off and cool-touch surfaces, ensuring a secure cooking environment. This attention to safety allows users—regardless of expertise—to cook with confidence.
Overall, the Jenn-Air W10394575A is a remarkable addition to any kitchen, combining stylish design, advanced technology, and practical features. It is ideal for anyone who appreciates quality and performance, transforming everyday cooking into a refined culinary experience. Whether you're preparing a casual family meal or hosting a dinner party, this appliance is designed to meet and exceed the needs of modern homeowners.

