Reserving Karaoke Songs
| ONLY | INFO |
| Remote |
|
You can determine the playback order of the titles, chapters, tracks or files on the disc player. You can program up to 12 steps.
•This function is not available for files in a USB mass storage class device.
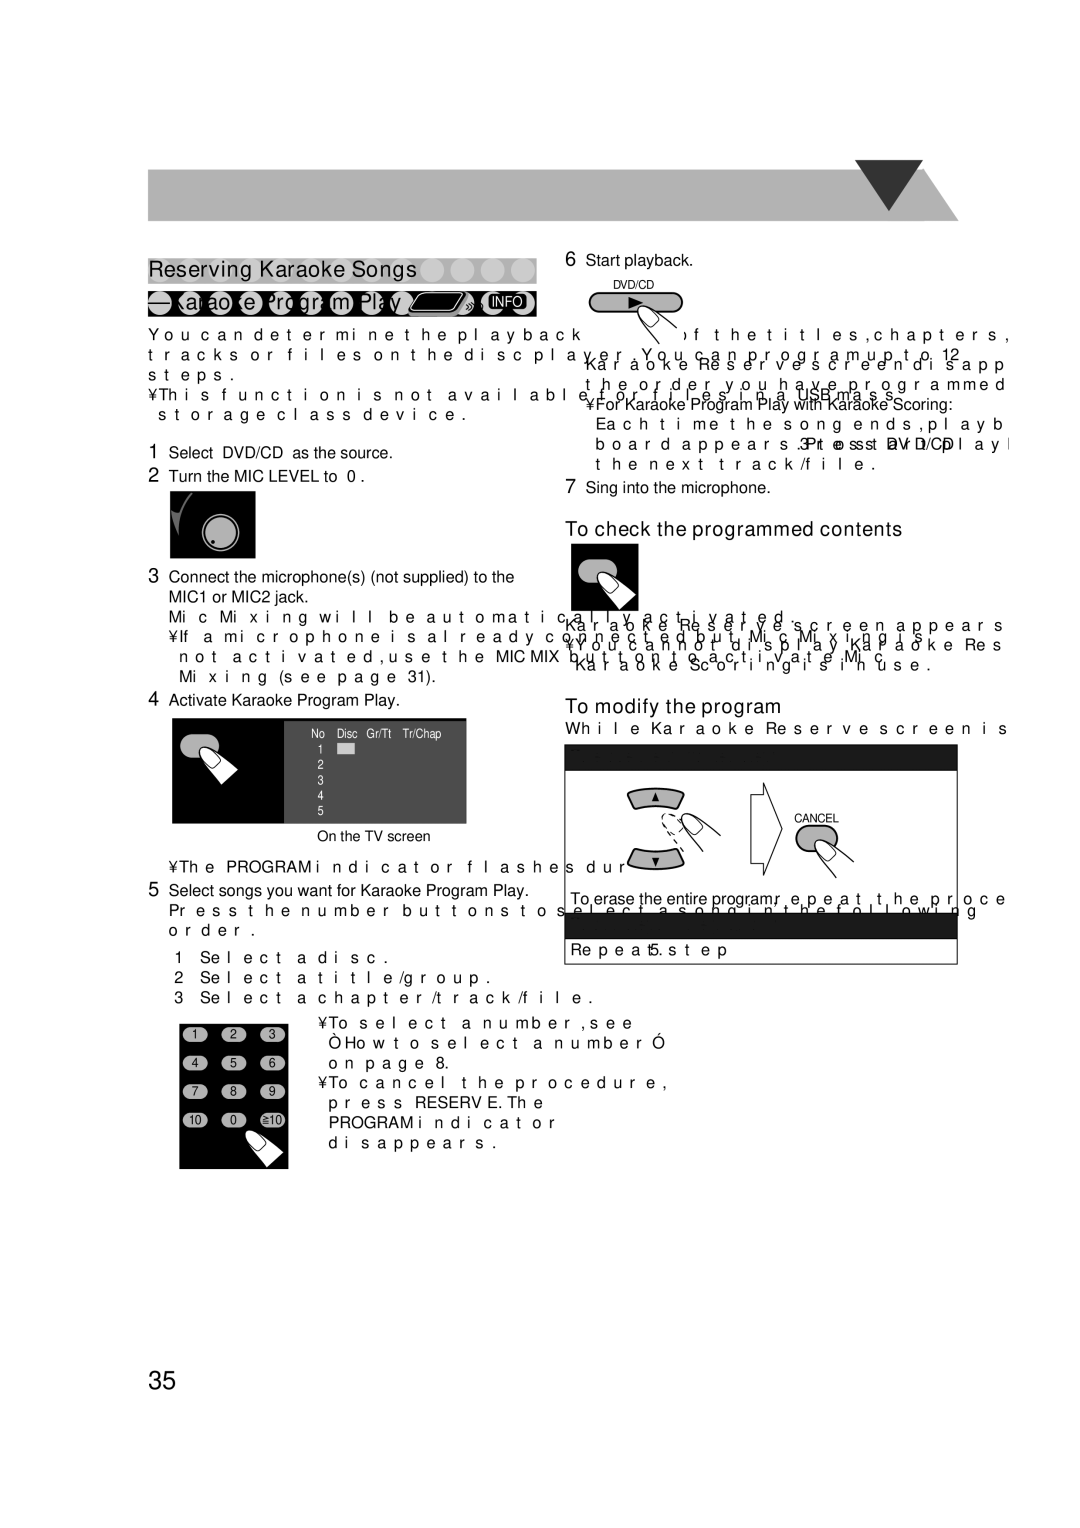
1Select “DVD/CD” as the source.
2Turn the MIC LEVEL to “0”.
3Connect the microphone(s) (not supplied) to the MIC1 or MIC2 jack.
Mic Mixing will be automatically activated.
•If a microphone is already connected but Mic Mixing is not activated, use the MIC MIX button to activate Mic Mixing (see page 31).
4Activate Karaoke Program Play.
RESERVE
No Disc Gr/Tt Tr/Chap 1 ![]() 2 3 4 5
2 3 4 5
On the TV screen
• The PROGRAM indicator flashes during this mode.
5Select songs you want for Karaoke Program Play. Press the number buttons to select a song in the following order.
1Select a disc.
2Select a title/group.
3 Select a chapter/track/file.
1 | 2 | 3 | • To select a number, see | |
“How to select a number” | ||||
|
|
| ||
4 | 5 | 6 | on page 8. | |
7 | 8 | 9 | • To cancel the procedure, | |
press RESERVE. The | ||||
|
|
| ||
10 | 0 | 10 | PROGRAM indicator | |
|
|
| disappears. |
6Start playback.
DVD/CD
Karaoke Reserve screen disappears and playback starts in the order you have programmed.
•For Karaoke Program Play with Karaoke Scoring: Each time the song ends, playback stops and the score board appears. Press DVD/CD 3 to start playback of the next track/file.
7Sing into the microphone.
To check the programmed contents
RESERVE
Karaoke Reserve screen appears.
•You cannot display Karaoke Reserve screen while Karaoke Scoring is in use.
To modify the program
While Karaoke Reserve screen is shown on the TV...
To erase the unwanted step:
CANCEL
To erase the entire program, repeat the procedure.
To add steps in the program:
Repeat step 5.
35