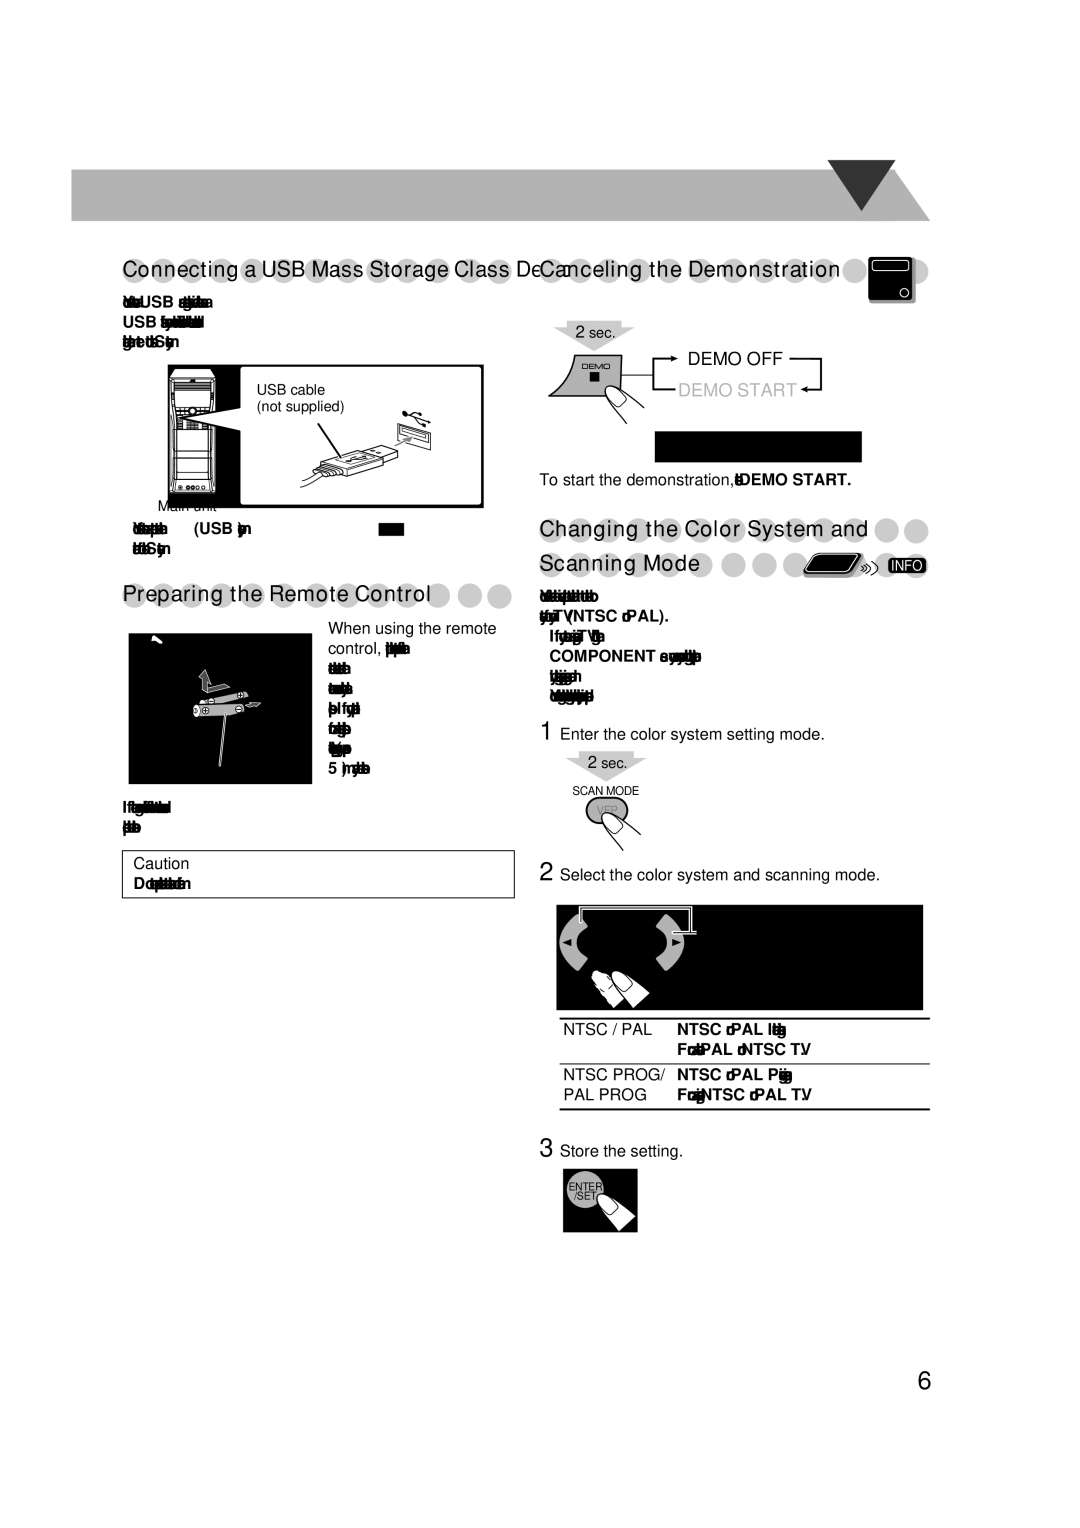
Connecting a USB Mass Storage Class Device
You can connect a USB mass storage class device such as a USB flash memory, hard disk drive, multimedia card reader, digital camera, etc. to this System.
Canceling the Demonstration
2sec.
DEMO OFF
Main Unit
ONLY
USB cable (not supplied)
Main unit
•You cannot connect a computer to the ![]() (USB memory) terminal of the System.
(USB memory) terminal of the System.
Preparing the Remote Control 


| When using the remote |
| control, point the top of the |
| remote control toward the |
| remote sensor as directly as |
| possible. If you operate it |
| from a diagonal position, |
| the operating range (approx. |
5 m) may be shorter. | |
|
If the range or effectiveness of the remote control decreases, replace both batteries.
Caution
Do not expose batteries to heat or flame.
DEMO START ![]()
To start the demonstration, select DEMO START.
Changing the Color System and
Scanning Mode | Remote | INFO |
| ONLY |
|
You can select the video output to match it to the color system of your TV (NTSC or PAL).
•If you connect a progressive TV through the COMPONENT jacks, you can enjoy a high quality picture by selecting progressive scanning mode.
•You can change the setting only while playback is stopped.
1 Enter the color system setting mode.
2sec.
SCAN MODE
VFP
2 Select the color system and scanning mode.
PAL 
 PAL PROG
![]() NTSC PROG
NTSC PROG ![]()
![]() NTSC
NTSC ![]()
NTSC / PAL NTSC or PAL Interlaced scanning. For a conventional PAL or NTSC TV.
NTSC PROG/ NTSC or PAL Progressive scanning. PAL PROG For a progressive NTSC or PAL TV.
3 Store the setting.
ENTER /SET![]()
6