Setup Menu Operations
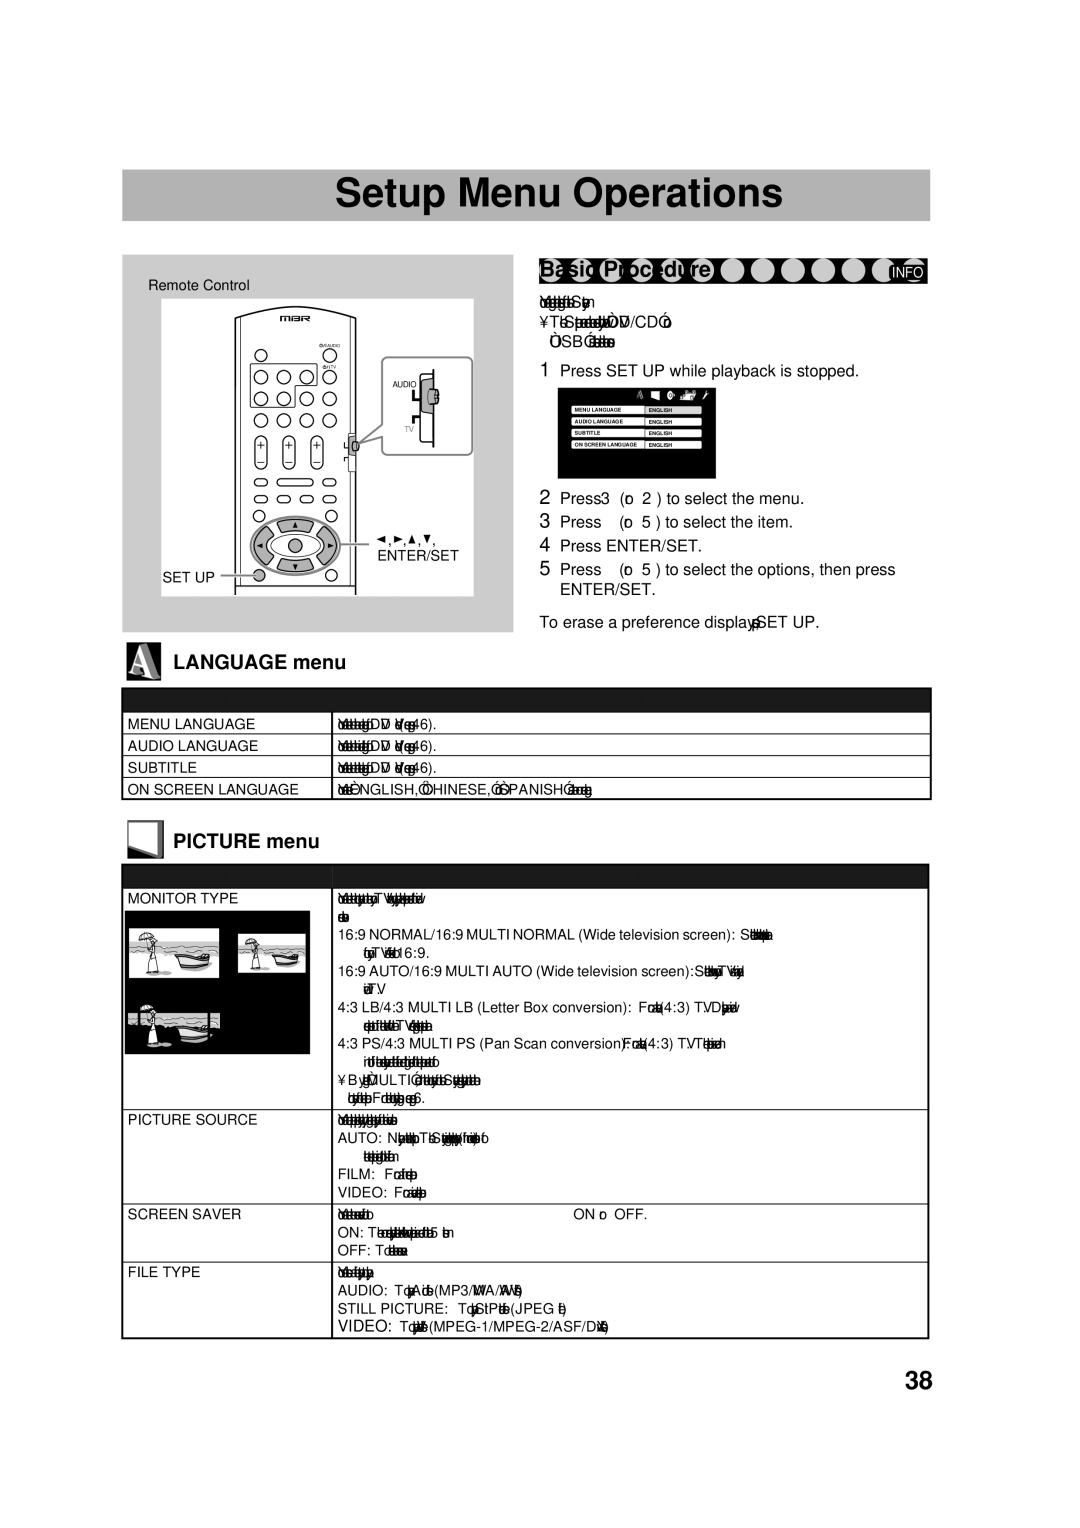
Remote Control
![]()
![]() AUDIO
AUDIO
![]()
![]() TV
TV
AUDIO
TV
![]()
![]() ,
,![]() ,
,![]() ,
,![]() ,
,
ENTER/SET
SET UP ![]()
Basic Procedure | INFO |
You can change the settings of the System.
•The Setup menu can be used only when “DVD/CD” or “USB” is selected as the source.
1Press SET UP while playback is stopped.
LANGUAGE |
|
MENU LANGUAGE | ENGLISH |
AUDIO LANGUAGE | ENGLISH |
SUBTITLE | ENGLISH |
ON SCREEN LANGUAGE | ENGLISH |
2Press 3 (or 2) to select the menu.
3Press ∞ (or 5) to select the item.
4Press ENTER/SET.
5Press ∞ (or 5) to select the options, then press
ENTER/SET.
To erase a preference display, press SET UP.
LANGUAGE menu
Item
Contents
MENU LANGUAGE | You can select the initial menu language of DVD Video (see page 46). |
AUDIO LANGUAGE | You can select the initial audio language of DVD Video (see page 46). |
SUBTITLE | You can select the initial subtitle language of DVD Video (see page 46). |
ON SCREEN LANGUAGE | You can select “ENGLISH,” “CHINESE,” or “SPANISH” as the |
PICTURE menu
Item
Contents
MONITOR TYPE |
| You can select the monitor type to match your TV when you play back picture recorded for wide- |
16:9 | 4:3 LB | screen televisions. |
|
| 16:9 NORMAL/16:9 MULTI NORMAL (Wide television screen): Select this when the aspect ratio |
|
| of your TV is fixed to 16:9. |
|
| 16:9 AUTO/16:9 MULTI AUTO (Wide television screen): Select this when your TV is an ordinary |
4:3 PS |
| wide TV. |
|
| 4:3 LB/4:3 MULTI LB (Letter Box conversion): For a conventional (4:3) TV. Displays a wide- |
|
| screen picture to fit the width of the TV screen keeping the aspect ratio. |
|
| 4:3 PS/4:3 MULTI PS (Pan Scan conversion): For a conventional (4:3) TV. The picture is zoomed |
|
| in to fill the screen vertically and the left and right sides of the picture are cut off. |
•By selecting “MULTI” mode, the color system of the System changes automatically to match the color system of the picture. For the color system setting, see page 6.
PICTURE SOURCE | You can obtain optimal picture quality by selecting the type of the video source. |
| AUTO: Normally, select this option. The System recognizes the picture type (film or video source) of |
| the current picture according to its information. |
| FILM: For a film source picture. |
| VIDEO: For a video source picture. |
|
|
SCREEN SAVER | You can set the screen saver function to ON or OFF. |
| ON: The |
| OFF: To cancel the screen saver. |
|
|
FILE TYPE | You can select a file type to play. |
| AUDIO: To play Audio files. (MP3/WMA/WAV files.) |
| STILL PICTURE: To play Still Picture files. (JPEG file.) |
| VIDEO: To play Video files. |
38