
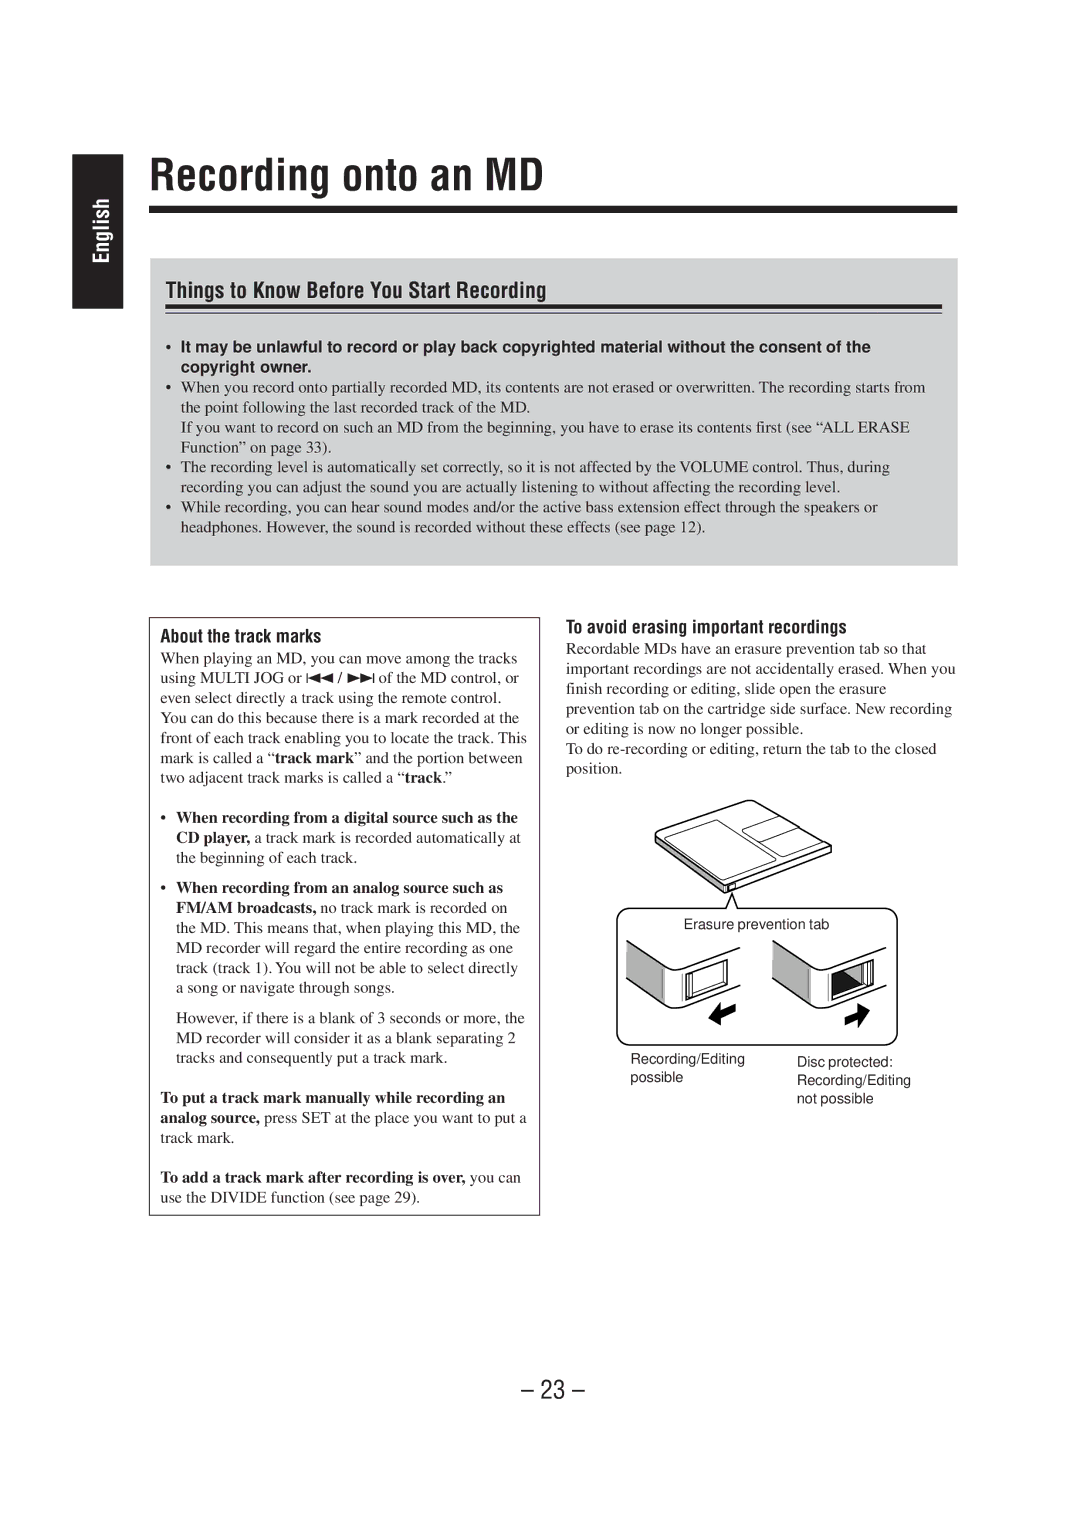
CA-MD70 specifications
The JVC CA-MD70 is a compact and versatile mini stereo system that stands out for its impressive sound quality and user-friendly features. Launched in the late 1990s, this unit quickly gained popularity for its stylish design and functional capabilities, making it a great addition to any home or office.One of the outstanding features of the JVC CA-MD70 is its MD (MiniDisc) recorder/player, which offers a convenient way to enjoy both recorded and live audio. The MiniDisc technology, known for its digital sound quality and durability, allows users to store music easily while enabling them to create custom playlists. The ability to record directly from various external sources enhances its versatility, appealing to audiophiles and casual listeners alike.
In addition to the MD player, the CA-MD70 includes a CD player that supports CD-R and CD-RW formats, further expanding its playback options. It features a digital tuner that gives access to AM/FM radio stations, including preset memory functions, allowing users to quickly switch between favorite stations. The system’s capability to titling tracks offers an additional layer of functionality, making it user-friendly.
The sound output is powered by a robust amplifier that delivers impressive audio quality, characterized by clear highs and deep lows. With dual speakers featuring large woofers, the system provides a rich, immersive listening experience, making music, radio, or any audio content come to life. The bass boost feature enhances low frequencies, allowing for a more pronounced bass sound that enhances genres like hip-hop and electronic music.
The JVC CA-MD70 also includes convenient features such as a remote control for easy operation from a distance and a headphone jack for private listening. The sleek design with a modern finish makes it suitable for any décor, and its compact size allows for easy placement in smaller spaces, such as a bedroom or office.
Connectivity options, which include auxiliary inputs, provide additional flexibility for connecting external devices, such as smartphones or tablets. These characteristics, combined with its reliable performance and user-friendly interface, make the JVC CA-MD70 a well-rounded mini stereo system that remains a beloved choice for those seeking quality sound in a compact form.