Master Page: Right
—6—

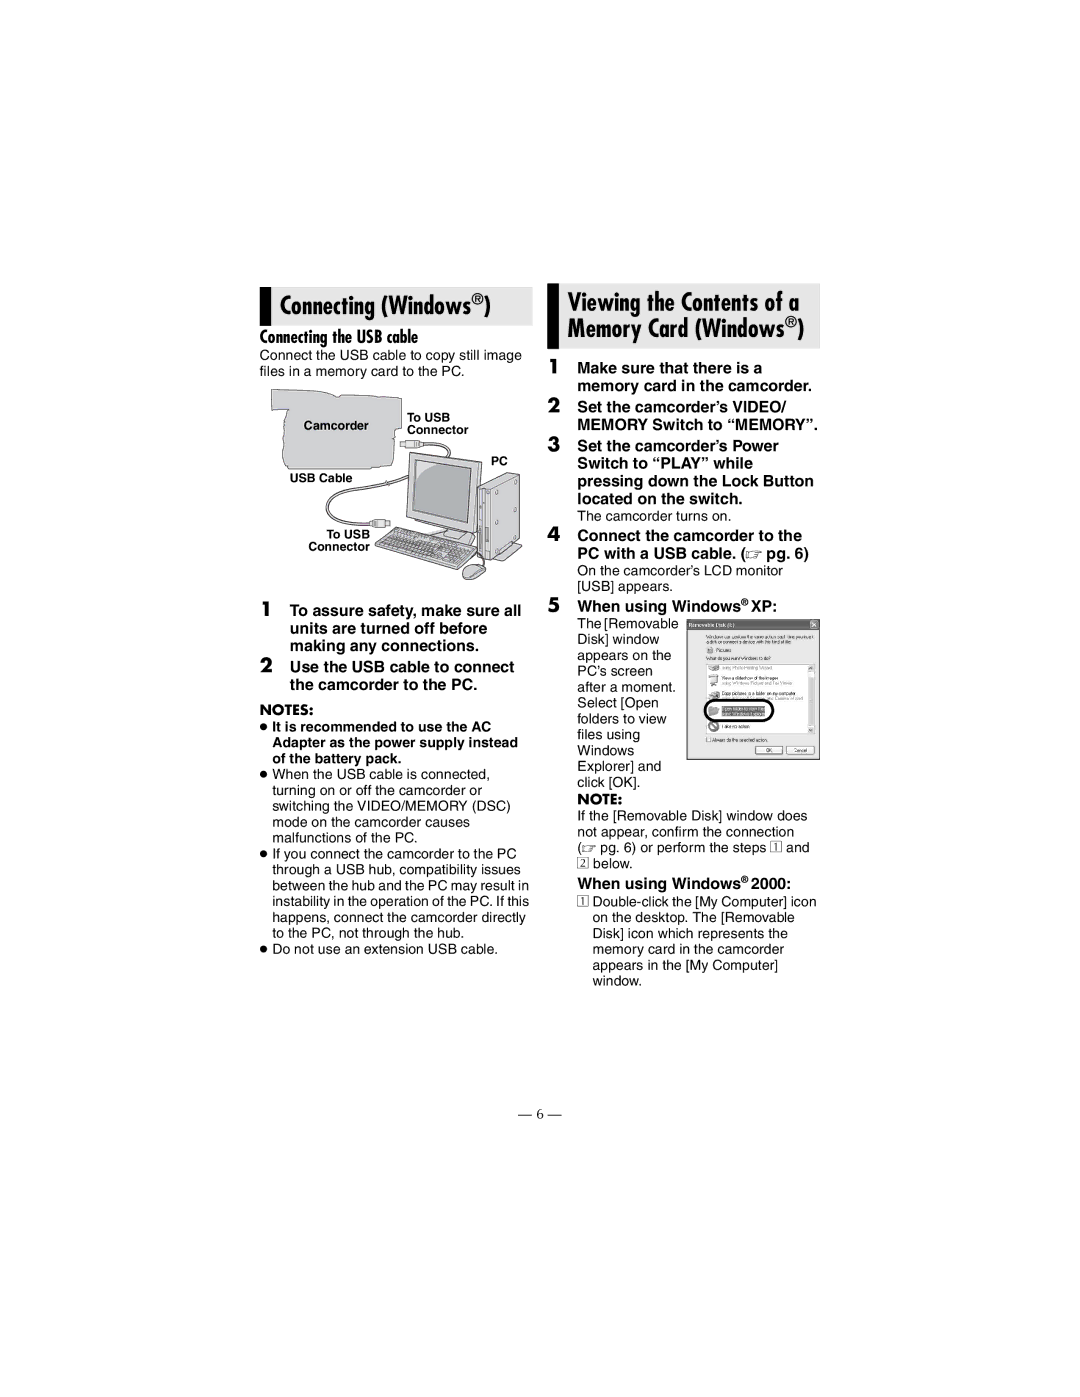
Connecting the USB cable

Connect the USB cable to copy still image
files in a memory card to the PC.
1To assure safety, make sure all
units are turned off before
making any connections.
2Use the USB cable to connect
the camcorder to the PC.
NOTES:
It is recommended to use the AC
Adapter as the power supply instead
of the battery pack.
When the USB cable is connected,
turning on or off the camcorder or
switching the VIDEO/MEMORY (DSC)
mode on the camcorder causes
malfunctions of the PC.
If you connect the camcorder to the PC
through a USB hub, compatibility issues
between the hub and the PC may result in
instability in the operation of the PC. If this
happens, connect the camcorder directly
to the PC, not through the hub.
Do not use an extension USB cable.
1Make sure that there is a
memory card in the camcorder.
2Set the camcorder’s VIDEO/
MEMORY Switch to “MEMORY”.
3Set the camcorder’s Power
Switch to “PLAY” while
pressing down the Lock Button
located on the switch.
The camcorder turns on.
4Connect the camcorder to the
PC with a USB cable. (pg.6)
On the camcorder’s LCD monitor
[USB] appears.
5When using Windows®XP:
The [Removable
Disk] window
appears on the
PC’s screen
after a moment.
Select [Open
folders to view
files using
Windows
Explorer] and
click [OK].
NOTE:
If the [Removable Disk] window does
not appear, confirm the connection
(pg.6) or perform the steps 1 and
2 below.
When using Windows®2000:
1Double-click the [My Computer] icon
on the desktop. The [Removable
Disk] icon which represents the
memory card in the camcorder
appears in the [My Computer]
window.
Connecting (Windows®)
Camcorder To USB
Connector
To USB
Connector
USB Cable
PC
Viewing the Contents of a Memory Card (Windows®)
M7D1.book Page 6 Friday, October 20, 2006 12:58 PM