![]()
![]()
![]()
![]()
![]()
![]()
![]()
![]()
![]()
![]()
![]()
![]()
![]()
![]()
![]()
![]()
![]()
![]()
![]()
![]()
![]()
![]()
![]()
![]()
![]()
![]()
![]()
![]()
![]()
![]()
![]()
![]()
![]()
![]()
![]()
![]()
![]()
![]()
![]()
![]()
![]()
![]()
![]()
![]()
![]()
![]()
![]()
![]()
![]()
![]()
![]()
![]()
![]()
![]()
![]()
![]()
![]()
![]()
![]()
![]()
![]()
![]()
![]()
![]()
![]()
![]()
![]()
![]()
![]()
![]()
![]()
![]()
![]()
![]()
![]()
![]()
![]()
![]()
![]()
![]()
![]()
![]()
![]()
![]()
![]() EN
EN![]() 79
79![]()
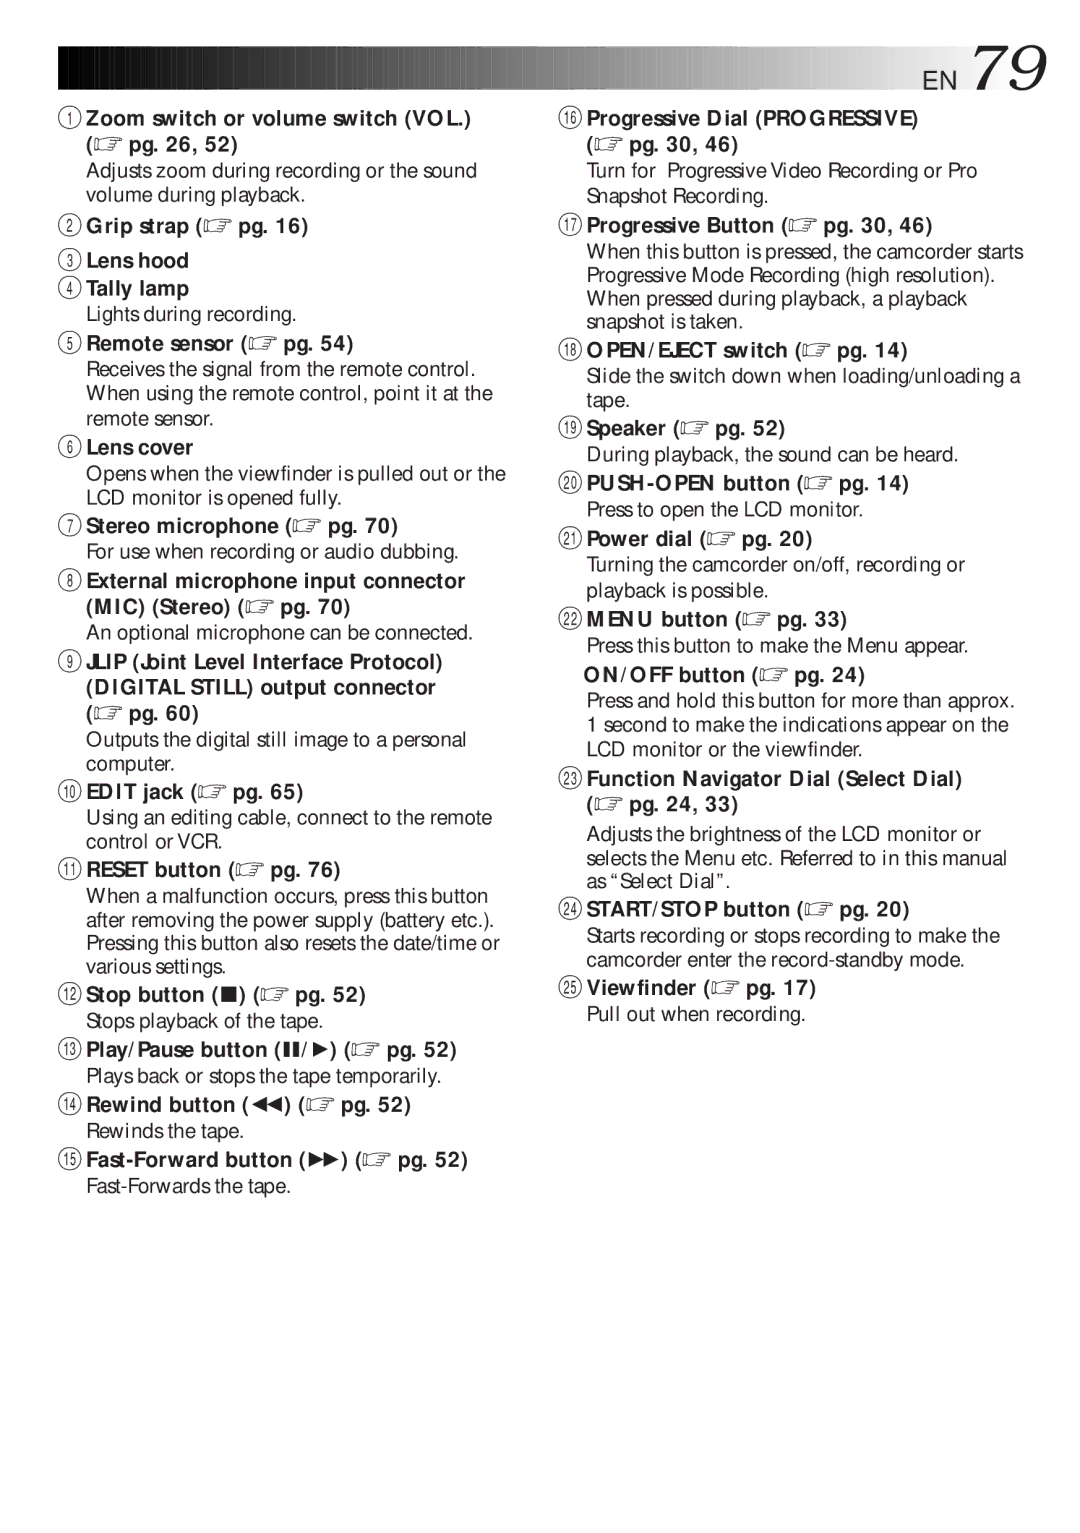
1 Zoom switch or volume switch (VOL.) | ^ Progressive Dial (PROGRESSIVE) |
(☞ pg. 26, 52) | (☞ pg. 30, 46) |
Adjusts zoom during recording or the sound volume during playback.
Turn for Progressive Video Recording or Pro Snapshot Recording.
2Grip strap (☞ pg. 16)
3Lens hood
4 Tally lamp
Lights during recording.
5 Remote sensor (☞ pg. 54)
Receives the signal from the remote control. When using the remote control, point it at the remote sensor.
6 Lens cover
Opens when the viewfinder is pulled out or the LCD monitor is opened fully.
7 Stereo microphone (☞ pg. 70)
For use when recording or audio dubbing.
8 External microphone input connector (MIC) (Stereo) (☞ pg. 70)
An optional microphone can be connected.
9 JLIP (Joint Level Interface Protocol) (DIGITAL STILL) output connector (☞ pg. 60)
Outputs the digital still image to a personal computer.
0 EDIT jack (☞ pg. 65)
Using an editing cable, connect to the remote control or VCR.
! RESET button (☞ pg. 76)
When a malfunction occurs, press this button after removing the power supply (battery etc.). Pressing this button also resets the date/time or various settings.
@ Stop button (5) (☞ pg. 52)
Stops playback of the tape.
&Progressive Button (☞ pg. 30, 46)
When this button is pressed, the camcorder starts Progressive Mode Recording (high resolution). When pressed during playback, a playback snapshot is taken.
*OPEN/EJECT switch (☞ pg. 14)
Slide the switch down when loading/unloading a tape.
(Speaker (☞ pg. 52)
During playback, the sound can be heard.
)PUSH-OPEN button (☞ pg. 14)
Press to open the LCD monitor.
qPower dial (☞ pg. 20)
Turning the camcorder on/off, recording or playback is possible.
wMENU button (☞ pg. 33)
Press this button to make the Menu appear.
ON/OFF button (☞ pg. 24)
Press and hold this button for more than approx. 1 second to make the indications appear on the LCD monitor or the viewfinder.
eFunction Navigator Dial (Select Dial) (☞ pg. 24, 33)
Adjusts the brightness of the LCD monitor or selects the Menu etc. Referred to in this manual as “Select Dial”.
rSTART/STOP button (☞ pg. 20)
Starts recording or stops recording to make the camcorder enter the
tViewfinder (☞ pg. 17)
Pull out when recording.
#Play/Pause button (6/4) (☞ pg. 52)
Plays back or stops the tape temporarily.
$Rewind button (2) (☞ pg. 52)
Rewinds the tape.
