60
 EN
EN


TROUBLESHOOTING

 (cont.)

SYMPTOM |
| POSSIBLE CAUSES |
| CORRECTIVE ACTION |
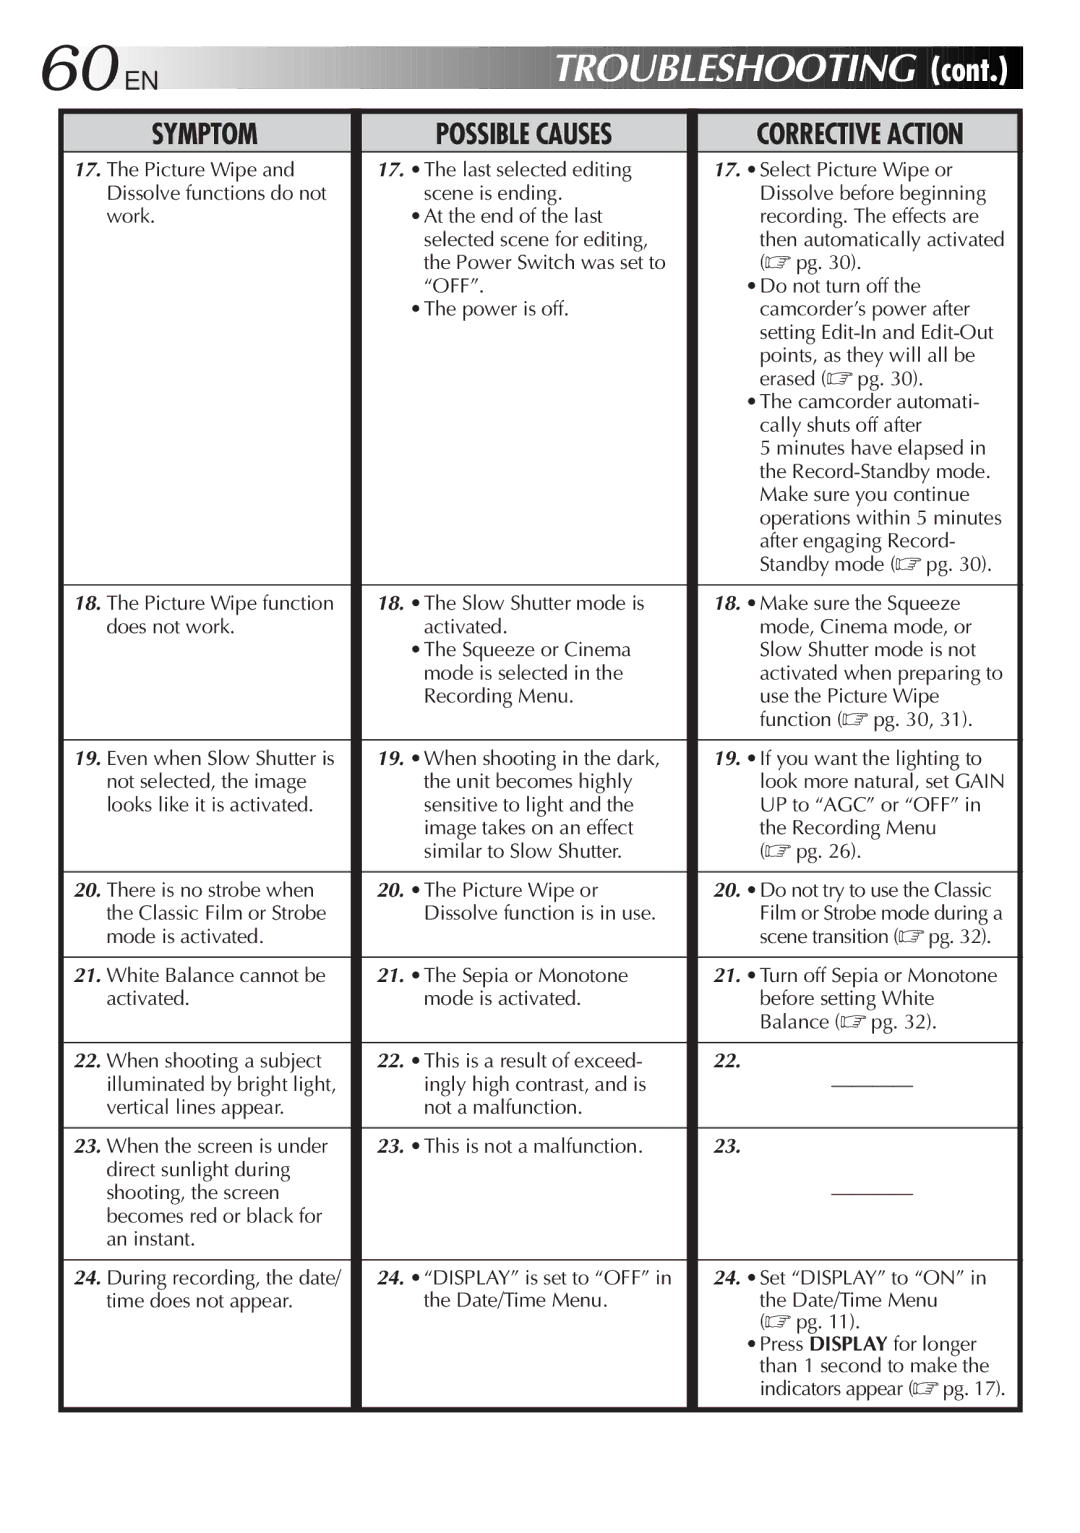
17. The Picture Wipe and |
| 17. •The last selected editing |
| 17. •Select Picture Wipe or |
Dissolve functions do not |
| scene is ending. |
| Dissolve before beginning |
work. |
| •At the end of the last |
| recording. The effects are |
|
| selected scene for editing, |
| then automatically activated |
|
| the Power Switch was set to |
| (☞ pg. 30). |
|
| “OFF”. |
| •Do not turn off the |
|
| •The power is off. |
| camcorder’s power after |
|
|
|
| setting |
|
|
|
| points, as they will all be |
|
|
|
| erased (☞ pg. 30). |
|
|
|
| •The camcorder automati- |
|
|
|
| cally shuts off after |
|
|
|
| 5 minutes have elapsed in |
|
|
|
| the |
|
|
|
| Make sure you continue |
|
|
|
| operations within 5 minutes |
|
|
|
| after engaging Record- |
|
|
|
| Standby mode (☞ pg. 30). |
|
|
|
|
|
18. The Picture Wipe function |
| 18. •The Slow Shutter mode is |
| 18. •Make sure the Squeeze |
does not work. |
| activated. |
| mode, Cinema mode, or |
|
| •The Squeeze or Cinema |
| Slow Shutter mode is not |
|
| mode is selected in the |
| activated when preparing to |
|
| Recording Menu. |
| use the Picture Wipe |
|
|
|
| function (☞ pg. 30, 31). |
|
|
|
|
|
19. Even when Slow Shutter is |
| 19. •When shooting in the dark, |
| 19. •If you want the lighting to |
not selected, the image |
| the unit becomes highly |
| look more natural, set GAIN |
looks like it is activated. |
| sensitive to light and the |
| UP to “AGC” or “OFF” in |
|
| image takes on an effect |
| the Recording Menu |
|
| similar to Slow Shutter. |
| (☞ pg. 26). |
|
|
|
|
|
20. There is no strobe when |
| 20. •The Picture Wipe or |
| 20. •Do not try to use the Classic |
the Classic Film or Strobe |
| Dissolve function is in use. |
| Film or Strobe mode during a |
mode is activated. |
|
|
| scene transition (☞ pg. 32). |
|
|
|
|
|
21. White Balance cannot be |
| 21. •The Sepia or Monotone |
| 21. •Turn off Sepia or Monotone |
activated. |
| mode is activated. |
| before setting White |
|
|
|
| Balance (☞ pg. 32). |
|
|
|
|
|
22. When shooting a subject |
| 22. •This is a result of exceed- |
| 22. |
illuminated by bright light, |
| ingly high contrast, and is |
| |
vertical lines appear. |
| not a malfunction. |
|
|
|
|
|
|
|
23. When the screen is under |
| 23. •This is not a malfunction. |
| 23. |
direct sunlight during |
|
|
|
|
shooting, the screen |
|
|
| |
becomes red or black for |
|
|
|
|
an instant. |
|
|
|
|
|
|
|
|
|
24. During recording, the date/ |
| 24. •“DISPLAY” is set to “OFF” in |
| 24. •Set “DISPLAY” to “ON” in |
time does not appear. |
| the Date/Time Menu. |
| the Date/Time Menu |
|
|
|
| (☞ pg. 11). |
|
|
|
| •Press DISPLAY for longer |
|
|
|
| than 1 second to make the |
|
|
|
| indicators appear (☞ pg. 17). |
|
|
|
|
|
