Clock
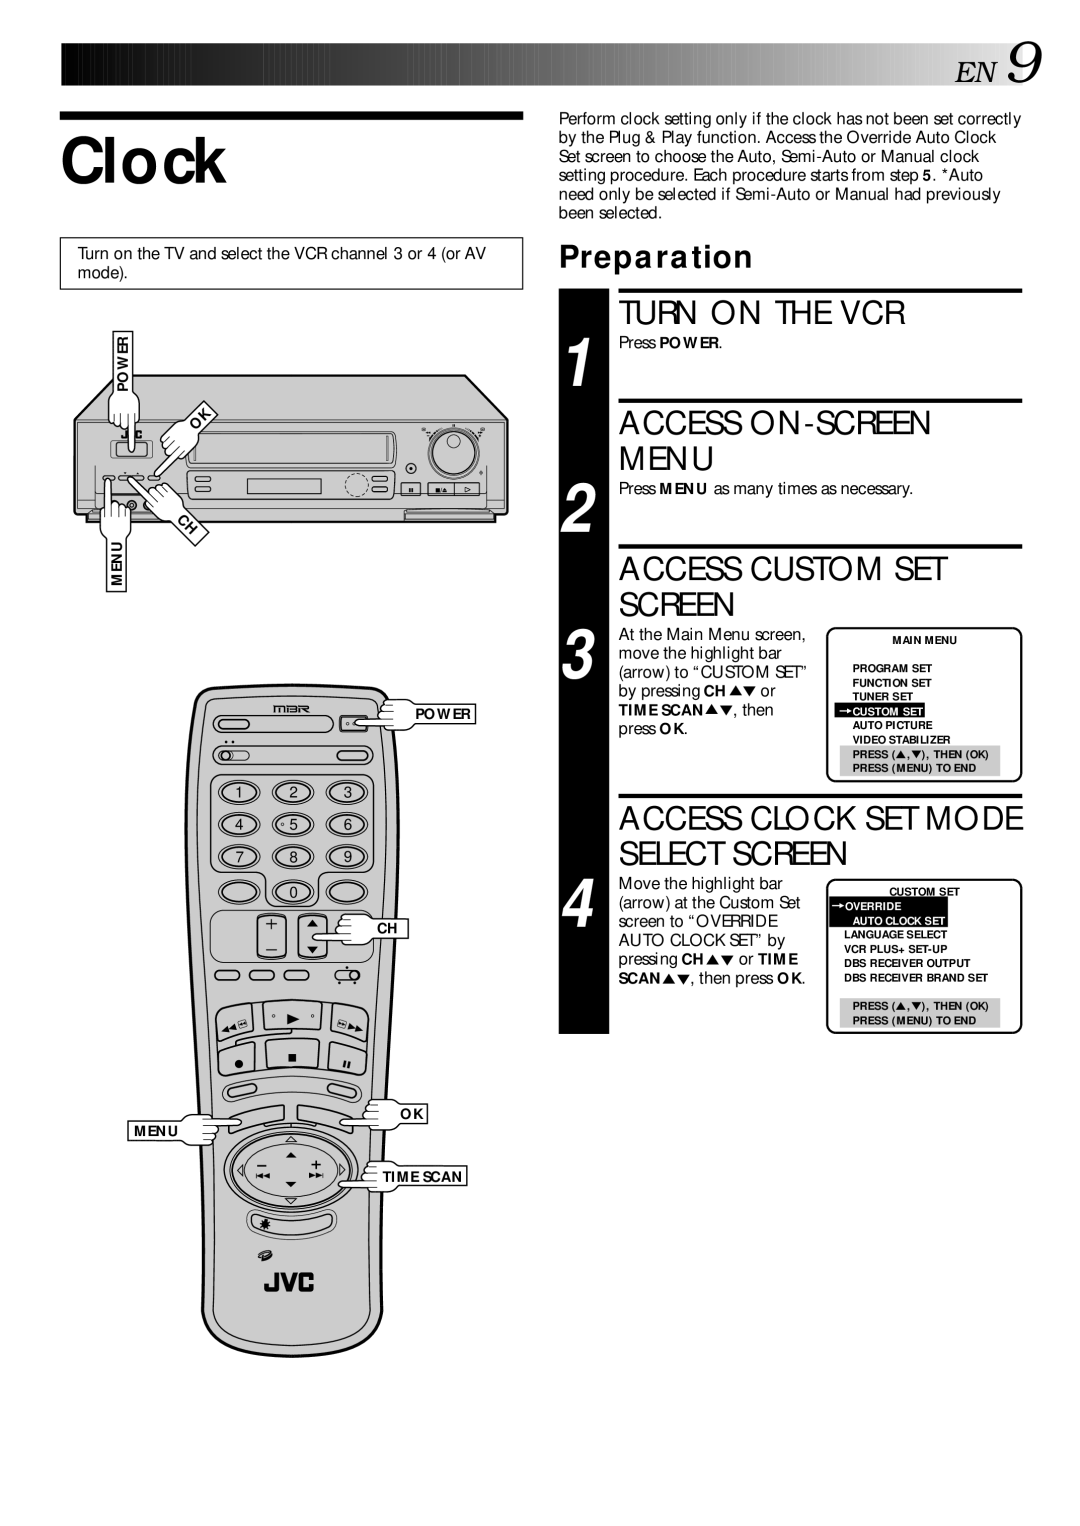
Turn on the TV and select the VCR channel 3 or 4 (or AV mode).
POWER
OK |
q |
CH |
MENU
POWER
1 2 3
4 | 5 | 6 |
7 8 9
0
CH
OK
MENU
![]() TIME SCAN
TIME SCAN
![]()
![]()
![]()
![]()
![]()
![]()
![]()
![]()
![]()
![]()
![]()
![]()
![]()
![]()
![]()
![]()
![]()
![]()
![]()
![]()
![]()
![]()
![]()
![]()
![]()
![]()
![]()
![]()
![]()
![]()
![]()
![]()
![]()
![]()
![]()
![]()
![]()
![]()
![]()
![]()
![]()
![]()
![]()
![]()
![]()
![]()
![]()
![]()
![]()
![]()
![]()
![]() EN
EN![]()
![]() 9
9![]()
Perform clock setting only if the clock has not been set correctly by the Plug & Play function. Access the Override Auto Clock Set screen to choose the Auto,
Preparation
1 |
| TURN ON THE VCR | ||||||
| Press POWER. |
|
|
|
|
|
| |
|
| ACCESS | ||||||
2 |
| MENU |
|
|
|
|
|
|
| Press MENU as many times as necessary. | |||||||
|
| ACCESS CUSTOM SET | ||||||
3 |
| SCREEN |
|
|
|
|
|
|
| At the Main Menu screen, |
|
| MAIN MENU | ||||
| move the highlight bar |
|
| PROGRAM SET | ||||
| (arrow) to “CUSTOM SET” |
|
| |||||
|
|
| FUNCTION SET | |||||
|
| by pressing CH5° or |
|
| TUNER SET | |||
| TIME SCAN5°, then |
| =CUSTOM SET |
|
| |||
| press OK. |
|
| AUTO PICTURE |
|
| ||
|
|
|
|
| VIDEO STABILIZER | |||
|
|
|
|
| PRESS (5,°), THEN (OK) |
| ||
|
|
|
|
| PRESS (MENU) TO END |
| ||
|
|
|
|
|
|
|
|
|
|
| ACCESS CLOCK SET MODE | ||||||
4 |
| SELECT SCREEN | ||||||
| Move the highlight bar |
|
| CUSTOM SET | ||||
| (arrow) at the Custom Set |
|
| |||||
| =OVERRIDE |
| ||||||
| screen to “OVERRIDE |
|
| LANGUAGE SELECT |
| |||
|
|
|
|
| AUTO CLOCK SET |
| ||
|
| AUTO CLOCK SET” by |
|
| VCR PLUS+ | |||
|
| pressing CH or TIME |
|
| ||||
| 5° |
|
| DBS RECEIVER OUTPUT | ||||
|
| SCAN , then press OK. |
|
| DBS RECEIVER BRAND SET | |||
| 5° |
|
| |||||
|
|
|
|
|
|
| ||
|
|
|
|
| PRESS (5,°), THEN (OK) |
| ||
|
|
|
|
| PRESS (MENU) TO END |
| ||
|
|
|
|
|
|
|
|
|