Subsidiary Settings
Mode Set (VCR deck)
•Turn on the TV and select the VCR channel (or AV mode).
•Slide the TV/VCR/DVD switch on the Remote to the right.
You can change various mode settings on the Function Set screen.
~ Select the VCR deck. | ! Select the mode. |
Press VCR on the Remote so that the VHS indicator | Press %fi to move the highlight bar (arrow) to the item |
lights up on the front display panel. | you want to change. |
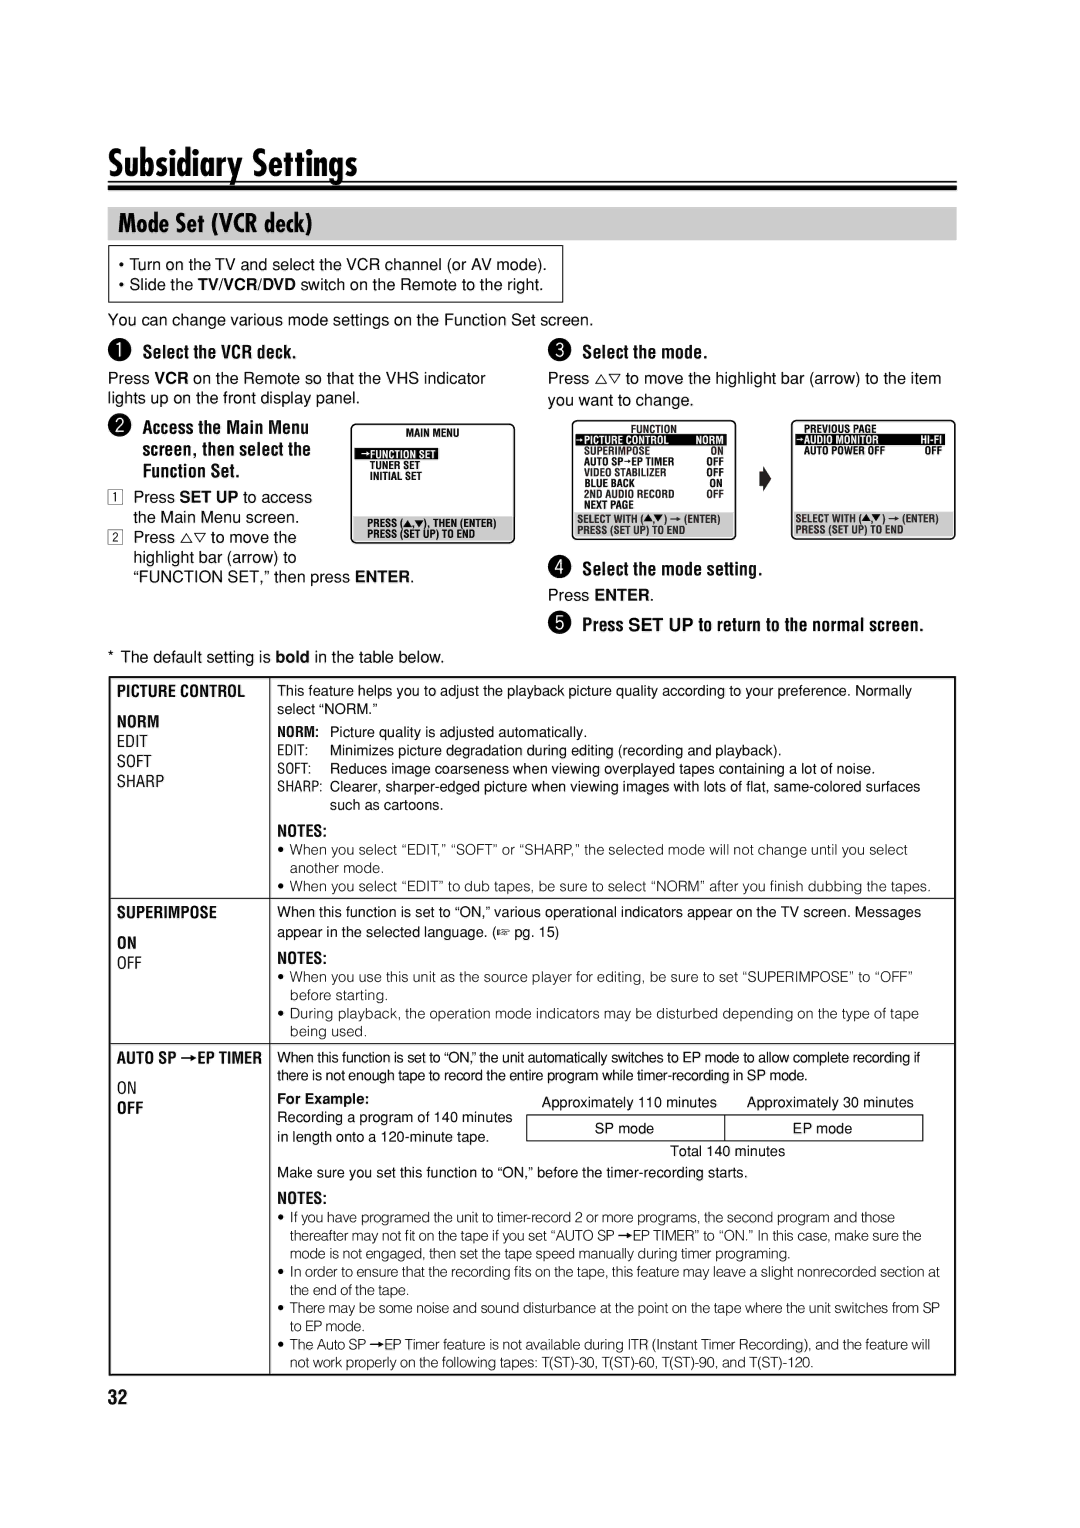
Ÿ Access the Main Menu
screen, then select the
Function Set.
1Press SET UP to access the Main Menu screen.
2 Press %fi to move the highlight bar (arrow) to
“FUNCTION SET,” then press ENTER.
⁄Select the mode setting.
Press ENTER.
|
| @ Press SET UP to return to the normal screen. | |||
* The default setting is bold in the table below. |
|
|
| ||
|
|
|
|
| |
PICTURE CONTROL | This feature helps you to adjust the playback picture quality according to your preference. Normally | ||||
NORM | select “NORM.” |
|
|
| |
NORM: Picture quality is adjusted automatically. |
|
| |||
EDIT |
|
| |||
EDIT: Minimizes picture degradation during editing (recording and playback). | |||||
SOFT | |||||
SOFT: Reduces image coarseness when viewing overplayed tapes containing a lot of noise. | |||||
SHARP | |||||
SHARP: Clearer, | |||||
| such as cartoons. |
|
|
| |
| NOTES: |
|
|
| |
| • When you select “EDIT,” “SOFT” or “SHARP,” the selected mode will not change until you select | ||||
| another mode. |
|
|
| |
| • When you select “EDIT” to dub tapes, be sure to select “NORM” after you fi nish dubbing the tapes. | ||||
|
|
|
|
| |
SUPERIMPOSE | When this function is set to “ON,” various operational indicators appear on the TV screen. Messages | ||||
ON | appear in the selected language. (☞ pg. 15) |
|
| ||
NOTES: |
|
|
| ||
OFF |
|
|
| ||
| • When you use this unit as the source player for editing, be sure to set “SUPERIMPOSE” to “OFF” | ||||
| before starting. |
|
|
| |
| • During playback, the operation mode indicators may be disturbed depending on the type of tape | ||||
| being used. |
|
|
| |
|
|
|
|
| |
AUTO SP =EP TIMER | When this function is set to “ON,” the unit automatically switches to EP mode to allow complete recording if | ||||
ON | there is not enough tape to record the entire program while | ||||
For Example: | Approximately 110 minutes | Approximately 30 minutes | |||
OFF | |||||
Recording a program of 140 minutes |
|
|
| ||
| SP mode | EP mode |
| ||
| in length onto a |
| |||
|
|
|
| ||
| Total 140 minutes | ||||
|
| ||||
| Make sure you set this function to “ON,” before the | ||||
| NOTES: |
|
|
| |
| • If you have programed the unit to | ||||
| thereafter may not fit on the tape if you set “AUTO SP =EP TIMER” to “ON.” In this case, make sure the | ||||
| mode is not engaged, then set the tape speed manually during timer programing. | ||||
| • In order to ensure that the recording fits on the tape, this feature may leave a slight nonrecorded section at | ||||
| the end of the tape. |
|
|
| |
| • There may be some noise and sound disturbance at the point on the tape where the unit switches from SP | ||||
| to EP mode. |
|
|
| |
| • The Auto SP =EP Timer feature is not available during ITR (Instant Timer Recording), and the feature will | ||||
| not work properly on the following tapes: | ||||
|
|
|
|
| |
32