46 EN LIVE MEMORY PLAYBACK
Temporary recording for Live Memory (HDD deck only) Simultaneous Recording and Playback
This unit automatically records the channel being received, within the specified range of time, to the reserved space on the hard disc.
You can play back the previous part of the channel you are recording or other programs
The time range can be set for 30 minutes, 1 hour, and 3 hours. (A pg. 72)
NOTE:
Previous temporary recordings will be overwritten since the unit is always recording the channel being received. Thus, it is not possible to play back TV programmes recorded beyond the specified range of time since they are already overwritten. To avoid
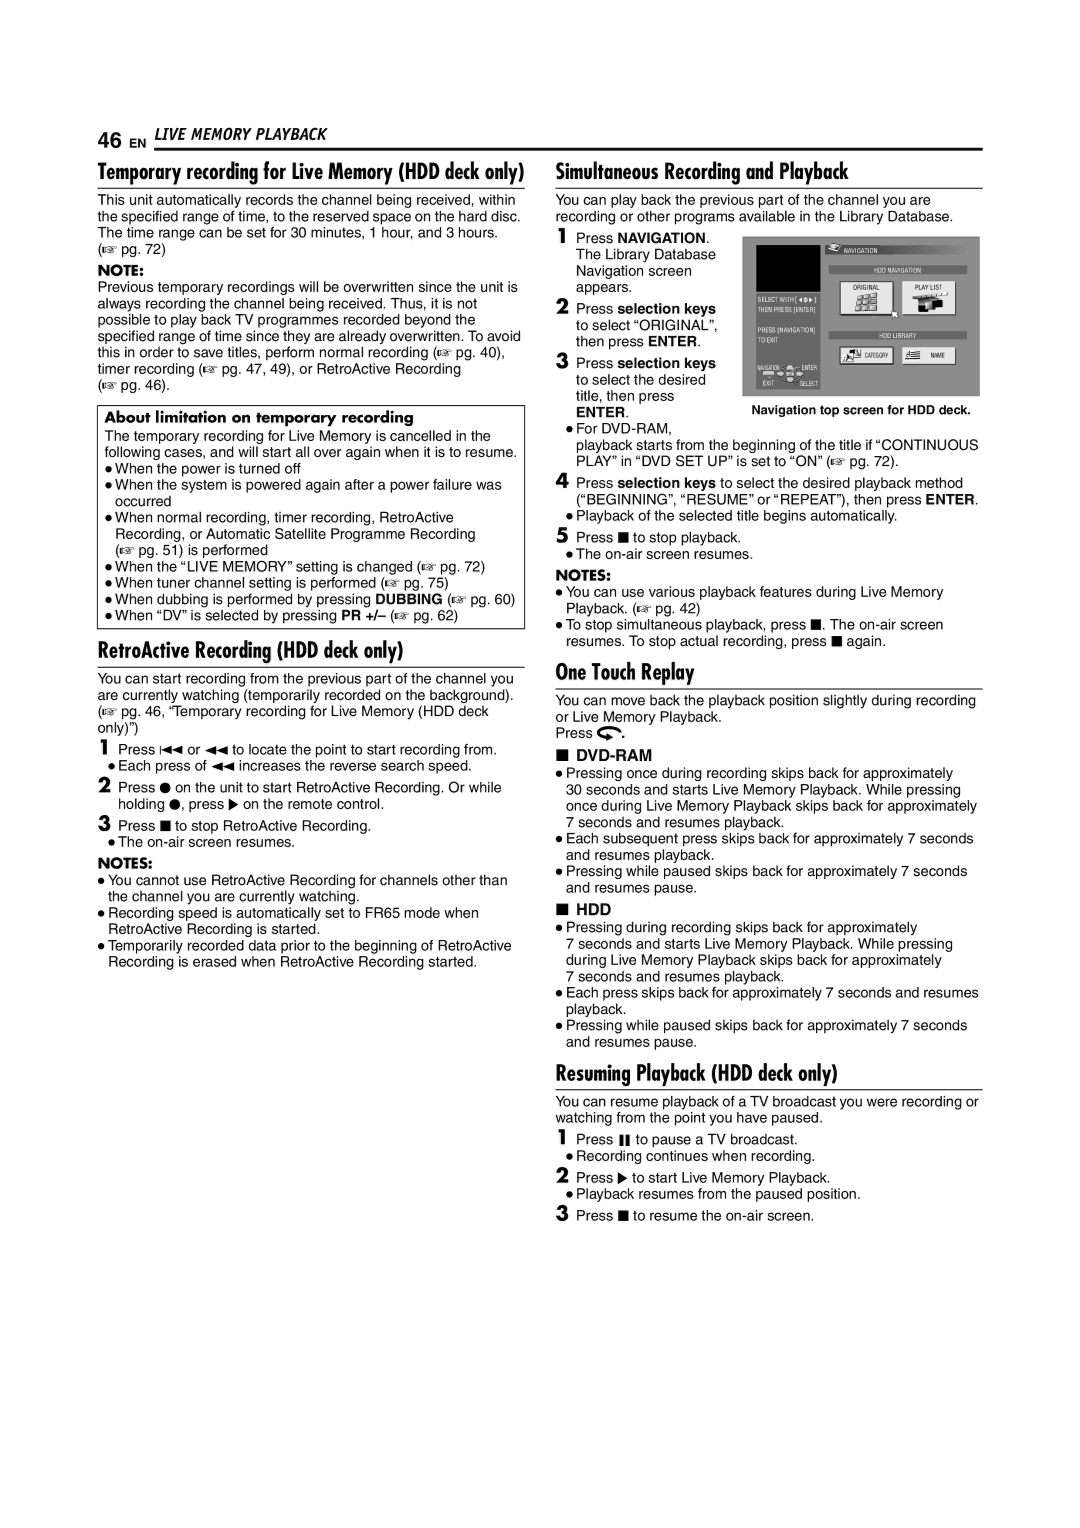
1Press NAVIGATION. The Library Database Navigation screen appears.
2Press selection keys to select AORIGINAL then press ENTER.
![]() NAVIGATION
NAVIGATION
HDD NAVIGATION
ORIGINAL |
| PLAY LIST |
|
|
|
HDD LIBRARY
this in order to save titles, perform normal recording (A pg. 40), timer recording (A pg. 47, 49), or RetroActive Recording
(A pg. 46).
About limitation on temporary recording
The temporary recording for Live Memory is cancelled in the following cases, and will start all over again when it is to resume.
●When the power is turned off
●When the system is powered again after a power failure was occurred
●When normal recording, timer recording, RetroActive Recording, or Automatic Satellite Programme Recording (A pg. 51) is performed
●When the ALIVE MEMORYB setting is changed (A pg. 72)
●When tuner channel setting is performed (A pg. 75)
●When dubbing is performed by pressing DUBBING (A pg. 60)
●When ADVB is selected by pressing PR +/– (A pg. 62)
RetroActive Recording (HDD deck only)
You can start recording from the previous part of the channel you are currently watching (temporarily recorded on the background). (A pg. 46, ATemporary recording for Live Memory (HDD deck only)B)
1Press S or O to locate the point to start recording from.
●Each press of O increases the reverse search speed.
2Press R on the unit to start RetroActive Recording. Or while holding R, press I on the remote control.
3Press o to stop RetroActive Recording.
●The
NOTES:
●You cannot use RetroActive Recording for channels other than the channel you are currently watching.
●Recording speed is automatically set to FR65 mode when RetroActive Recording is started.
●Temporarily recorded data prior to the beginning of RetroActive Recording is erased when RetroActive Recording started.
3 Press selection keys |
|
| CATEGORY |
| NAME |
|
NAVIGATION | ENTER |
|
|
|
| |
to select the desired | EXIT | SELECT |
|
|
| |
title, then press |
|
|
|
|
|
|
|
|
|
|
|
| |
ENTER.
●For DVD-RAM,
playback starts from the beginning of the title if ACONTINUOUS PLAYB in ADVD SET UPB is set to AONB (A pg. 72).
4Press selection keys to select the desired playback method
(ABEGINNINGB, ARESUMEB or AREPEATB), then press ENTER.
●Playback of the selected title begins automatically.
5Press o to stop playback.
●The
NOTES:
●You can use various playback features during Live Memory Playback. (A pg. 42)
●To stop simultaneous playback, press o. The
One Touch Replay
You can move back the playback position slightly during recording or Live Memory Playback.
Press w.
8DVD-RAM
●Pressing once during recording skips back for approximately
30 seconds and starts Live Memory Playback. While pressing once during Live Memory Playback skips back for approximately 7 seconds and resumes playback.
●Each subsequent press skips back for approximately 7 seconds and resumes playback.
●Pressing while paused skips back for approximately 7 seconds and resumes pause.
8HDD
●Pressing during recording skips back for approximately
7 seconds and starts Live Memory Playback. While pressing during Live Memory Playback skips back for approximately 7 seconds and resumes playback.
●Each press skips back for approximately 7 seconds and resumes playback.
●Pressing while paused skips back for approximately 7 seconds and resumes pause.
Resuming Playback (HDD deck only)
You can resume playback of a TV broadcast you were recording or watching from the point you have paused.
1Press W to pause a TV broadcast.
●Recording continues when recording.
2Press I to start Live Memory Playback.
●Playback resumes from the paused position.
3Press o to resume the