34 EN BASIC OPERATIONS ON DVD DECK
Simulated Surround Effect | Setting The Progressive Mode | |||||||||||||||||||||||||||||||||||||||
|
|
|
|
|
|
|
|
|
|
|
|
|
|
|
|
|
|
|
|
|
|
|
|
|
|
|
|
|
|
|
|
|
|
|
|
|
|
|
|
|
|
|
|
|
|
|
|
|
|
|
|
|
|
|
|
|
|
|
|
|
|
|
|
|
|
|
|
|
|
|
|
|
|
|
|
|
|
|
|
|
|
|
|
|
|
|
|
|
|
|
|
|
|
|
|
|
|
|
|
|
|
|
|
|
|
|
|
|
|
|
|
|
|
|
|
|
|
|
|
|
|
|
|
|
|
|
|
|
|
|
|
|
|
|
|
|
|
|
|
|
|
|
|
|
|
|
|
|
|
|
|
|
|
|
|
|
|
|
|
|
|
|
|
It is possible to get a simulated surround effect from your stereo system. You can enjoy the virtual surround sound with your
2 channel stereo system.
1Press ON SCREEN twice to access the
2Press selection keys to select A ![]()
![]()
![]()
![]()
![]()
![]()
![]()
![]()
![]() B, then press ENTER.
B, then press ENTER.
●
●Each time you press ENTER,
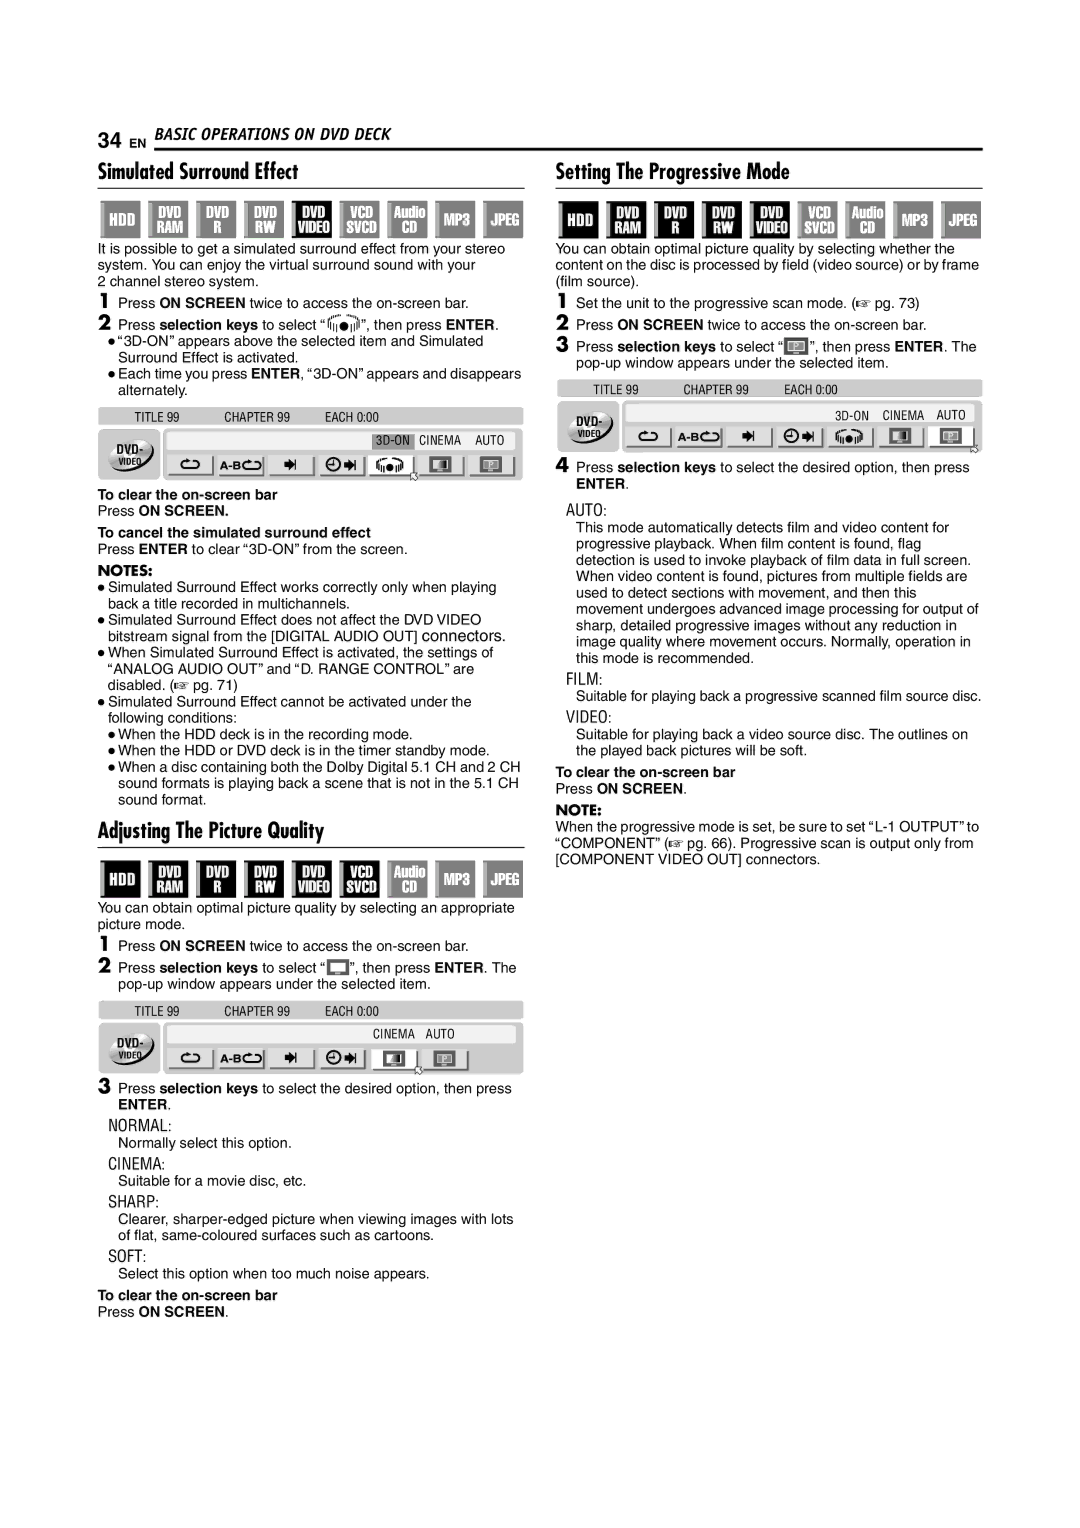
TITLE 99 | CHAPTER 99 | EACH 0:00 | ||
|
|
|
| |
DVD- |
|
| CINEMA AUTO | |
|
|
|
| |
VIDEO |
To clear the
Press ON SCREEN.
To cancel the simulated surround effect
Press ENTER to clear
NOTES:
●Simulated Surround Effect works correctly only when playing back a title recorded in multichannels.
●Simulated Surround Effect does not affect the DVD VIDEO bitstream signal from the [DIGITAL AUDIO OUT] connectors.
●When Simulated Surround Effect is activated, the settings of AANALOG AUDIO OUTB and AD. RANGE CONTROLB are disabled. (A pg. 71)
●Simulated Surround Effect cannot be activated under the following conditions:
●When the HDD deck is in the recording mode.
●When the HDD or DVD deck is in the timer standby mode.
●When a disc containing both the Dolby Digital 5.1 CH and 2 CH sound formats is playing back a scene that is not in the 5.1 CH sound format.
Adjusting The Picture Quality
You can obtain optimal picture quality by selecting an appropriate picture mode.
1Press ON SCREEN twice to access the
2Press selection keys to select A![]()
![]()
![]() B, then press ENTER. The
B, then press ENTER. The
TITLE 99 CHAPTER 99 EACH 0:00
DVD- | CINEMA AUTO |
| |
VIDEO |
|
3Press selection keys to select the desired option, then press
ENTER.
NORMAL:
Normally select this option.
CINEMA:
Suitable for a movie disc, etc.
SHARP:
Clearer,
SOFT:
Select this option when too much noise appears.
To clear the
Press ON SCREEN.
You can obtain optimal picture quality by selecting whether the content on the disc is processed by field (video source) or by frame (film source).
1Set the unit to the progressive scan mode. (A pg. 73)
2Press ON SCREEN twice to access the
3Press selection keys to select A![]()
![]()
![]() B, then press ENTER. The
B, then press ENTER. The
TITLE 99 CHAPTER 99 EACH 0:00
DVD- | |
| |
VIDEO |
|
4Press selection keys to select the desired option, then press
ENTER.
AUTO:
This mode automatically detects film and video content for progressive playback. When film content is found, flag detection is used to invoke playback of film data in full screen. When video content is found, pictures from multiple fields are used to detect sections with movement, and then this movement undergoes advanced image processing for output of sharp, detailed progressive images without any reduction in image quality where movement occurs. Normally, operation in this mode is recommended.
FILM:
Suitable for playing back a progressive scanned film source disc.
VIDEO:
Suitable for playing back a video source disc. The outlines on the played back pictures will be soft.
To clear the
Press ON SCREEN.
NOTE:
When the progressive mode is set, be sure to set