Getting started
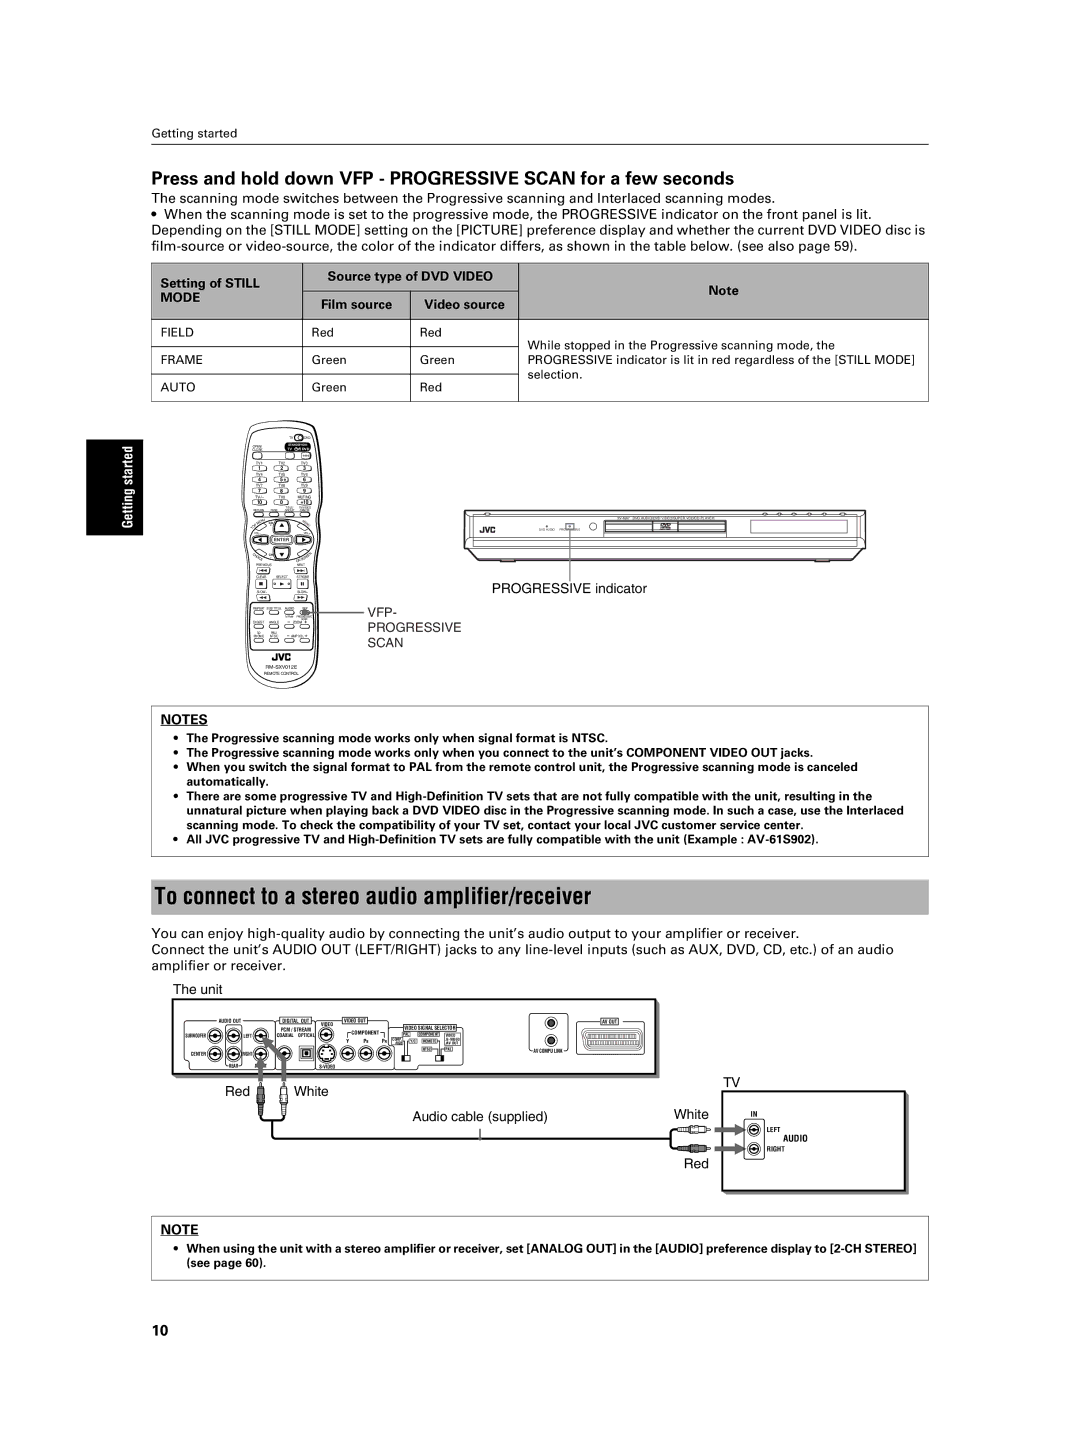
Press and hold down VFP - PROGRESSIVE SCAN for a few seconds
The scanning mode switches between the Progressive scanning and Interlaced scanning modes.
•When the scanning mode is set to the progressive mode, the PROGRESSIVE indicator on the front panel is lit. Depending on the [STILL MODE] setting on the [PICTURE] preference display and whether the current DVD VIDEO disc is
Setting of STILL | Source type of DVD VIDEO | Note | ||
|
| |||
MODE | Film source | Video source | ||
| ||||
|
| |||
|
|
|
| |
FIELD | Red | Red | While stopped in the Progressive scanning mode, the | |
|
|
| ||
|
|
| ||
FRAME | Green | Green | PROGRESSIVE indicator is lit in red regardless of the [STILL MODE] | |
|
|
| selection. | |
AUTO | Green | Red | ||
| ||||
|
|
|
| |
Getting started
| TV | DVD |
OPEN/ | STANDBY/ON | |
CLOSE | TV | DVD |
TV1 | TV2 | TV3 | |
1 | 2 |
| 3 |
TV4 | TV5 | TV6 | |
4 | 5 |
| 6 |
TV7 | TV8 | TV9 | |
7 | 8 |
| 9 |
TV0 | MUTING | ||
10 | 0 |
| +10 |
|
| TITLE/ | TV/VIDEO |
RETURN | PAGE | GROUP | CANCEL |
U |
|
| M |
EN | CH |
| |
M |
| EN | |
P | + |
| U |
TO |
|
|
|
VOL- |
|
| VOL+ |
| ENTER |
| |
C | CH |
| EN |
H |
| ||
OI | - |
| RE |
CE |
|
| SC |
|
|
| ON |
PREVIOUS |
| NEXT | |
CLEAR | SELECT | STROBE | |
SLOW- |
|
| SLOW+ |
REPEAT SUB TITLE | AUDIO | VFP | |
|
| fs/Rate | PROGRESSIVE |
|
|
| SCAN |
DIGEST | ANGLE | ZOOM | |
3D | PAL/ | AMP VOL | |
PHONIC | NTSC | ||
REMOTE CONTROL
VFP-
PROGRESSIVE SCAN
| DVD AUDIO/DVD VIDEO/SUPER VCD/CD PLAYER | |
DVD AUDIO | PROGRESSIVE |
|
PROGRESSIVE indicator
NOTES
•The Progressive scanning mode works only when signal format is NTSC.
•The Progressive scanning mode works only when you connect to the unit’s COMPONENT VIDEO OUT jacks.
•When you switch the signal format to PAL from the remote control unit, the Progressive scanning mode is canceled automatically.
•There are some progressive TV and
•All JVC progressive TV and
To connect to a stereo audio amplifier/receiver
You can enjoy
Connect the unit’s AUDIO OUT (LEFT/RIGHT) jacks to any
The unit
AUDIO OUT |
| DIGITAL OUT | VIDEO OUT |
|
|
|
|
| AV OUT | |
|
| PCM / STREAM | VIDEO |
|
|
| VIDEO SIGNAL SELECTOR |
| ||
|
|
| COMPONENT |
|
|
| ||||
SUBWOOFER | LEFT | COAXIAL OPTICAL |
|
| COMP. | PAL | COMPONENT | VIDEO |
| |
|
|
| Y | PB | PR | Y/C | REMOTE |
| ||
|
|
| /RGB | /AV OUT |
| |||||
CENTER | RIGHT |
|
|
|
|
|
| NTSC | PAL | AV COMPU LINK |
|
|
|
|
|
|
|
| |||
|
|
|
|
|
|
|
|
| ||
REAR |
|
|
|
|
|
|
|
|
| |
Red | White |
|
| Audio cable (supplied) | White |
|
| Red |
TV
IN
LEFT
AUDIO
RIGHT
NOTE
•When using the unit with a stereo amplifier or receiver, set [ANALOG OUT] in the [AUDIO] preference display to
10
