Using MIDI
TUTORIAL
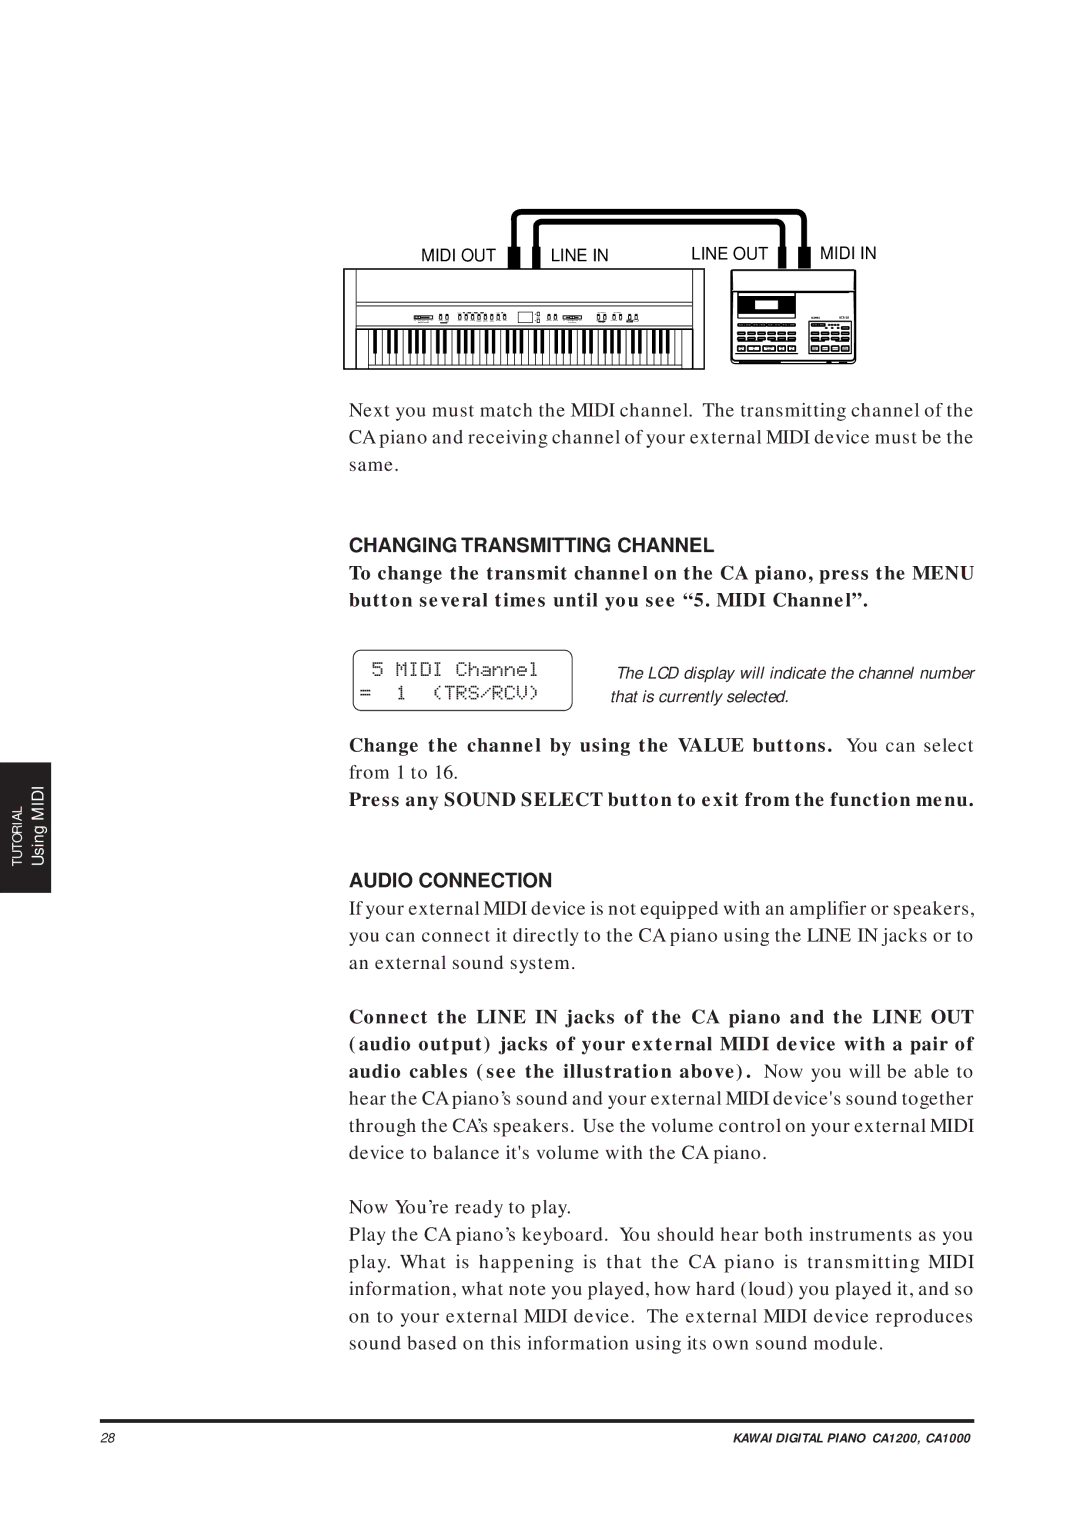
MIDI OUT | LINE IN | LINE OUT | MIDI IN |
Next you must match the MIDI channel. The transmitting channel of the CA piano and receiving channel of your external MIDI device must be the same.
CHANGING TRANSMITTING CHANNEL
To change the transmit channel on the CA piano, press the MENU button several times until you see “5. MIDI Channel”.
5 MIDI Channel | The LCD display will indicate the channel number |
= 1 (TRS/RCV) | that is currently selected. |
Change the channel by using the VALUE buttons. You can select
from 1 to 16.
Press any SOUND SELECT button to exit from the function menu.
AUDIO CONNECTION
If your external MIDI device is not equipped with an amplifier or speakers, you can connect it directly to the CA piano using the LINE IN jacks or to an external sound system.
Connect the LINE IN jacks of the CA piano and the LINE OUT (audio output) jacks of your external MIDI device with a pair of audio cables (see the illustration above). Now you will be able to hear the CA piano’s sound and your external MIDI device's sound together through the CA’s speakers. Use the volume control on your external MIDI device to balance it's volume with the CA piano.
Now You’re ready to play.
Play the CA piano’s keyboard. You should hear both instruments as you play. What is happening is that the CA piano is transmitting MIDI information, what note you played, how hard (loud) you played it, and so on to your external MIDI device. The external MIDI device reproduces sound based on this information using its own sound module.
28 | KAWAI DIGITAL PIANO CA1200, CA1000 |