TS-870S specifications
The Kenwood TS-870S is a distinguished transceiver that stands out in the world of amateur radio, particularly for enthusiasts who seek a blend of advanced technology and user-friendly features. Introduced in the early 1990s, this HF transceiver quickly gained a reputation for its exceptional performance, versatility, and reliability, making it a favorite among operators worldwide.One of the most noteworthy features of the TS-870S is its direct-sampling technology, which allows for superior signal fidelity and processing. This technology enables the transceiver to operate across a range of 160 meters to 10 meters, catering to both casual and serious operators. Its high-performance 16-bit digital signal processing (DSP) facilitates effective noise reduction and filtering capabilities, enhancing the overall clarity during transmission and reception.
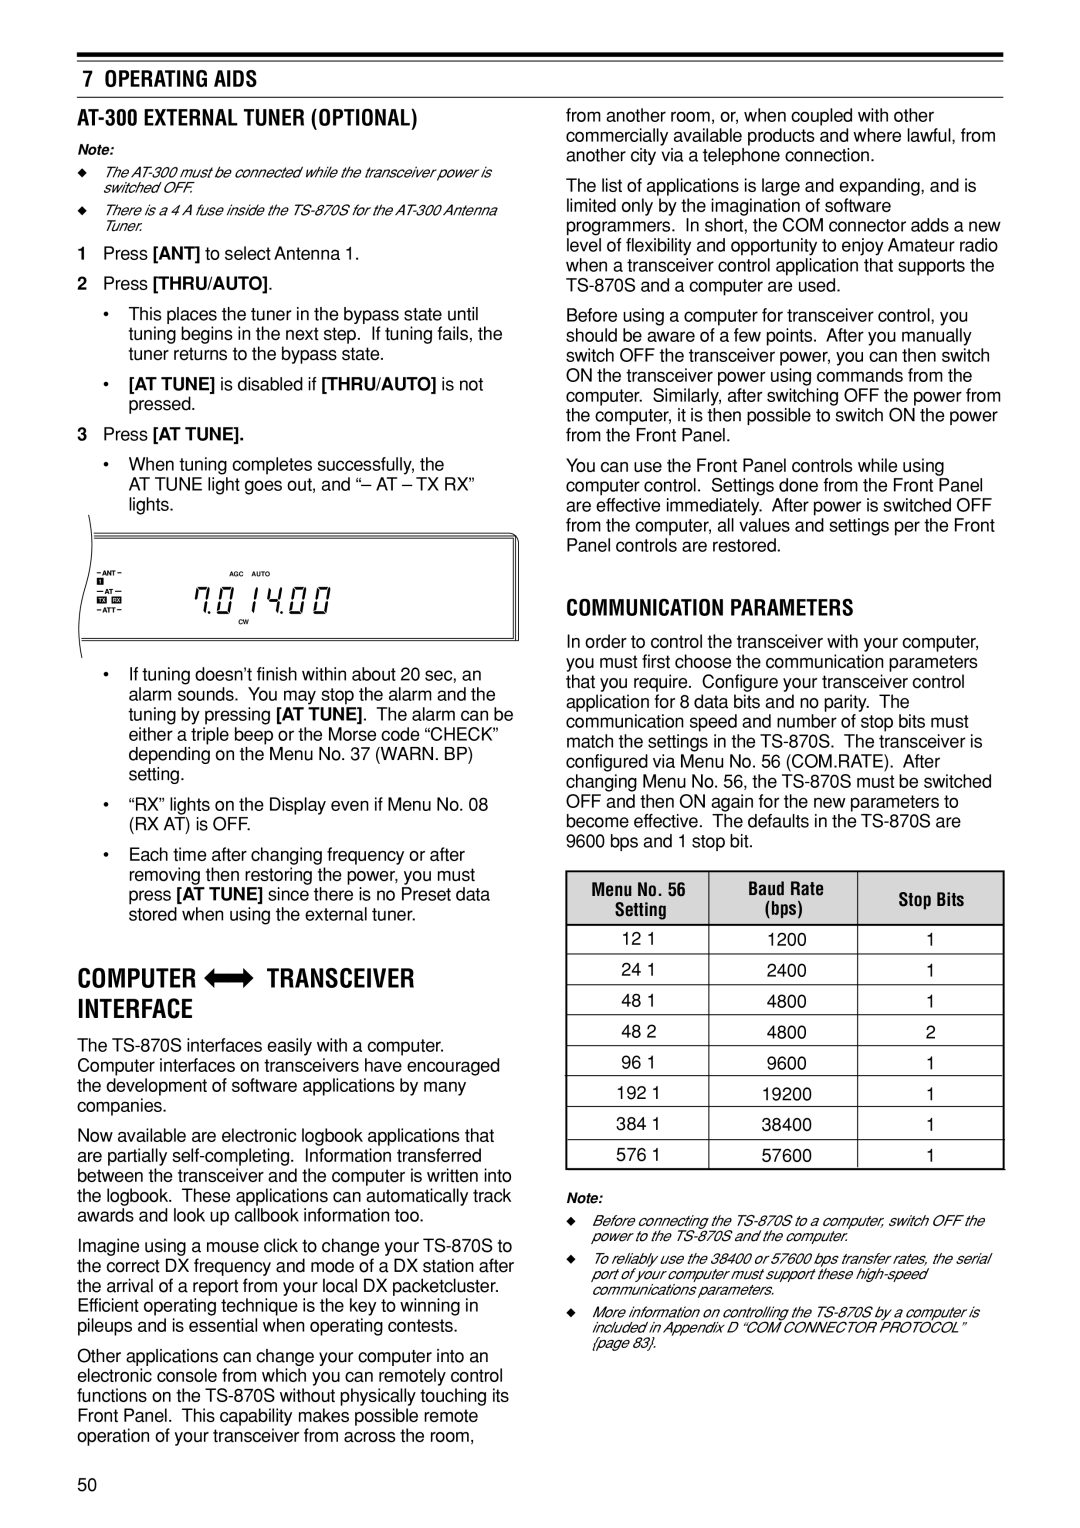
In terms of power, the TS-870S boasts an output of 100 watts, providing ample power for various communication needs. The transceiver is equipped with an automatic antenna tuner, which simplifies the task of matching the antenna to the operating frequency, ensuring optimal performance without the hassle of manual adjustments.
Another significant aspect of the Kenwood TS-870S is its user interface, featuring a large, easy-to-read display, and a logically arranged control layout. This makes it accessible for both novice and experienced operators. The built-in memories allow for quick storage and access to favorite frequencies and settings, enhancing operational efficiency.
The Kenwood TS-870S also includes various advanced features such as an optional 2.4 kHz and 6 kHz roofing filter which provides improved performance in crowded band conditions. The receiver's dual VFOs (Variable Frequency Oscillators) enable simultaneous monitoring of two frequencies, which is particularly useful for operators who need to keep track of multiple signals or engage in cross-band communication.
Apart from its technical specifications, the TS-870S is constructed with durability in mind, ensuring that it can withstand the rigors of frequent use. It supports various operating modes, including SSB, CW, AM, and FM, making it a versatile choice for diverse amateur radio activities.
In conclusion, the Kenwood TS-870S combines advanced technology with user-friendly characteristics, offering amateur radio operators an exceptional tool for communication. With its innovative features, robust performance, and flexibility, it continues to be a respected choice among radio enthusiasts, solidifying its legacy in the realm of amateur radio.